Start by patting the turkey breast dry with paper towels to remove excess moisture. This helps the skin crisp up beautifully in the air fryer. Drying the surface is a small step that makes a big difference.
Next, rub olive oil all over the turkey breast to coat it evenly. This helps the herbs stick while also promoting even browning. Make sure to cover every side for consistent flavor.
Finally, mix the herbs and spices in a bowl and rub them generously over the turkey. Press them gently so they adhere well and form a flavorful crust.
Preheat your air fryer to 360°F (180°C) for a few minutes before cooking. This ensures the turkey starts cooking immediately and evenly. Preheating is key for achieving that crispy exterior.
Place the turkey breast in the air fryer basket, skin side down first. This helps render some of the fat and keeps the meat juicy. Make sure there’s space around it for air circulation.
Avoid overcrowding the basket, as this can prevent proper crisping. Good airflow is essential for that golden finish.
Cook the turkey breast for about 25 minutes, then flip it carefully. This ensures both sides cook evenly and develop a nice color. Use tongs to avoid piercing the meat.
Continue cooking for another 20–30 minutes until the internal temperature reaches 165°F (74°C). This is the safe temperature for perfectly cooked turkey. Always use a thermometer for accuracy.
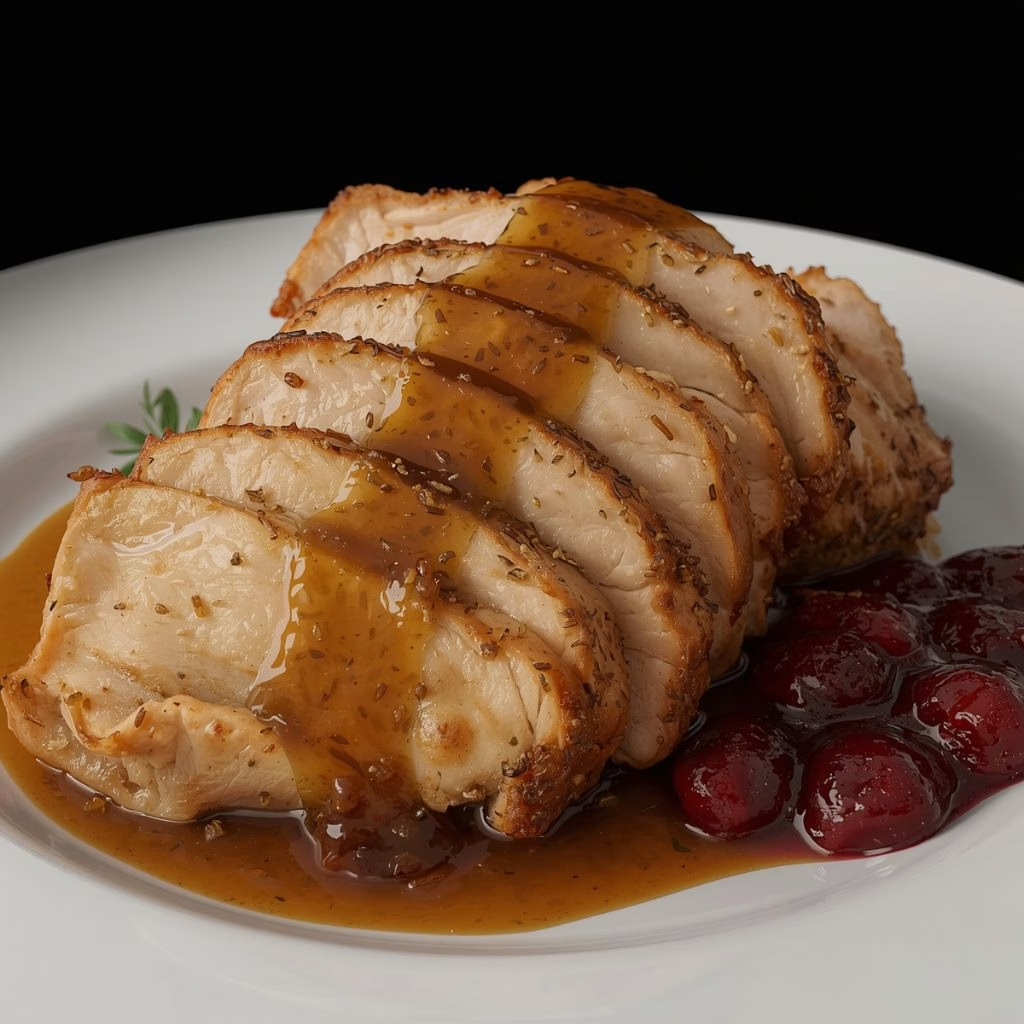
Once done, let the turkey rest for 5–10 minutes before slicing. This allows the juices to redistribute and keeps the meat tender.
While the turkey rests, prepare the gravy using the drippings and broth. Melt butter in a saucepan, then stir in flour to create a smooth roux. Cook it briefly to remove any raw taste.
Slowly whisk in the chicken broth, stirring continuously to avoid lumps. Let it simmer until it thickens into a smooth, rich gravy. Adjust seasoning with salt and pepper.
Strain if needed for a silky texture, then serve warm alongside the turkey. It perfectly complements the herbed flavors.