Go Back
Apple Cider Waffles Recipe
Ash Tyrrell

Apple Cider Waffles Recipe

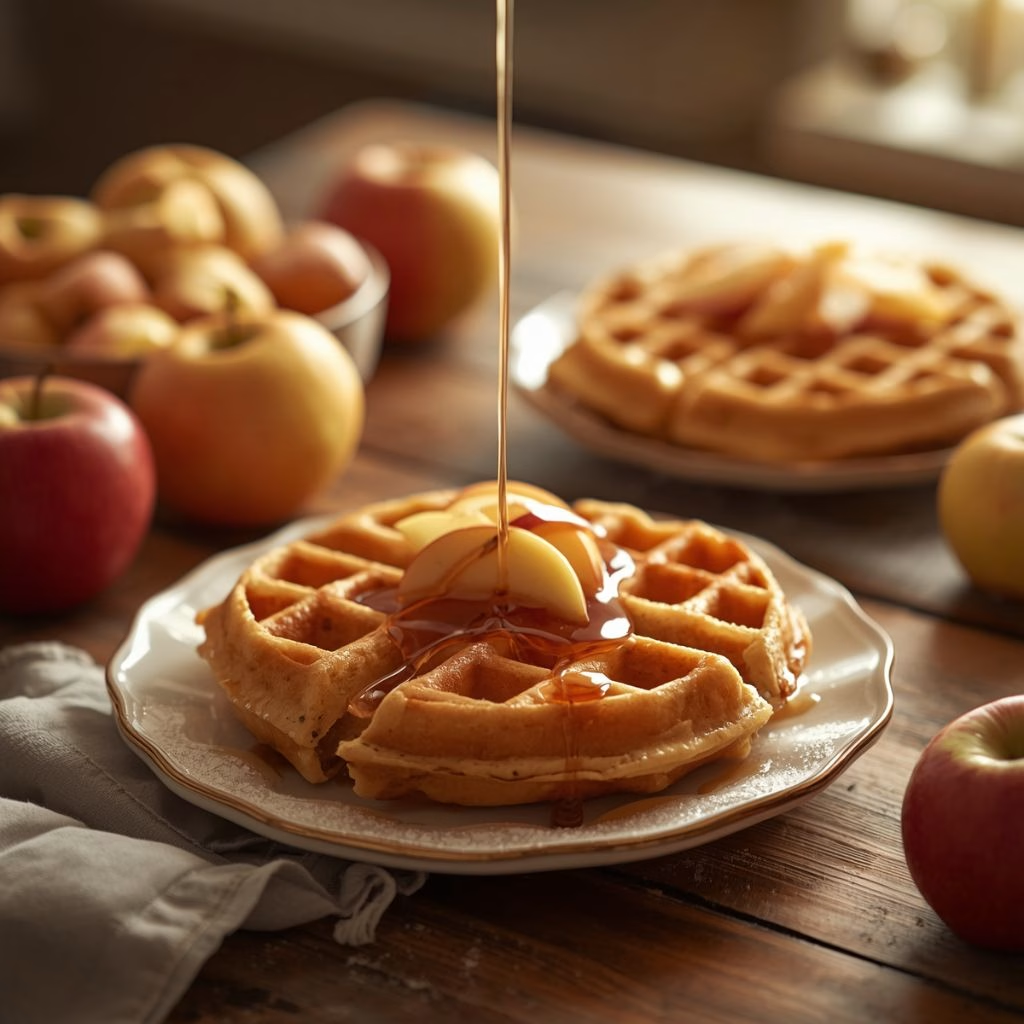
I make these apple cider waffles every single time the air turns cool and the local orchard starts pressing fresh cider. I love how the whole kitchen smells like cinnamon and warm apples before the waffle iron even beeps. Me and my family fight over the last one every time, and honestly, I don't blame anyone.
Prep Time 15 minutes
Cook Time 20 minutes
Servings: 4

Ingredients
  

  • 2 cups all-purpose flour — this is the base of the batter and keeps the waffles sturdy enough to hold toppings
  • 2 teaspoons baking powder — gives the waffles their lift so don't skip it or they'll turn out flat
  • 1 teaspoon baking soda — reacts with the apple cider's acidity for extra fluff
  • 1/2 teaspoon salt — balances the sweetness and wakes up the other flavors
  • 2 teaspoons ground cinnamon — the flavor that makes these taste like fall in every bite
  • 1/2 teaspoon ground nutmeg — adds warmth but use freshly grated if you have it for the best aroma
  • 1/4 cup brown sugar — brings a little caramel note light or dark both work fine
  • 2 large eggs — bind the batter together and add richness
  • 2 cups apple cider — use real pressed cider not apple juice, for the deepest apple flavor
  • 1/3 cup melted butter — keeps the waffles from drying out and gives crisp edges
  • 1 teaspoon vanilla extract — rounds out the spice and sweetness nicely

Method
 

  1. I start by adding the flour, baking powder, baking soda, salt, cinnamon, and nutmeg into a large bowl. A quick whisk here spreads the leavening evenly through the flour. This little step keeps you from biting into a pocket of baking soda later, which nobody wants.
  2. In a separate bowl, I whisk the eggs until they're a bit frothy, then stir in the apple cider, melted butter, brown sugar, and vanilla. Whisking the eggs first helps the batter come together smoother. Make sure your butter isn't piping hot or it can scramble the eggs slightly.
  3. I pour the wet ingredients into the dry ingredients and stir just until no dry streaks remain. Overmixing is the enemy here, since it makes waffles tough instead of light. A few small lumps in the batter are completely fine and even expected.
  4. While I preheat the waffle iron, I let the batter sit on the counter for about five minutes. This little rest gives the baking soda time to react with the cider's acidity. You'll actually see some tiny bubbles forming on the surface.
  5. I always preheat my waffle iron fully before adding any batter, since a cold iron leads to pale, soggy waffles. A light spray of nonstick cooking spray or a quick brush of melted butter keeps everything from sticking. Do this every round, not just the first one.
  6. I ladle the batter into the center of the hot iron, close the lid, and let it cook until golden and crisp. Most waffle irons take three to five minutes depending on size and heat setting. Resist the urge to peek too early, since lifting the lid can tear the waffle in half.
  7. Since waffle irons only make one or two at a time, I keep finished waffles on a wire rack in a 200°F oven while I finish the batch. Stacking them directly on a plate traps steam and makes them soggy. This little trick keeps every waffle just as crisp as the first one.
Notes

  • I always use fresh apple cider from a local orchard when I can, since the flavor is so much richer than the shelf-stable kind.
  • I never skip resting the batter for a few minutes, since it noticeably improves the texture.
  • I like grating my own nutmeg right before mixing, because the smell alone makes the kitchen feel like autumn.
  • I keep my waffle iron on a slightly higher heat setting for extra crispy edges, which I personally prefer over a softer waffle.
  • I double the batch and freeze the extras, since in the future I am always grateful for a quick breakfast on busy mornings.