Go Back
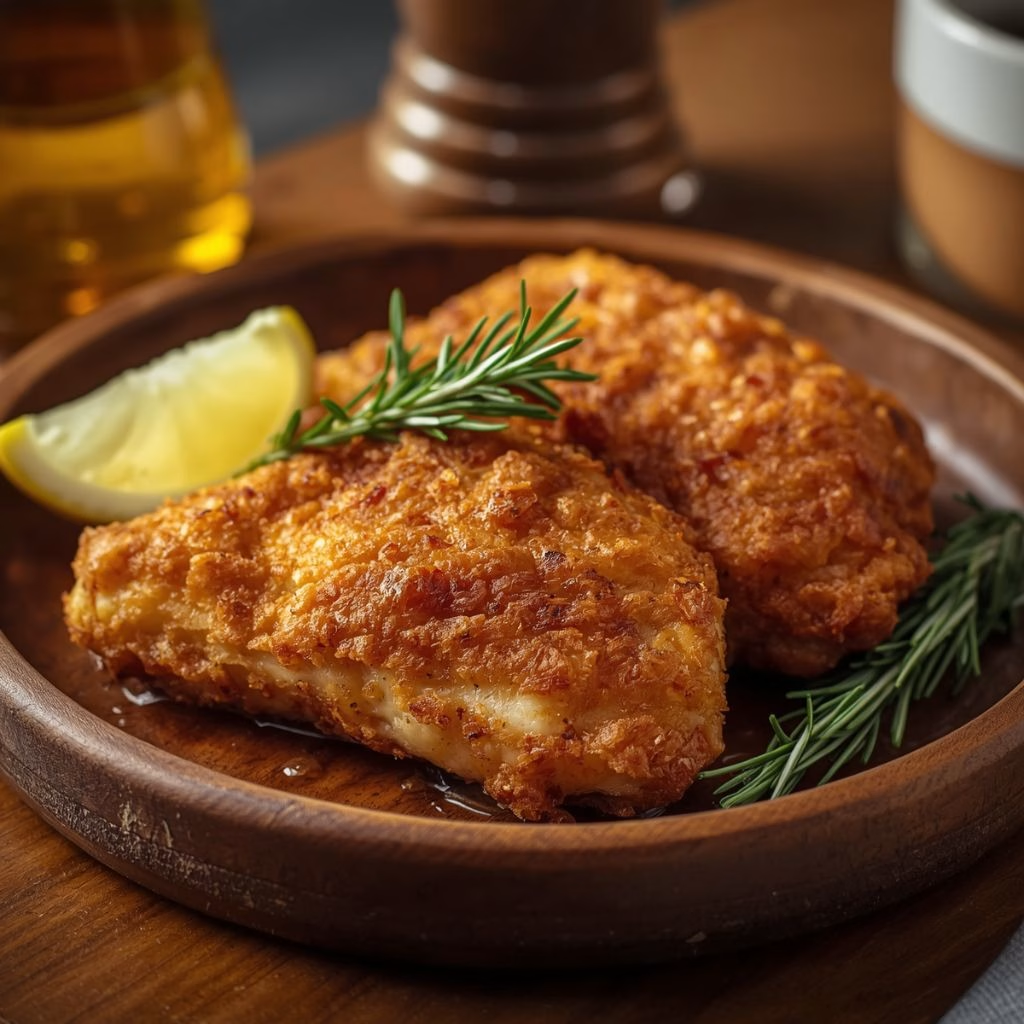
Buttermilk Fried Chicken Breast
Ash Tyrrell

Buttermilk Fried Chicken Breast

I still remember the first time I let chicken breasts soak overnight in a buttermilk bath. The difference in juiciness blew me away. Ever since then, this has become my weekend comfort-food staple whenever I want something crunchy on the outside and tender on the inside
Total Time 1 hour 30 minutes
Servings: 4

Ingredients
  

  • 1.5 lbs boneless skinless chicken breasts – the star of the dish, pounded evenly for consistent cooking
  • 1 cup buttermilk – tenderizes the meat and adds a subtle tang
  • 1 large egg – helps the marinade cling and adds richness
  • 1 tablespoon hot sauce – builds a gentle background heat adjust to taste
  • 3 teaspoons salt for marinade – seasons the chicken from the inside out
  • 1 cup all-purpose flour – forms the crispy outer shell
  • 3 teaspoons salt for flour – balances flavor in the coating
  • 1/2 teaspoon celery salt – adds a savory slightly herbal note
  • 2 teaspoons granulated garlic – gives the coating a deep savory backbone
  • 2 teaspoons paprika powder – adds color and a mild smoky sweetness
  • 1 teaspoon ground white pepper – milder and earthier than black pepper keeps the coating light-colored
  • Oil for frying I use a high smoke-point oil – choose one that can handle high heat without burning
  • Fresh parsley for garnish – adds a fresh colorful finishing touch

Method
 

  1. Grab a large bowl and whisk together the buttermilk, egg, salt, and hot sauce until fully combined. This mixture is what makes the chicken tender and flavorful all the way through. Make sure the egg is fully incorporated so the marinade coats evenly.
  2. Place the chicken breasts into the marinade, making sure each piece is fully submerged. Cover the bowl and refrigerate for at least one hour, though I often let mine sit longer. This resting time is what gives the chicken its signature juicy texture.
  3. While the chicken marinates, pour at least two inches of oil into a large, heavy pot. Heat it to exactly 350°F using a deep-fry thermometer to check. Getting this temperature right is key so the outside doesn't burn before the inside cooks through.
  4. In a separate bowl, whisk together the flour, salt, white pepper, celery salt, granulated garlic, and paprika. This blend is what gives the crust its bold, savory flavor. Stir it well so every spice is evenly distributed throughout the flour.
  5. Lift each chicken breast out of the buttermilk, letting the excess drip off before pressing it into the seasoned flour. Coat every side thoroughly, pressing gently so the flour sticks well. A good, even coating is what creates that satisfying crunch.
  6. Carefully lower the coated chicken into the hot oil, frying for 15-20 minutes and flipping occasionally. I never crowd the pot, frying just two pieces at a time so the oil stays hot. Check that the internal temperature reaches at least 165°F before removing.
  7. Transfer the fried chicken to a wire rack or plate lined with paper towels to soak up extra oil. Blotting it this way keeps the crust crisp instead of soggy. Finish with a sprinkle of fresh parsley before serving.
Notes

  • I never skip the deep-fry thermometer guessing the oil temperature almost always ends in either soggy or burnt chicken for me.
  • I like marinating my chicken overnight when I have the time; it makes the inside noticeably more tender.
  • I always blot my fried chicken with paper towels right after frying, which keeps the coating extra crispy.
  • I press the flour onto the chicken firmly instead of just dredging it, since that gives me a thicker, crunchier crust.
  • I keep my oil topped up between batches so the temperature doesn't drop too much from one fry to the next.