Go Back
Candy Apple Bar Recipe
Ash Tyrrell

Candy Apple Bar Recipe

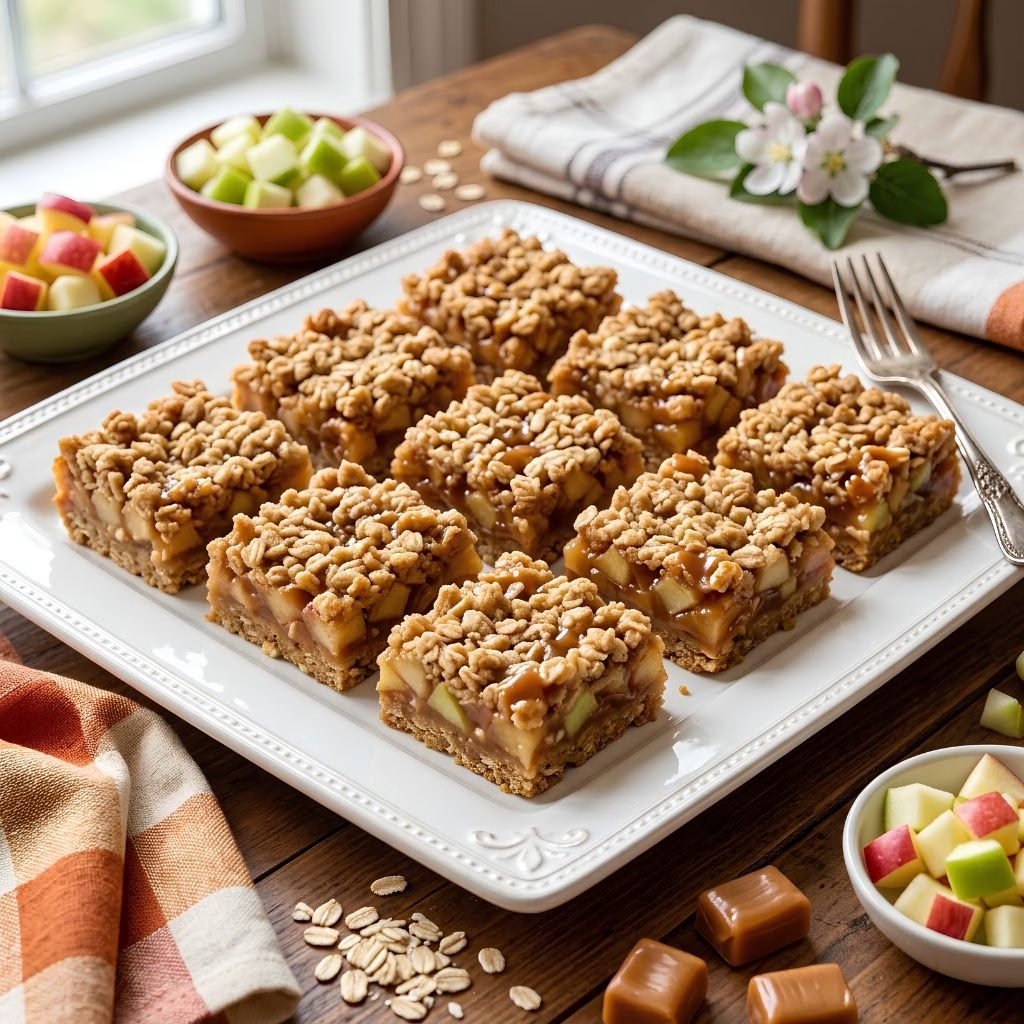
I still remember the first time I pulled a pan of these candy apple bars out of the oven my whole kitchen smelled like a county fair. I've made this old-fashioned apple squares recipe more times than I can count, and it never fails to disappear within a day.
Prep Time 20 minutes
Cook Time 40 minutes

Ingredients
  

  • 3/4 cup shortening plus extra for greasing the pan — this keeps the crust tender instead of tough
  • 1 cup light brown sugar firmly packed — gives the base that deep, caramel-like sweetness
  • 1 large egg — binds the crust together so it holds its shape when sliced
  • 1 1/2 cups all-purpose flour — the backbone of the crust; spoon and level it instead of scooping
  • 1/2 teaspoon salt — balances all the sweetness in the bars
  • 1/2 teaspoon baking soda — gives the crust just a little lift without making it cakey
  • 1 3/4 cups quick oats uncooked — adds that classic chewy, old-fashioned texture
  • 3 to 4 Granny Smith or Golden Delicious apples peeled and chopped — tart apples hold their shape best during baking
  • 2 tablespoons all-purpose flour for the filling — soaks up extra apple juice so the bars don't turn soggy
  • 1 teaspoon lemon juice — keeps the apples bright and stops them from browning
  • 1 bag 14 oz soft caramel candies, unwrapped — the gooey, melty layer that makes this bar irresistible

Method
 

  1. Start by heating your oven to 350°F so it's fully ready when your crust is. Grease your 13×9×2-inch baking pan generously with shortening, making sure to coat the corners. This step keeps the finished bars from sticking and tearing when you go to cut them later.
  2. In a large bowl, beat the shortening and brown sugar together until the mixture turns light and fluffy. Add the egg and beat again until it's fully blended in. This creamed base is what gives the crust its soft, cookie-like texture once baked.
  3. Stir together the flour, salt, and baking soda in a separate bowl, then add it gradually to your creamed mixture. Fold in the quick oats last, mixing just until everything is evenly combined and slightly crumbly.
  4. Set aside about 1 1/4 cups of the oat mixture for your topping later. Press the rest firmly into your prepared pan to form an even bottom layer. Bake this base alone for 10 minutes so it firms up before the apples go on.
  5. While the crust bakes, toss your chopped apples with the 2 tablespoons of flour and the lemon juice in a bowl. This coating helps the apples release less liquid, so your bars stay firm instead of watery. Spread the apple mixture evenly over the warm, partially baked crust.
  6. Place your unwrapped caramel candies in a microwave-safe bowl and heat in 1-minute bursts, stirring between each, until smooth and pourable. Drizzle the melted caramel evenly over the apple layer, letting it settle into every gap. Sprinkle your reserved oat topping over the caramel, pressing it down lightly.
  7. Bake the assembled bars for 30 to 40 minutes, until the apples are tender and the top is golden brown — just don't overbake, or the caramel can turn too hard. Run a knife along the pan edges while it's still warm to loosen the caramel. Let the bars cool completely before slicing into neat 1 1/2-inch squares.
Notes

  • I always use tart apples like Granny Smith because they hold their shape and don't turn mushy under the caramel.
  • I chop my apples small and uniform so every bar gets an even bite of fruit.
  • I let the crust pre-bake the full 10 minutes. Skipping this step left me with a soggy bottom once.
  • I never rush the cooling step; cutting warm bars makes the caramel ooze out and the slices fall apart.
  • I line my pan with parchment paper now, which makes lifting the whole slab out for slicing so much easier