Go Back
Crispy Baked Chicken Nuggets Recipe
Ash Tyrrell

Crispy Baked Chicken Nuggets Recipe

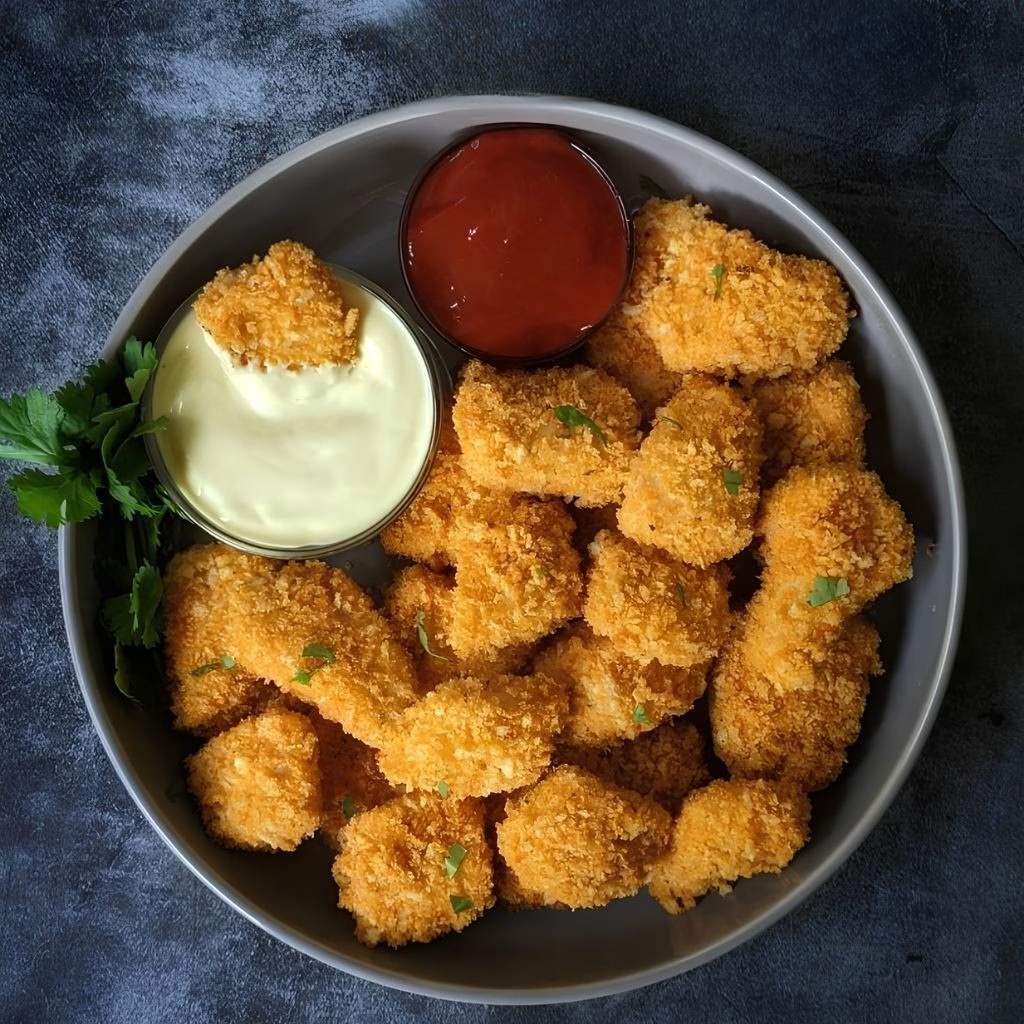
I still remember the first time I pulled a tray of these crispy baked chicken nuggets out of the oven and realized I'd never buy the frozen bag again. I wanted something that tasted like my favorite fast food nuggets, minus the deep fryer and the guilt.
Prep Time 20 minutes
Cook Time 18 minutes
Servings: 4

Ingredients
  

  • 1 lb 500g boneless, skinless chicken breast (about 3 medium pieces) – the base of your nuggets; cut it into even, bite-sized chunks so everything cooks at the same rate
  • 1 1/4 cups 75g panko breadcrumbs – gives that big, airy crunch you can't get from regular fine breadcrumbs
  • 1/3 cup 70g all-purpose flour – the first coating layer that helps the egg wash stick properly
  • 1/3 cup 30g parmesan, freshly grated – always grate it fresh, pre-shredded parmesan won't melt or crisp the same way
  • 2 large eggs beaten – acts as the glue that holds the breadcrumb coating onto the chicken
  • 1 heaped tbsp butter – used to toast the panko so it turns deep golden before it even hits the oven
  • 1 tsp paprika – adds warm color and a mild smoky note
  • 1 tsp salt – essential for seasoning the chicken itself not just the coating
  • 1/4 tsp onion powder – rounds out the savory base flavor
  • 1/4 tsp garlic powder – classic nugget flavor that pairs perfectly with the parmesan
  • 1/4 tsp black pepper – a little sharpness to balance the richness
  • 1/8 tsp cayenne pepper – just enough for a background kick not real heat
  • Oil spray as needed – helps the coating turn golden brown without deep frying

Method
 

  1. In a small bowl, stir together the paprika, salt, onion powder, garlic powder, black pepper, and cayenne pepper. I like making this first so it's ready to sprinkle into both the flour and the breadcrumb bowls later. Keeping it in one place also means the seasoning stays consistent throughout the batch, so no nugget tastes bland compared to another.
  2. Melt the butter in a large skillet over medium heat, then stir in the panko breadcrumbs. Keep stirring for about five minutes until they turn a deep golden color, then remove them from the heat to cool. This one step genuinely transforms the texture, giving you crispy chicken nuggets that stay crunchy even after they've cooled down slightly.
  3. Dice the chicken breast into bite-sized pieces and lay them on a cutting board. Cover with plastic wrap and gently pound each piece flat with a rolling pin or mallet. This tenderizes the chicken, speeds up cooking, and gives you that classic, familiar nugget shape everyone recognizes from childhood.
  4. Line up three bowls: one with flour and a pinch of the spice mix, one with beaten eggs, and one with the cooled toasted breadcrumbs, parmesan, and the rest of the seasoning. Dip each chicken piece through flour, then egg, then breadcrumbs, pressing gently so the coating sticks all the way around with no bare spots.
  5. Place the coated nuggets on an oiled wire rack set over a baking tray, then lightly mist the tops with oil spray. Bake at 390°F (200°C) for around 15 minutes, or until deep golden and cooked through. If you're after homemade chicken nuggets pan fried instead, you can finish them in a lightly oiled skillet for a couple of minutes per side rather than using the oven.
  6. Once out of the oven, leave the nuggets on the wire rack for a few minutes before digging in. This lets built-up steam escape from underneath the coating, which keeps the crust crispy instead of turning soggy on the bottom.
Notes

  • I always toast the panko in butter first skipping this step is the single biggest reason homemade nuggets end up soft instead of crunchy.
  • I use a wire rack instead of laying the nuggets flat on the tray, since it lets air move underneath and crisps both sides evenly.
  • I make sure my chicken pieces are roughly the same thickness after pounding, otherwise the thinner ones dry out before the thicker ones finish cooking.
  • I press the breadcrumbs onto the chicken with my fingertips rather than just rolling it through the bowl, which gives a much thicker, more even coating.
  • I keep one hand "wet" and one hand "dry" during the dredging process so my fingers don't get caked in clumpy bread.