Go Back
Easy Buttermilk Pie Recipe
Ash Tyrrell

Easy Buttermilk Pie Recipe

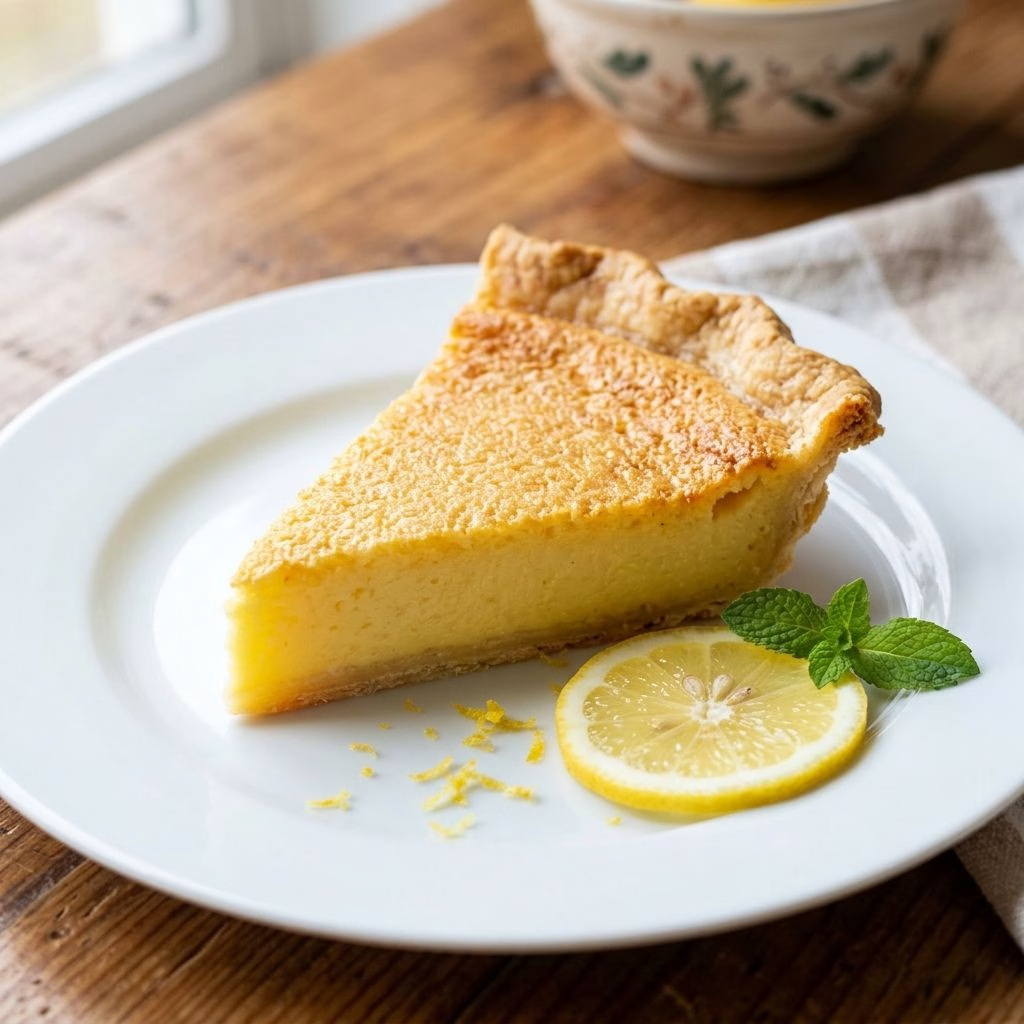
I made this pie on a quiet Sunday, and the whole kitchen smelled like warm butter and vanilla. The filling turned out silky, sweet, and just tangy enough to keep me reaching for another bite. It is an old fashioned buttermilk pie recipe easy enough for a beginner, with no fancy steps at all.
Prep Time 5 minutes
Cook Time 55 minutes

Ingredients
  

  • 1 9-inch unbaked pastry crust: Use store-bought or homemade, but keep it unbaked.
  • ½ cup softened butter: Soft butter creams smoothly and gives a rich tender filling.
  • 1¼ cups sugar: This sweetens the pie and creates that classic caramelized top.
  • 3 tablespoons all-purpose flour: It thickens the filling so the slices hold together.
  • ¼ teaspoon salt: A pinch balances the sweetness and sharpens the flavor.
  • 3 large eggs: They set the custard so use them at room temperature if you can.
  • 1 cup buttermilk: Real buttermilk gives the signature tang so skip the watery stuff.
  • 1 tablespoon lemon juice: Fresh tastes brighter but bottled works in a pinch.
  • 1 teaspoon vanilla extract: It adds warm rounded flavor to every bite.

Method
 

  1. Add the softened butter and sugar to a large bowl. Beat them together until the mixture looks creamy and lightly fluffy. This takes about two minutes, and it builds the smooth base of the filling.
  2. Add the flour, salt, and eggs to the bowl. Mix until the batter is smooth and no lumps remain. Scrape down the sides once so nothing hides at the bottom.
  3. Pour in the buttermilk, lemon juice, and vanilla. Stir gently until everything is combined. Do not panic if it looks curdled, because that is completely normal and it bakes up smooth.
  4. Set your unbaked crust on a cookie sheet. Pour the filling in slowly and stop just below the rim. The filling puffs as it bakes, so the sheet will catch any spills.
  5. Slide the pie into a 350°F oven and bake for 50 to 55 minutes. The top should be lightly golden and the edges mostly set. The center should still jiggle a little, since it firms up as it cools.
  6. Move the pie to a cooling rack and let it rest for about 30 minutes. Cover it loosely and refrigerate for 2 to 3 hours. This chilling time is what gives you neat, clean slices.
  7. Score the top with a large serrated knife first. Then cut through with a paring knife and wipe the blade between slices. Lift each piece with a pie server and serve it cold, warm, or at room temperature.
Notes

  • I always soften the butter on the counter, because cold butter leaves tiny lumps in the filling.
  • I use real buttermilk, since it gives the pie that gentle tang people expect from a classic.
  • I shield the crust edges with foil as soon as they turn golden, so the filling can finish baking.
  • I place the pie pan on a cookie sheet before filling it, which saves me from a messy oven.
  • I move the rack up a little near the end when I want a darker, toasty top.
  • I let the pie chill fully before slicing, because patience gives me the cleanest wedges.
  • I bake it on the middle rack for the first half, which keeps the bottom crust crisp and the top evenly golden.
  • I rotate the cookie sheet once during baking if my oven runs hot on one side, so the pie browns evenly.
  • I use fresh lemon juice when I have it, since it makes the flavor taste brighter.