Start by rinsing your kiwis under cool water and patting them completely dry with a paper towel. Peel each one carefully using a small paring knife or vegetable peeler, working around the fruit in short strokes. Drying the fruit well matters here, since any extra moisture will stop the chocolate from sticking later.
Lay each peeled kiwi on its side and slice it into rounds about a quarter-inch thick. Try to keep the thickness consistent so every ghost shape comes out looking uniform on the tray. Thinner slices tend to tear when you press the cutter, so don't go too delicate here.
Press your mini ghost cookie cutter firmly into the center of each kiwi round. Wiggle it gently side to side instead of forcing it straight down, which helps the fruit release cleanly. Save the trimmed edges in a bowl since they're perfect for snacking while you work.
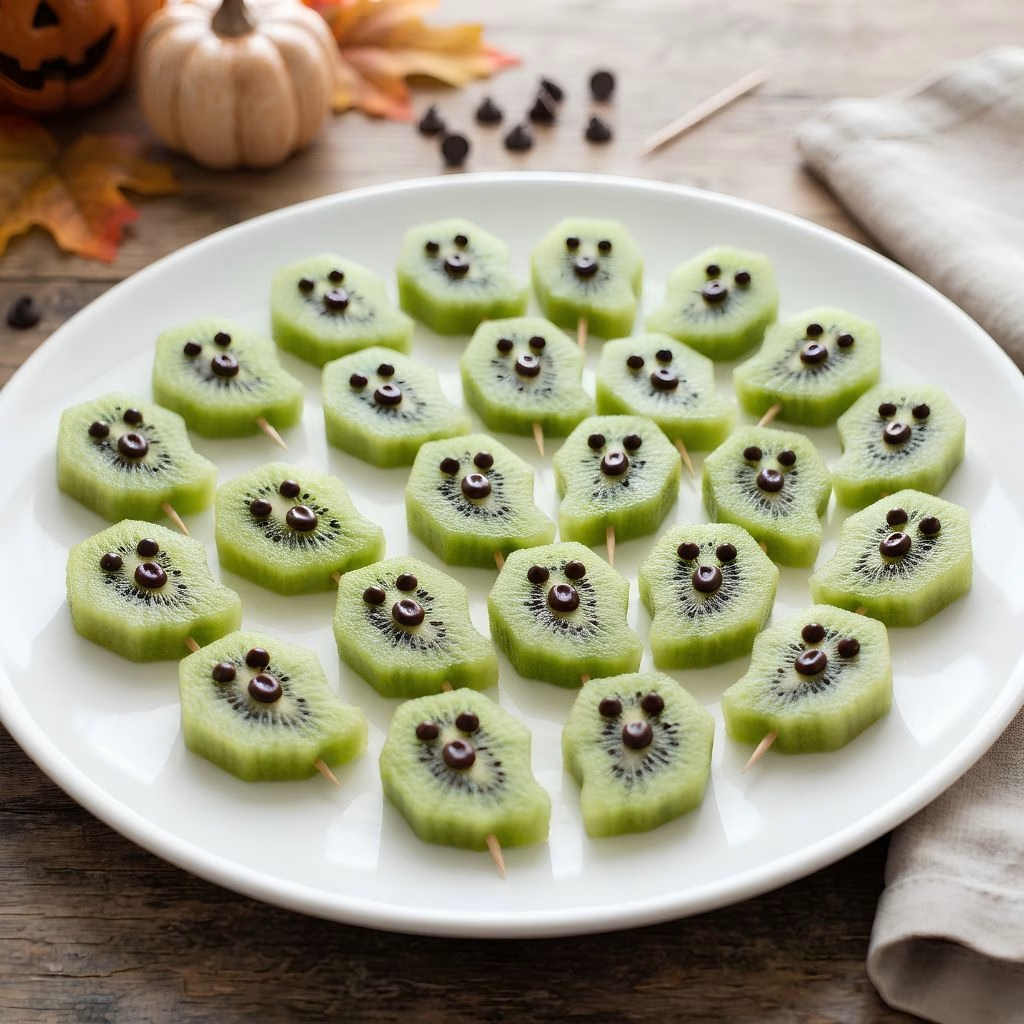
Dip a toothpick into the melted chocolate and dot on two small eyes and an "oooh" shaped mouth for each ghost. If you want a true pale look, quickly dip just the top edge of each shape into melted white chocolate first. Let the kids take over this part, since every ghost ends up with its own goofy personality
Place your decorated kiwi ghosts on a parchment-lined tray and pop them in the fridge for about 10 minutes. This short chill helps the chocolate firm up so it won't smear when you move the ghosts onto a serving plate. Skipping this step usually means messy, sliding decorations.
Once the chocolate has set, arrange your ghosts on a platter or skewer a few onto toothpicks for easy grabbing. Serve them right away while the fruit is still cool and crisp for the best texture. They're ready to haunt your Halloween spread in under fifteen minutes total.