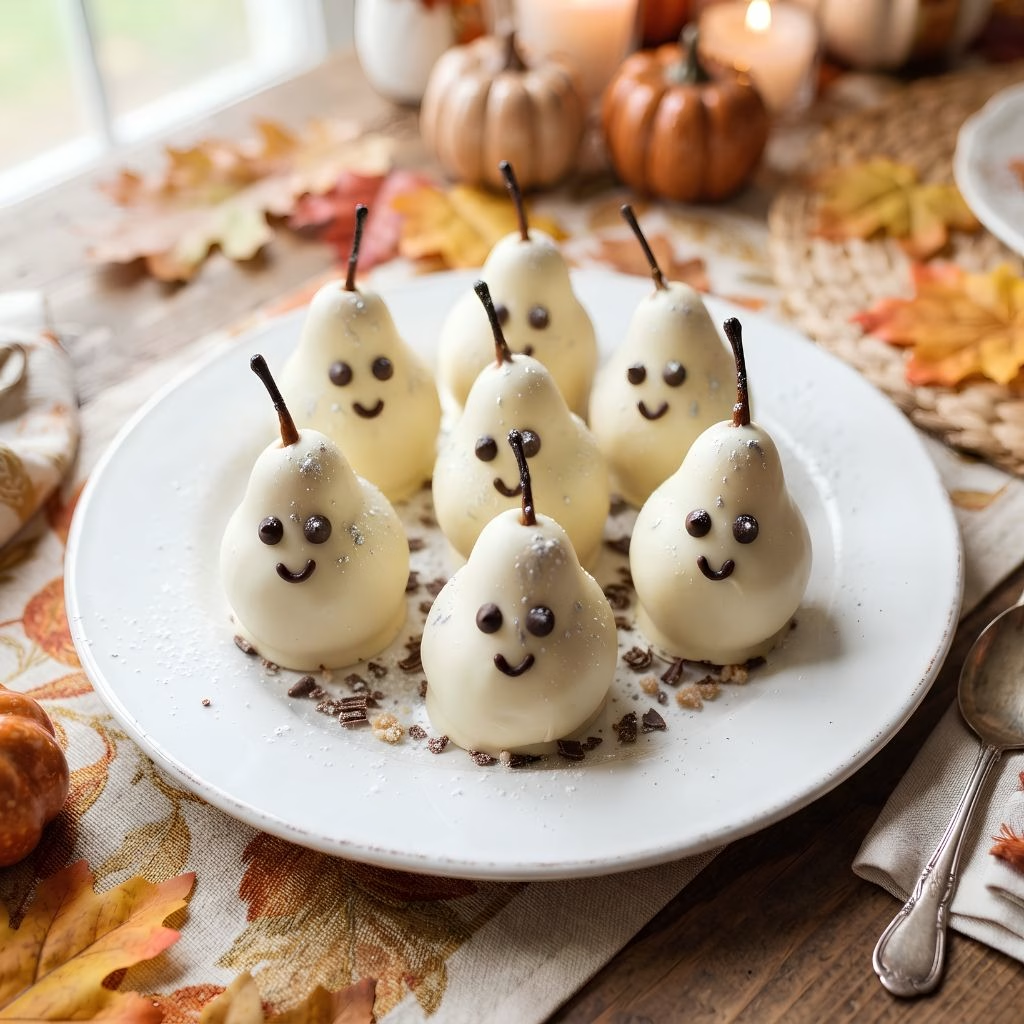
I start by washing each pear and patting it completely dry, since any leftover moisture stops the chocolate from sticking properly. I leave the stems on because they make the pears look even more charming once dressed up as ghosts. If I'm using sticks, I gently push one into the base of each pear so it has a steady handle. This small step makes the dipping stage so much neater and mess-free.
Next, I set up a simple double boiler by placing my heatproof bowl over a saucepan of barely simmering water, making sure the bowl doesn't touch the water. I add the white chocolate and stir slowly until it turns completely smooth and glossy. If the mixture feels too thick, I stir in a spoon of coconut oil to loosen it up. Patience here really pays off, since rushed melting can make the chocolate seize.
Once the chocolate is silky, I hold each pear by its stick or stem and dip it straight down into the bowl, turning it slowly to coat every side. I let the excess chocolate drip off for a few seconds before setting the pear upright on my lined baking sheet. I try to work quickly here so the chocolate stays smooth and doesn't start to set in the bowl. Doing one pear at a time keeps the whole process calm and controlled.
After all four pears are dipped, I place the baking sheet in the fridge for about 15 to 20 minutes, or until the white chocolate shell feels firm to the touch. This chilling step is what gives the ghosts their clean, solid shape instead of a drippy mess. I usually use this waiting time to melt my dark chocolate for the faces. Skipping this step is one mistake I learned the hard way not to make.
Once the white coating is set, I melt a small amount of dark chocolate and dip the tip of a toothpick into it to dot on two eyes and a small spooky mouth on each pear. I like to vary the expressions a little, giving some a surprised look and others a silly grin, which makes the batch feel more playful. I pop the tray back in the fridge for another five minutes so the faces set completely. At this point, the ghosts are ready to serve or pack away for the party.