I start by stirring the yeast into the warm water and letting it sit for about five minutes until it turns foamy on top. This step tells me the yeast is alive and ready to work. If nothing happens after five minutes, I toss it and start over with fresh yeast rather than risking flat rolls.
While the yeast rests, I whisk together the warm milk, melted butter, sugar, and the egg in a separate bowl. I like to make sure the milk isn't too hot, since that can scramble the egg or stall the yeast. Once the yeast mixture looks foamy, I pour it right into this bowl and give everything a quick stir.
Next, I add the flour and salt into my mixer bowl and pour in the wet mixture. Using the dough hook, I let it mix on low speed until a shaggy dough forms, then increase the speed slightly. The dough should pull away from the sides of the bowl but still feel a little tacky to the touch.
I knead the dough for about six to eight minutes, either in the mixer or by hand on a floured surface. I'm looking for a soft, smooth, elastic texture that springs back slightly when I poke it. This is what gives the rolls their fluffy structure once baked.
I place the dough in a lightly greased bowl, cover it with a towel, and set it somewhere warm for about an hour. I know it's ready when it has doubled in size. On cooler days, I turn my oven light on and let the dough rise inside with the door closed for a gentle, draft-free spot.
Once risen, I punch the dough down gently to release the air, then divide it into twelve equal pieces. I roll each piece into a tight little ball by cupping my hand over the dough and rolling it in small circles against the counter, which creates that smooth, rounded top.
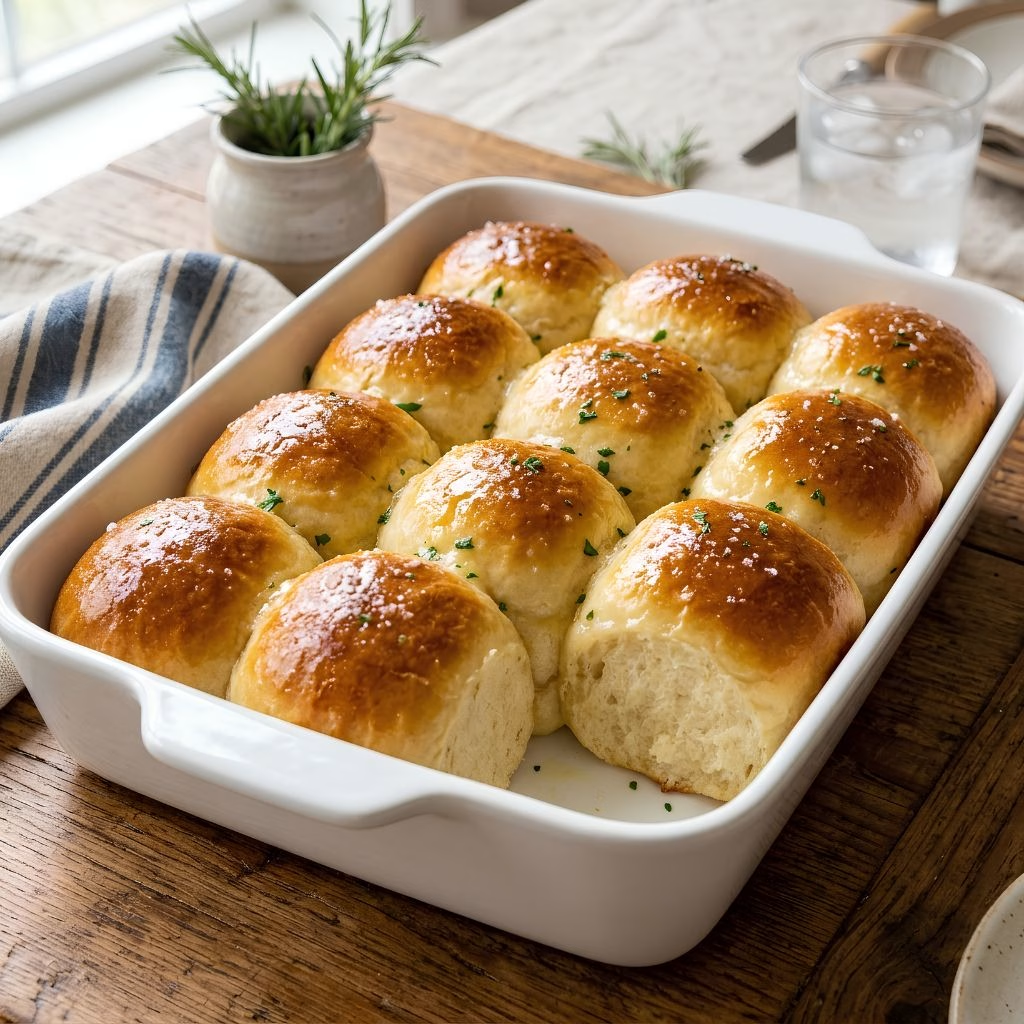
I arrange the shaped rolls in a greased baking pan, leaving a little space between them, then cover and let them rise again for about 30 to 45 minutes. They should look puffy and almost touching each other by the time they're ready for the oven.
Before baking, I brush the tops with a light egg wash for that glossy, golden finish. I bake them at 375°F for 16 to 18 minutes, until the tops are deeply golden and the rolls sound slightly hollow when tapped.
As soon as they come out of the oven, I brush the hot rolls generously with melted butter. This step is non-negotiable for me, it keeps the tops soft and adds that irresistible buttery shine everyone notices first.