Go Back
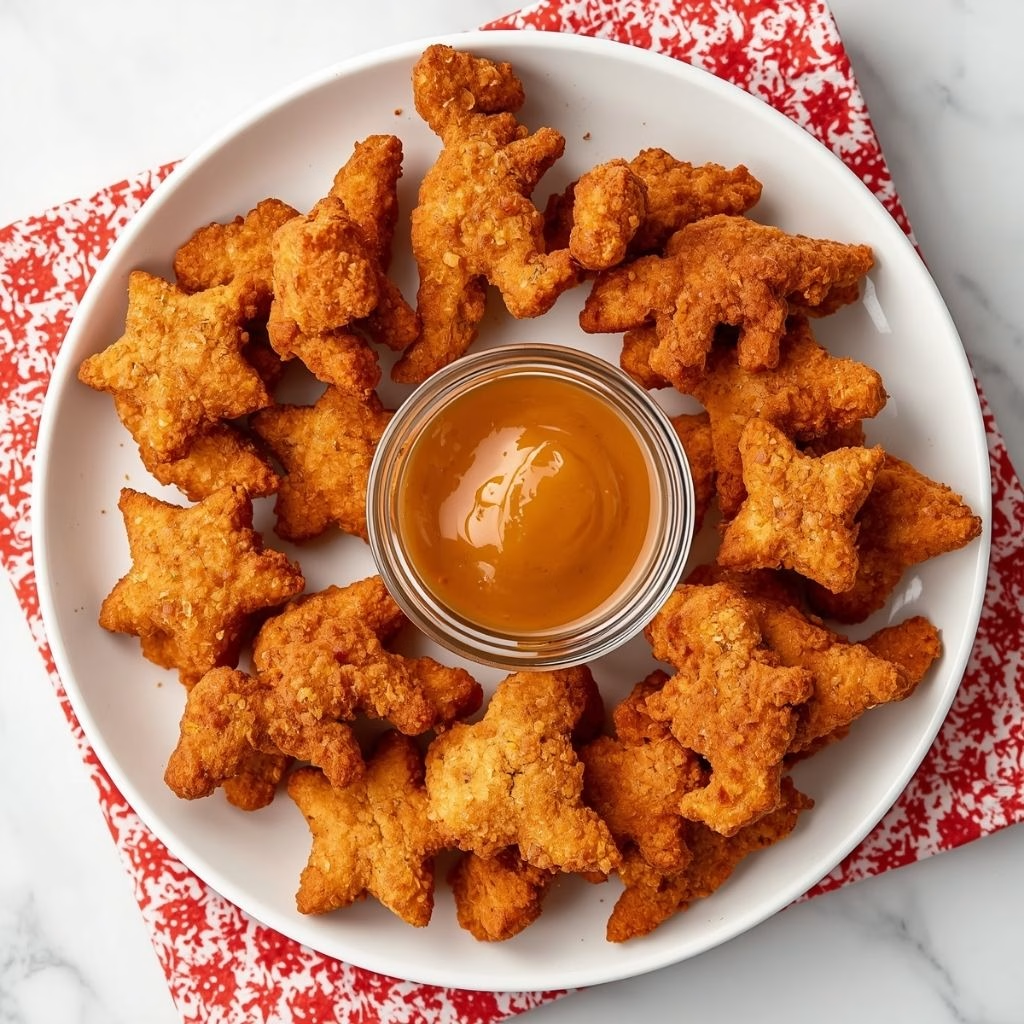
Easy Kids Chicken Nuggets Recipe
Ash Tyrrell

Easy Kids Chicken Nuggets Recipe

I started making these nuggets at home after I got tired of reading ingredient labels on the frozen store-bought kind. I wanted something I could make with my own hands, using real chicken, in about half an hour.
Prep Time 15 minutes
Cook Time 15 minutes
Servings: 4

Ingredients
  

  • 1 pound boneless skinless chicken breast, cut into small cubes – the base of the recipe, and fresh chicken always beats frozen for texture
  • 1 large egg beaten – helps the breadcrumbs cling to every piece
  • 1 tablespoon water – loosens the egg wash slightly so it coats more evenly
  • 1 cup breadcrumbs or panko – panko gives a crunchier finish than regular breadcrumbs
  • 1/2 cup all-purpose flour – this thin first layer helps the egg wash stick to the chicken
  • 1/2 teaspoon garlic powder – adds savory flavor without any heat
  • 1/4 teaspoon onion powder – rounds out the flavor and works well hidden into a toddler-friendly bite
  • 1/4 teaspoon salt – use less if your kids are very young or sodium-sensitive
  • A pinch of black pepper – skip this if your toddler doesn't do well with any spice at all
  • Cooking spray or 2 tablespoons olive oil – helps the coating turn golden in the oven instead of staying pale

Method
 

  1. Start by rinsing your chicken breast and patting it completely dry with paper towels. Cut it into small, even cubes, roughly the size of a large gummy bear, since uniform pieces cook at the same rate. If your toddler is very young, cut the pieces even smaller so they're easier to chew and manage.
  2. Line up three shallow bowls: one with flour, one with the beaten egg mixed with water, and one with the breadcrumbs combined with garlic powder, onion powder, salt, and pepper. Keeping these separate and in order stops your fingers from turning into a breaded mess halfway through.
  3. Take each chicken cube and dredge it first in the flour, tapping off the excess. Dip it into the egg wash next, letting any extra drip away. Finally, press it into the breadcrumb mixture so the coating sticks on all sides. Set the coated piece on your prepared baking sheet.
  4. Once every piece is coated, spread them out on the baking sheet in a single layer with a little space between each nugget. Lightly spray or drizzle them with oil. This step is what gives you that golden, slightly crisp shell without needing to fry anything in oil.
  5. Bake the nuggets at 400°F for about 12 to 15 minutes, flipping them halfway through so both sides get color. They're done when the coating turns golden brown and the internal temperature of the chicken reaches 165°F on a meat thermometer.
  6. Let the nuggets rest on the tray for two to three minutes once they come out of the oven. This short rest keeps the coating crisp and lets the inside finish cooking gently. After that, they're ready to plate and serve while still warm.
Notes

  • I always pat the chicken completely dry before cutting it, since wet chicken makes the flour clump instead of coating evenly.
  • I press the breadcrumbs onto the chicken with my fingers rather than just rolling it, because pressing gets a much thicker, crunchier crust.
  • I use a wire rack on top of my baking sheet whenever I have one clean, since it lets air circulate underneath and I don't have to flip the nuggets halfway.
  • I keep a bowl of warm water nearby to rinse my fingers between batches, which keeps the breading station from turning into a sticky mess.
  • I always double the recipe when I make it, because these nuggets disappear fast and freeze beautifully for later.