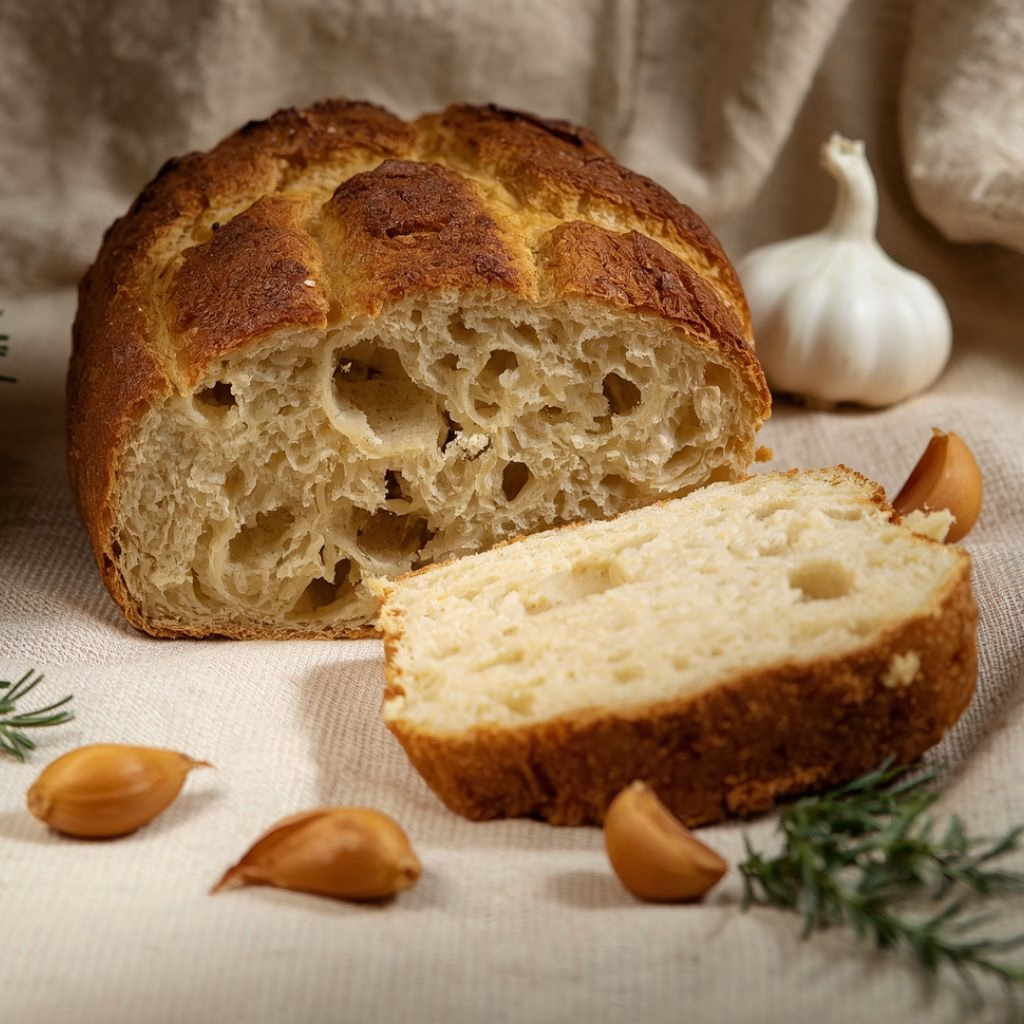
I start by preheating my oven to 375°F and lining a tray with parchment paper. I slice the tops off two heads of garlic so the cloves are exposed, then drizzle them generously with olive oil. They go into the oven for about an hour, until soft and golden. Once cooled, I squeeze the cloves right out of their papery skins.
Before I do anything else with the dough, I make sure my sourdough starter has been fed four to twelve hours earlier. It should look bubbly, active, and roughly doubled. A sluggish starter will slow down the entire fermentation, so this step really matters.
I mix my water and flour together first and let the mixture rest for 30 minutes. This is called autolyse, and it simply lets the flour fully absorb the water. It makes the dough easier to work with once the starter and salt are added.
Next, I add the active starter to the rested dough and sprinkle the salt on top. I mix everything by hand for about five minutes until it feels combined. Then I cover the bowl with a damp towel and let it rest for 30 minutes before the stretch and fold stage begins.
Over the next couple of hours, I do a series of six stretch and folds to build strength in the dough. I pull one edge up and over the center, turn the bowl, and repeat a few times each round. The first three rounds happen every 15 minutes, and the last three happen every 30 minutes.
During the second to last stretch and fold, I gently work in the cooled roasted garlic and chopped rosemary. The remaining folds distribute the flavor evenly through the dough without breaking it down too much.
Once the folds are done, I cover the dough and let it rise until doubled. This can take anywhere from six to twelve hours depending on the room temperature and how mature my starter is. A warmer spot speeds things up, while a cooler pantry slows the process down.
When the dough has doubled, I turn it onto a lightly floured counter and shape it into a ball. I let it rest uncovered for 15 to 20 minutes so a thin skin forms on the surface, which keeps it from sticking later.
I shape the dough into a tight boule and place it seam side up into a floured banneton. Then I cover it and refrigerate for 12 to 15 hours. This long, cold rest is what gives the crust that beautiful scoring pattern later.
I preheat my Dutch oven at 500°F for a full hour before baking. The cold dough goes in on parchment paper, gets a quick dusting of flour, and I score the top with a lame. I bake covered for 20 minutes, then uncovered at 475°F for another 25 minutes until deeply golden.
As tempting as it is, I always let the loaf cool completely on a wire rack before slicing. Cutting too early lets steam escape and can leave the crumb gummy instead of light and airy.