I always start by preheating my oven to 350°F so it's fully ready when my crust mixture is done. While it heats, I lightly grease my mini muffin pan so the bites release cleanly later. This small step saves me from any sticking frustration once the bites are baked and set.
I crush my graham crackers into fine crumbs using a food processor, though a zip-top bag and rolling pin works just as well. Then I stir the crumbs together with powdered sugar and melted butter until everything looks like damp sand. I want the mixture to hold its shape when I press it between my fingers.
I spoon the crumb mixture evenly into each cup of my mini muffin pan, using about a tablespoon per cup. I press down firmly with my fingers or the back of a small spoon to form a shallow, compact crust. Getting this layer tight now keeps my bites from crumbling apart later.
I slide the pan into my preheated oven and bake the crusts for 4 to 5 minutes, just until the edges turn a light golden color. I keep a close eye on them since mini portions bake fast and can overcook quickly. While they bake, I break my chocolate bars into rectangles sized to fit each cup.
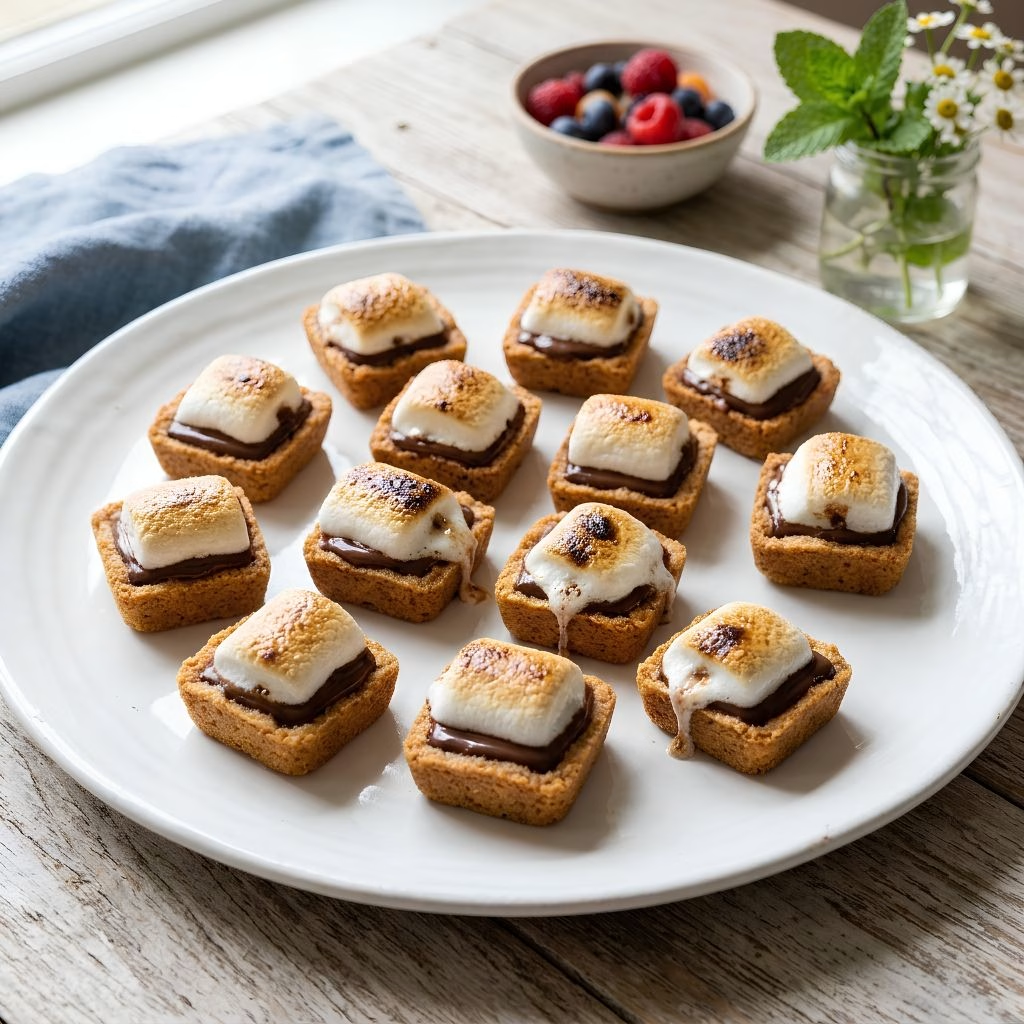
As soon as the crusts come out, I place one chocolate rectangle into each warm cup so it starts softening right away. Then I top each one with a marshmallow half, cut-side down, pressing it gently onto the chocolate. The residual heat from the crust gets everything melting beautifully.
If I want that classic toasted marshmallow look, I pop the pan back into the oven on broil for 1 to 2 minutes, watching constantly. Marshmallows go from golden to burnt in seconds under a broiler, so I never walk away during this step. Once they're bronzed and puffy, I pull the pan out immediately.
I let the s'mores bites cool in the pan for about 5 minutes so the chocolate can firm up slightly before I move them. Using a small offset spatula, I gently lift each bite out of its cup without pressing into the gooey marshmallow top. From there, they're ready to serve warm or at room temperature.