Go Back
Halloween Chocolate Bark Recipe
Ash Tyrrell

Halloween Chocolate Bark Recipe

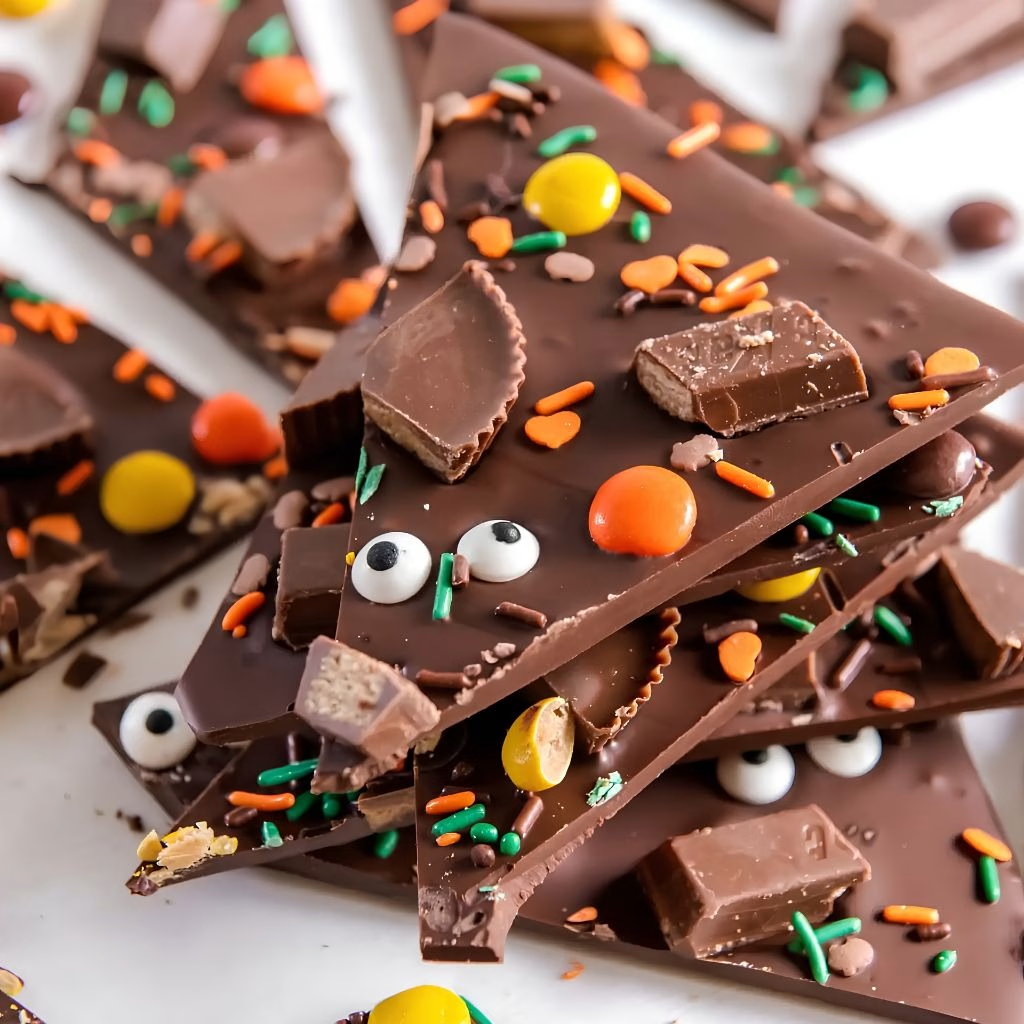
I make this Halloween chocolate bark every single year, and it never fails to disappear within a day. It started as a way to use up leftover Halloween candy, and now it's become one of my favorite no-bake treats for the whole spooky season.
Prep Time 10 minutes
Cook Time 10 minutes
Servings: 12

Ingredients
  

  • Semisweet or bittersweet chocolate 1 pound, chips or chopped bars – this is the base of the bark, so pick a chocolate you genuinely enjoy eating on its own.
  • Candy corn ⅓ cup – this is what gives the bark that classic Halloween bark look and a little chewy bite.
  • Halloween sprinkles and candy eyeballs ¼ cup total – I like mixing sizes of eyeballs so the bark looks more playful once it's broken apart.
  • Pretzels optional, a small handful – I add these when I want a salty crunch against the sweet chocolate.
  • Leftover Halloween candy chopped (optional, ½ cup) – this is my favorite way to use up extra M&Ms, Reese's Pieces, or candy bars sitting in the pantry.
  • Chopped nuts like almonds or peanuts optional, ¼ cup – nuts add texture, but I skip these when I know kids will be eating the bark.
  • Flaky sea salt optional, a light pinch – a tiny sprinkle right at the end balances out all that sweetness.

Method
 

  1. I start by lining a rimmed baking sheet with parchment paper, pressing it down so it lays flat against the pan. This step matters more than it seems, because it's what lets me lift the finished bark right off the pan later. I skip this step at my own risk, since chocolate sticks to bare metal almost instantly.
  2. Next, I melt my chocolate using a double boiler, stirring it often so it doesn't scorch on the bottom. If I'm short on time, I use the microwave instead, heating it in 15-second bursts and stirring between each one. I stop microwaving as soon as most of the chocolate looks melted, since the residual heat finishes the job.
  3. Once my chocolate is smooth, I pour it straight onto the prepared pan and spread it out with an offset spatula. I aim for a layer about a quarter to a half inch thick, since anything thinner tends to snap into oddly shaped shards. This step only takes me a minute or two, so I move quickly.
  4. While the chocolate is still warm and glossy, I immediately scatter my candy corn, sprinkles, and eyeballs over the top. I like pressing the toppings down gently so they stick rather than roll off once the chocolate hardens. This is the part I let my kids help with, since there's no wrong way to sprinkle.
  5. Finally, I leave the pan at room temperature for about two hours, or pop it in the fridge for around 30 minutes if I'm in a hurry. Once it feels completely firm to the touch, I break it into rustic pieces with my hands or a sharp knife. I always find the fridge method faster, but the flavor and texture end up the same either way.
Notes

  • I always chop my toppings before I even start melting the chocolate, since I only have a short window before it firms up.
  • I've found that using real chocolate bars instead of chips gives me a smoother, glossier finish once the bark sets.
  • I never walk away while melting chocolate in the microwave, because it goes from perfect to seized in seconds.
  • I like to work on a completely flat surface so my chocolate layer sets evenly instead of pooling on one side.
  • I press my heavier toppings, like pretzels or nuts, in slightly deeper so they don't fall off when I break the bark apart.