Start by rinsing every piece of fruit under cool water, even the ones you're only slicing on the outside. Pat everything dry with a paper towel so the platter doesn't end up soggy or watery. Dry fruit also holds its shape and color much better once it's sitting out at a party.
Cut your strawberries, kiwi, apple, and banana into even, bite-sized pieces so kids can grab them easily. I like lining up each fruit in its own small bowl before I start building the tray. This step alone saves so much time once you're ready to assemble the whole platter.
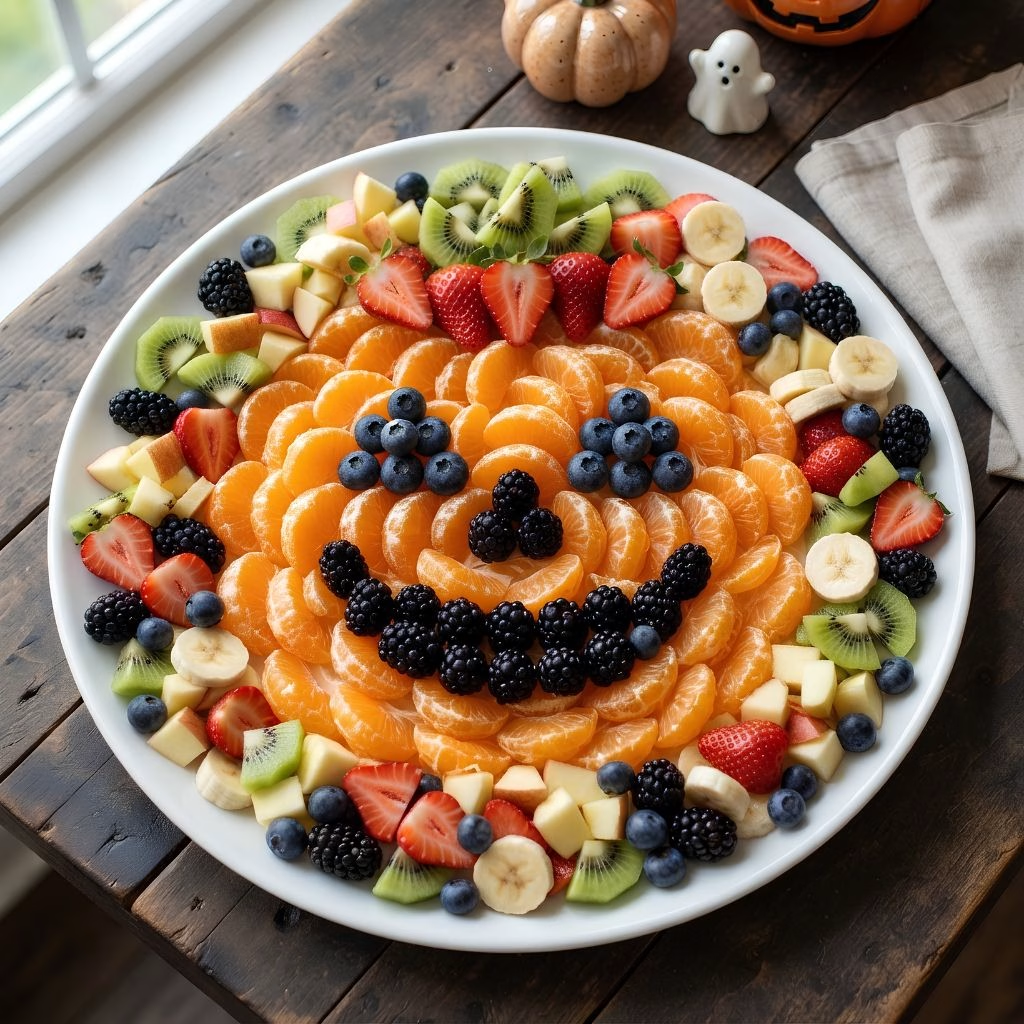
Decide whether you want a pumpkin face, a spooky spiderweb, or just a colorful mixed tray. I personally love doing a big pumpkin face using orange segments for the face and grapes for the eyes. This is the step where the fun halloween fruit name ideas really come to life on the platter.
Start with your largest fruit, like orange segments or pineapple chunks, to fill in the main shape first. Spread them close together so there are no awkward gaps once you add the smaller details. This base layer is what gives the whole platter its structure and color.
Use grapes, blueberries, and blackberries to create eyes, a nose, or a spiderweb pattern on top of the base. These smaller fruits are perfect for fine details since they're easy to place precisely. Take your time here, since this step is what really makes the platter look festive.
Go back over the tray and tuck smaller fruit pieces into any open spaces you notice. This keeps the platter looking full and colorful instead of patchy or sparse. It also means every bite a kid grabs will have a good mix of fruit.
Pop the finished platter in the fridge for about 10 minutes if you're not serving it right away. This keeps the fruit crisp and cool, especially if the party room is warm. Just add banana slices right before serving so they stay fresh and don't brown