Line a 9x13-inch pan with parchment paper and give it a light spray of cooking spray. This step matters more than it seems, because rice krispie mixture is incredibly sticky once it sets. A properly lined pan means you can lift the whole slab out in one clean piece.
Add the butter and mini marshmallows to a large microwave-safe bowl. Microwave for about two minutes, then stir until smooth. If there are still lumps, heat it for another 30 to 60 seconds and stir again until fully melted.
Pour the rice krispies cereal into the melted marshmallow mixture and stir until every piece is coated. Work quickly here, because the mixture starts firming up as it cools, and you want an even coat on all the cereal.
Transfer the mixture into your prepared pan and press it into an even layer. I like to lightly grease the back of a spoon or use the empty butter wrapper to press it down without sticking. Let it cool completely before cutting.
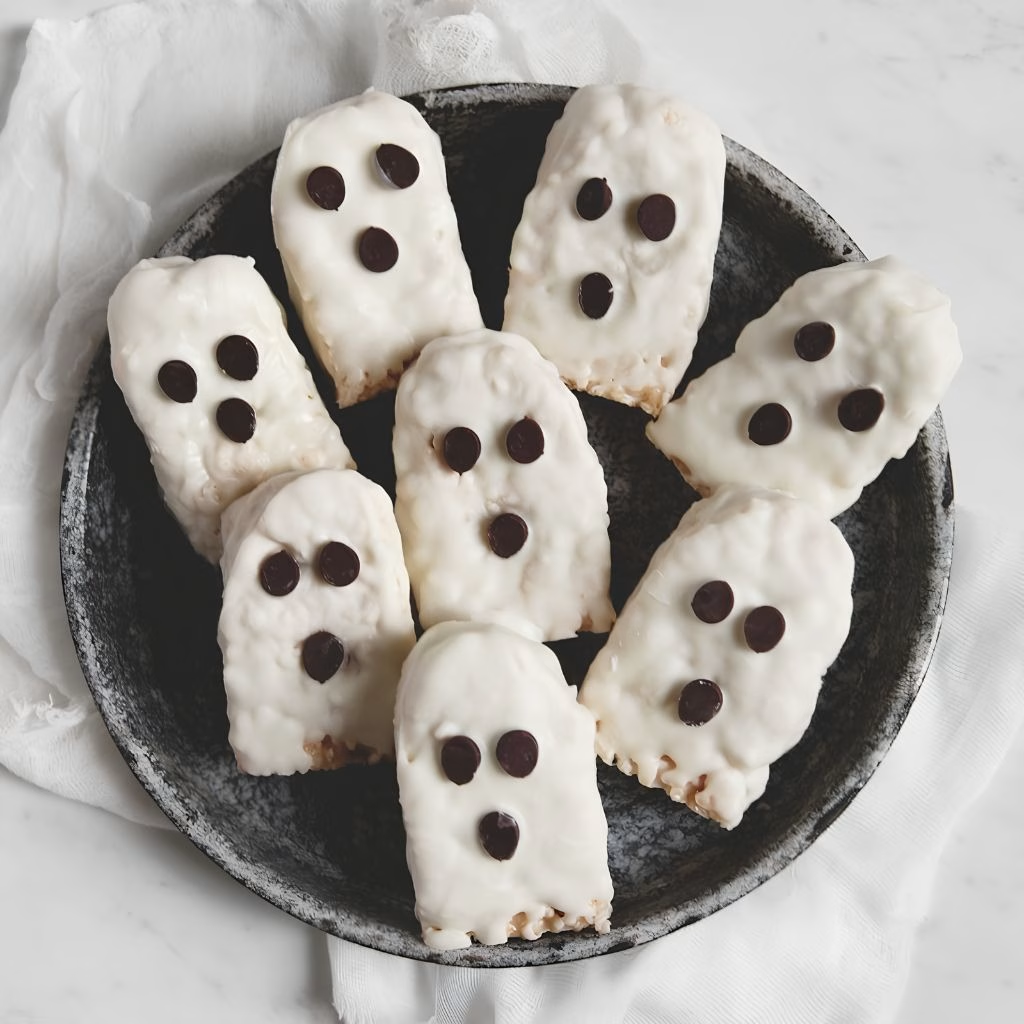
Once cooled, cut the slab into rectangles first, then round off one end of each bar to form a rough ghost silhouette. You don't need to remove much cereal to get that classic ghost shape, just a gentle curve at the top.
In a microwave-safe bowl, combine the white chocolate chips with vegetable oil. Microwave in 20-second bursts, stirring between each, until fully smooth. Going slow here prevents the chocolate from seizing or turning grainy.
Dip each ghost-shaped bar into the melted white chocolate, using a spoon to help coat any uneven spots. Let the excess chocolate drip off before setting the bar down, so you avoid a thick, clumpy pool at the base.
While the white chocolate coating is still wet, press two mini chocolate chips onto each treat for eyes, and add a third for a little "o" shaped mouth if you want an extra surprised expression. This is the step my kids fight over doing.
Place the finished ghosts on a wire rack or wax paper and let them sit at room temperature until the chocolate coating hardens completely. This usually takes about 15 to 20 minutes depending on your kitchen's temperature.