Start by preheating your oven to 350°F and greasing your cake pans well so nothing sticks later. In a medium bowl, whisk together the flour, baking powder, baking soda, and salt, then set it aside. In a large bowl, cream the butter and sugar until the mixture turns pale and fluffy, which usually takes about three minutes on medium speed.
Add the eggs one at a time to the butter mixture, beating well after each addition, then stir in the vanilla extract. Alternate adding the flour mixture and milk into the batter, starting and ending with the dry ingredients, mixing just until combined. Overmixing at this stage is what makes cakes turn out dense, so stop as soon as the streaks of flour disappear.
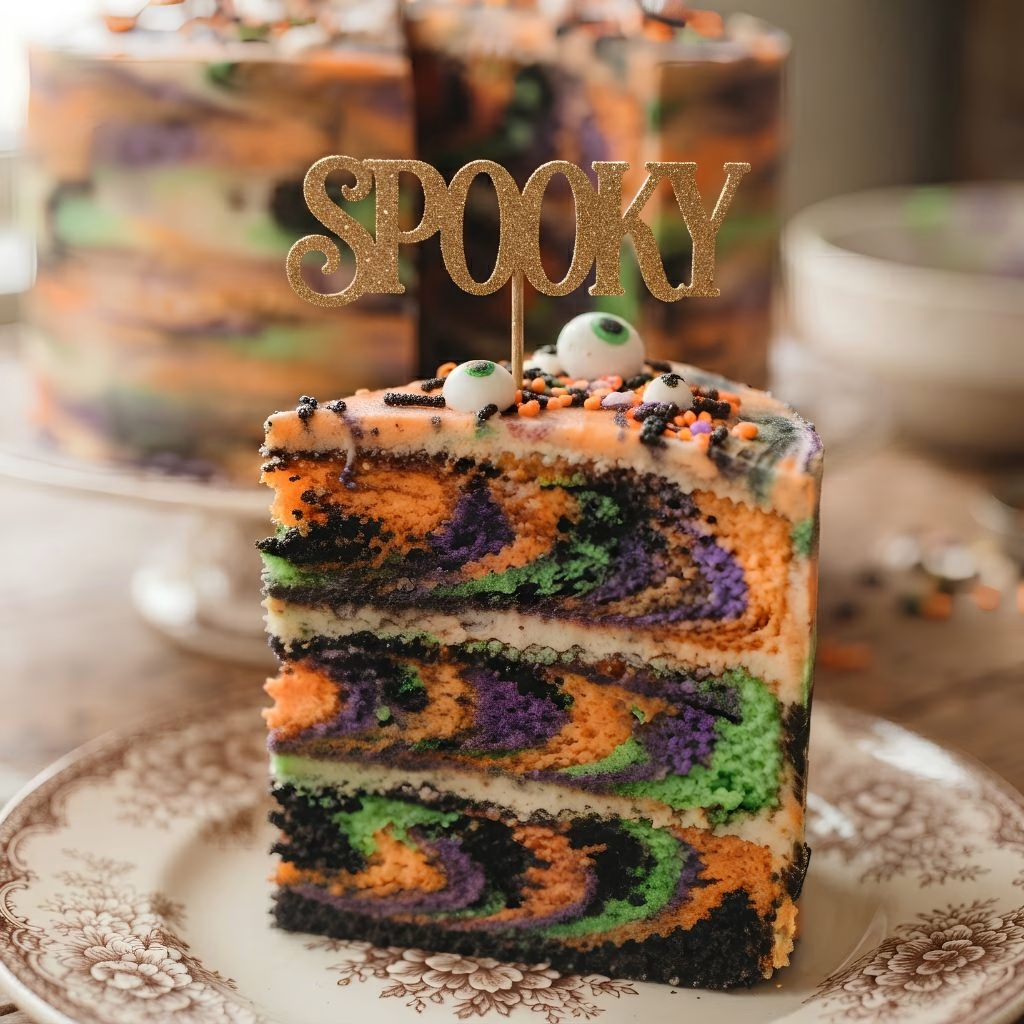
Split the batter evenly into four separate bowls, one for each Halloween color you're using. Add a few drops of gel food coloring to each bowl and stir until the color is fully blended and vibrant. I like using orange, purple, green, and black because they scream Halloween, but you can adjust the shades to whatever theme you're going for.
Spoon small dollops of each colored batter into your prepared pan, alternating colors as you go instead of pouring one on top of the other. Keep layering until all the batter is used, letting the colors pool and blend slightly on their own. Resist the urge to smooth it out too much, since the natural swirls are what create that classic tie dye look.
Place the pan in the preheated oven and bake for 30 to 35 minutes, or until a toothpick inserted into the center comes out clean. Every oven runs a little differently, so start checking around the 28-minute mark to avoid overbaking. Once done, the top should spring back lightly when you touch it.
Let the cake rest in the pan for about 15 minutes before turning it out onto a wire rack. Cooling it completely is important because warm cake will melt your frosting and ruin those clean color lines. I usually let mine sit for a full hour before I even think about grabbing the frosting.
Once the cake is completely cool, spread a generous layer of vanilla buttercream over the top and sides using your offset spatula. Add a few drops of food coloring into small portions of the frosting and swirl them together for a tie dye cake icing effect on the outside too. Finish with Halloween sprinkles, edible eyeballs, or a cake topper for extra spooky charm.