Go Back
Hatch Chili Cheeseburger Recipe
Ash Tyrrell

Hatch Chili Cheeseburger Recipe

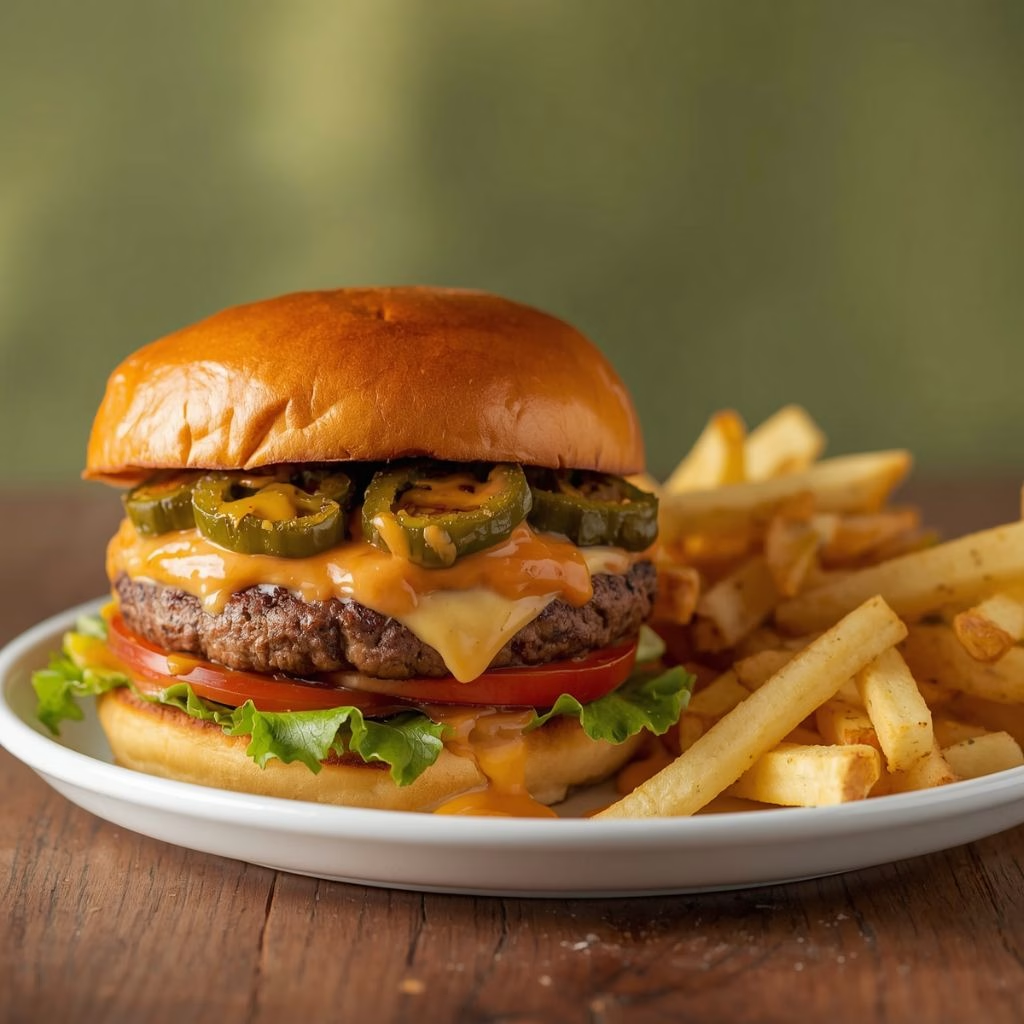
I made this hatch chili cheeseburger for the first time last summer, and honestly, I haven't gone back to a plain burger since. I love how the roasted green chile brings this smoky, almost sweet heat that just melts right into the cheese.
Prep Time 15 minutes
Cook Time 10 minutes
Servings: 4

Ingredients
  

  • 1 1/2 lbs ground beef 80/20 – the fat ratio keeps the patty juicy when smashed thin
  • 1 teaspoon hatch green chile powder – this is what gives the patty its earthy smoky base flavor
  • 1 teaspoon hatch red chile powder – adds a little extra warmth and color to the meat
  • 1 teaspoon salt – I never skip this it pulls out the beef's natural flavor
  • 1/2 teaspoon black pepper – for a mild background kick
  • 1 cup roasted hatch green chile chopped and warmed – use real roasted chile, not canned, for that smoky bite
  • 4 slices American or cheddar cheese – American melts smoother cheddar adds sharper flavor
  • 8 slices bacon – cooked first so you can use the fat for the buns
  • 4 hamburger buns – toasted buns hold up better against the juicy chile
  • 1/4 cup sour cream – the base of the crema keeps it cool and tangy
  • 1 tablespoon hatch red chile sauce – this is what turns plain sour cream into a proper crema
  • 1 tablespoon mayonnaise – adds richness and helps the crema cling to the burger

Method
 

  1. I start by laying the bacon strips in a cold skillet and letting them crisp up slowly over medium heat. Once they're browned and crunchy, I move them to a plate lined with paper towel. I always keep the bacon fat in the pan because it makes the buns taste incredible later.
  2. Next, I divide the ground beef into four loose balls, being careful not to compact the meat too much. I sprinkle each one with green chile powder, red chile powder, salt, and pepper. I don't mix the seasoning in fully; I just want it dusted on before I smash it on the heat.
  3. While the griddle heats, I whisk together sour cream, red chile sauce, and mayonnaise in a small bowl. This crema is what ties the whole burger together, so I like to taste it and adjust the chile sauce if I want more heat.
  4. I heat my griddle until it's almost smoking, then place each beef ball down and smash it flat immediately with my spatula. I let it sear undisturbed for two to three minutes so a deep, crispy crust forms on the bottom before I even think about flipping it.
  5. Once I flip the patties, I pile the warmed roasted hatch green chile right on top, then lay a slice of cheese over it. I let it sit for about a minute so the cheese melts down and locks the chile in place, which is really the secret to this whole burger.
  6. While the cheese melts, I toast my buns cut-side down in that leftover bacon grease. It only takes thirty seconds or so, but it adds so much flavor that I'd never skip this step now.
  7. Finally, I stack everything together: bottom bun, cheesy chile patty, two strips of bacon, a generous drizzle of red chile crema, and the top bun. I serve it immediately while the cheese is still stretchy and the bun is warm.
Notes

  • I always use fresh roasted hatch green chile instead of canned, because canned chile turns watery and loses that smoky punch.
  • I never press down on my patty after the first smash, since that just squeezes out all the juices I worked to keep in.
  • I let my griddle get properly hot before adding the meat, otherwise I don't get that crispy, lacy edge I love.
  • I keep my chile crema a little thick so it doesn't slide right off the burger.
  • I warm my chile in a small pan before adding it to the patty, so it doesn't cool the melted cheese down too fast.