Pour the coconut milk into a medium saucepan and place it over medium heat. Stir it frequently so the coconut milk heats evenly and does not scorch at the bottom. Allow it to reach a gentle simmer but avoid boiling it aggressively.
In a separate bowl, whisk together the cornstarch and water until completely smooth. This step is important because dry cornstarch added directly into hot liquid can form lumps. A smooth slurry guarantees a silky pudding texture.
Add the sugar and pinch of salt to the warm coconut milk. Stir continuously while slowly pouring in the cornstarch slurry. Keep whisking so the ingredients blend evenly and begin thickening properly.
Continue stirring over medium heat as the mixture thickens quickly. After several minutes, it will become glossy and thick like soft pudding. Once it reaches a glue-like consistency, remove it from the heat immediately.
Let the thickened coconut mixture cool for about 5 minutes while stirring occasionally. This prevents a skin from forming on the top and helps create a smoother final texture. The mixture should still remain pourable.
Pour the haupia mixture into a lightly greased square dish or container. Use a spatula to smooth the top evenly so the finished squares look neat and professional. Tap the container gently on the counter to remove air bubbles.
Allow the dish to cool at room temperature for about one hour before covering it. Transfer it to the refrigerator and chill for at least four hours. The pudding will firm up enough to slice into clean squares.
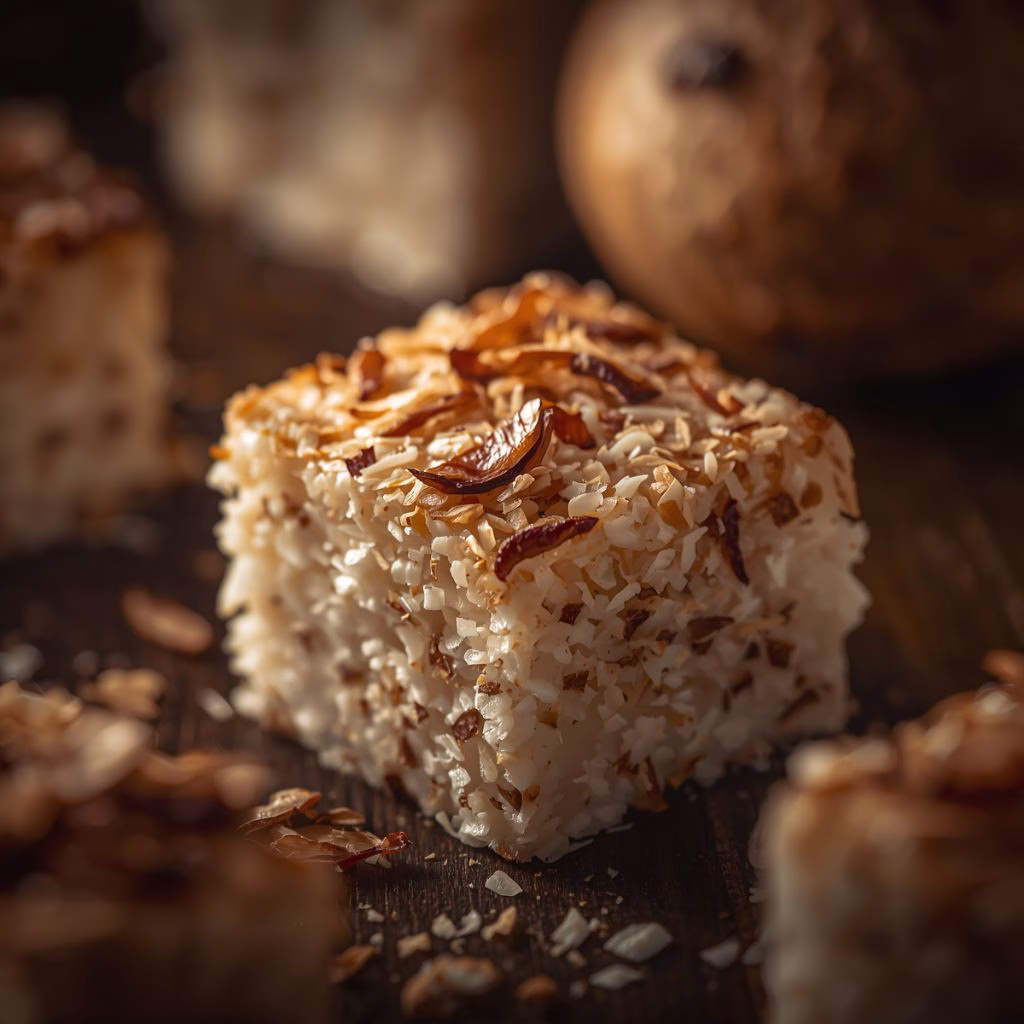
While the haupia chills, place shredded coconut in a dry skillet over medium-low heat. Stir frequently until the coconut becomes golden brown and fragrant. Let it cool completely before using.
Once chilled, cut the haupia into even squares using a sharp knife. Roll or sprinkle the toasted coconut over each piece for added flavor and texture. Serve cold for the most refreshing experience.