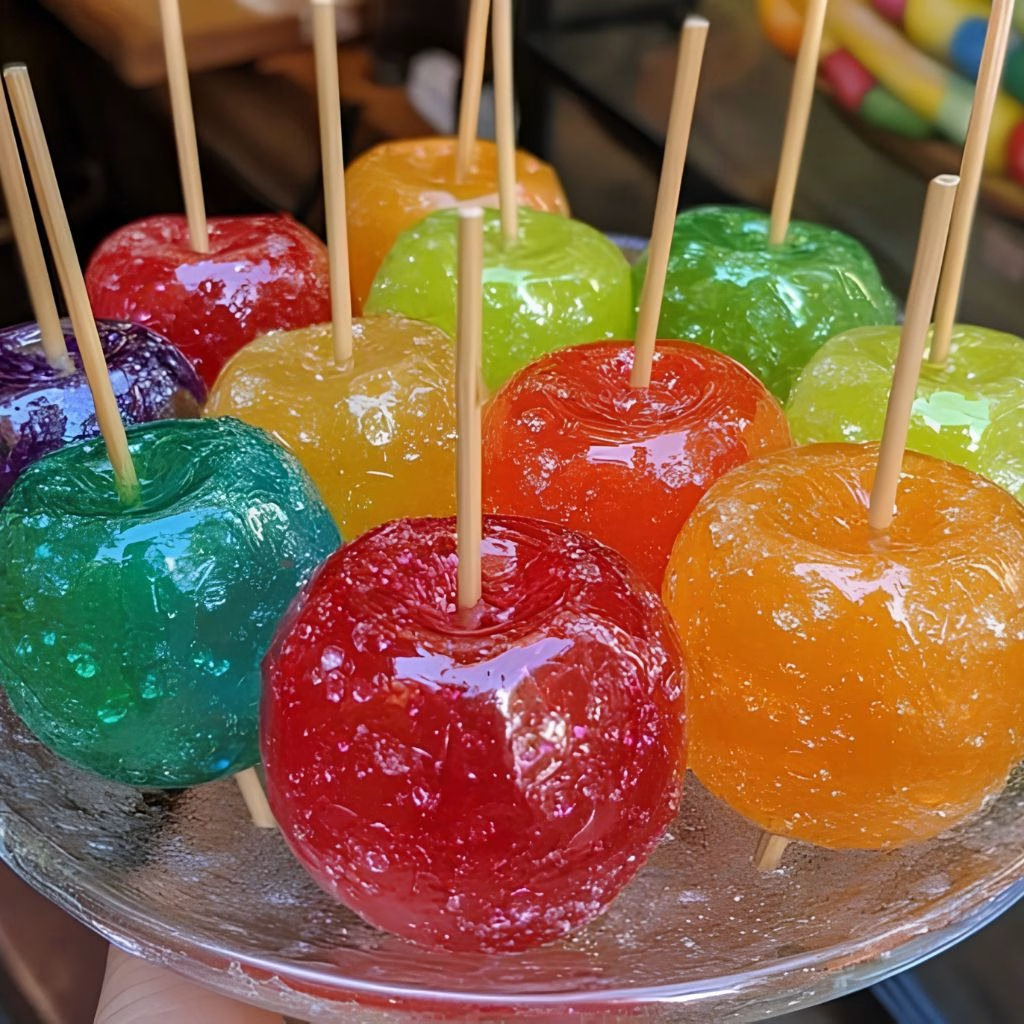
I always start by washing and drying my apples really well, since most store-bought apples have a waxy coating that keeps candy from sticking. I twist off the stems, then push a wooden dowel firmly through the top and down into the core. It takes a little muscle, but it goes in easily once you hit the center.
I unwrap one color of candy at a time and drop the pieces into a microwave-safe glass measuring cup. I figure about 20 candies per apple, so I portion accordingly. I microwave on high for one to two minutes until everything is fully melted and bubbling, and I never stir while it's heating.
Holding the apple by its stick, I dip it straight down into the melted candy, tilting the cup so the coating reaches almost to the top. I twist the apple slowly as I lift it out, which helps pop any trapped air bubbles and gives a smoother shell.
Before I set the apple down, I hold it upright for a few seconds and let the extra candy drip back into the cup. This step keeps the coating thin and even instead of pooling into a thick, uneven blob at the bottom.
I place each dipped apple onto a parchment-lined baking sheet, leaving several inches between them. If the candy starts to firm up in the cup before I finish, I just pop it back in the microwave for twenty to thirty seconds to loosen it again.
I rinse and dry the cup, then repeat the melting and dipping process with my next color of Jolly Ranchers. This is where I get to have fun mixing red, green, blue, or purple for a whole rainbow tray of apples.
Once the shells have fully hardened, usually within a few minutes, I dust them with a little edible glitter for extra sparkle. I like to serve these right away while the shell is still perfectly crisp and glossy.