Preheat your oven to 350°F (175°C). Lightly grease an 8x8-inch baking dish or line it with parchment paper. This makes removing the bars much easier later.
Set the prepared pan aside while you make the crust. Proper preparation helps prevent sticking and ensures clean slices.
In a medium bowl, combine the graham cracker crumbs, melted butter, sugar, and lemon zest. Stir until the mixture resembles wet sand and all crumbs are evenly coated.
Press the mixture firmly into the bottom of the prepared pan and slightly up the sides. Bake for 10 minutes, then allow the crust to cool completely.
In a separate bowl, whisk together the egg yolks and sweetened condensed milk until smooth. The mixture should be creamy and fully combined.
Add the fresh lemon juice and lemon zest. Continue whisking until the filling thickens slightly and develops a silky texture.
Gently add the fresh raspberries to the lemon mixture. Use a rubber spatula and fold carefully to avoid crushing the berries.
Keeping the raspberries mostly intact creates beautiful bursts of fruit throughout the finished bars.
Pour the lemon raspberry filling evenly over the cooled crust. Spread gently with a spatula to ensure an even layer.
The smooth filling should completely cover the crust while distributing the raspberries throughout the mixture.
Place the pan in the oven and bake for about 15 minutes. The filling should appear set but still have a slight jiggle in the center.
Avoid overbaking, as this can affect the creamy texture. The bars will continue to firm up as they cool.
Remove the pan from the oven and allow it to cool to room temperature. Once cooled, transfer it to the refrigerator.
Chill for at least one hour before slicing. This step helps the filling firm up and improves the flavor.
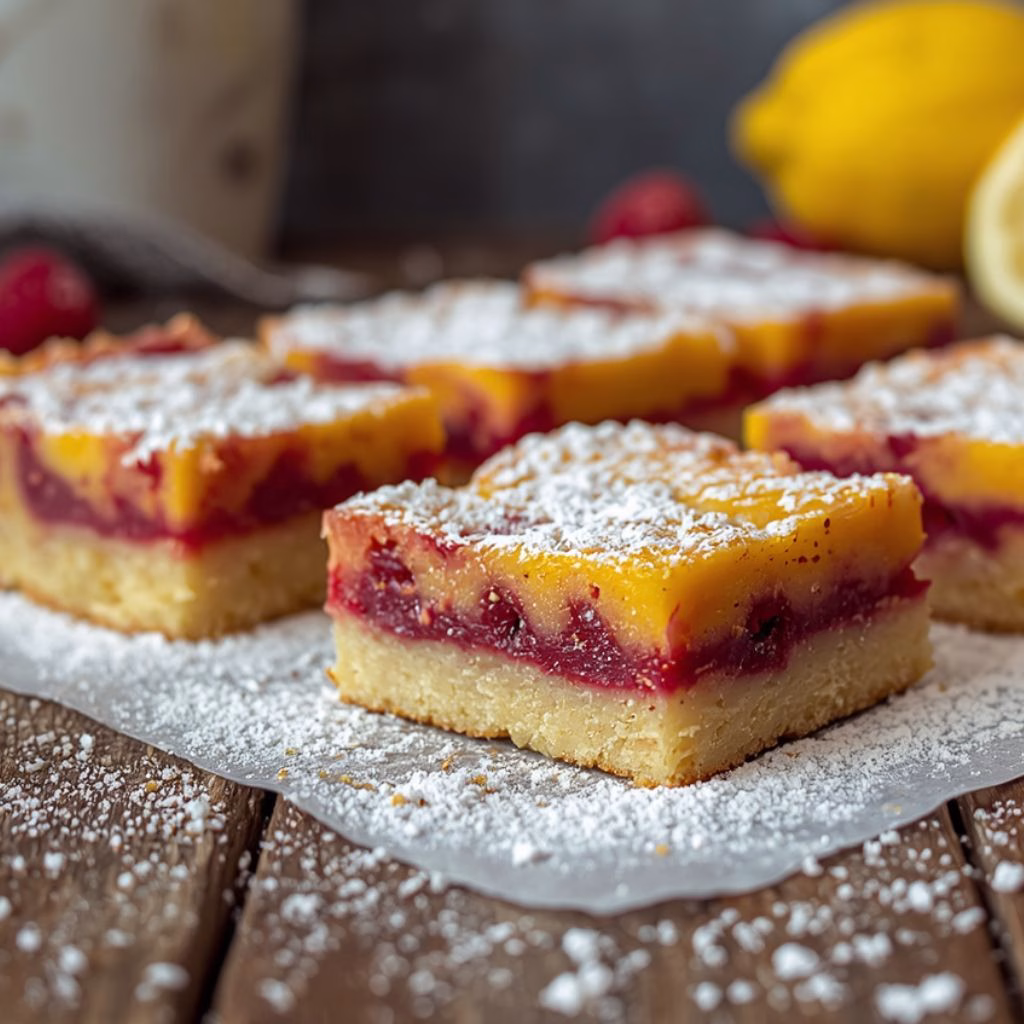
Lift the bars from the pan if using parchment paper. Use a sharp knife to cut them into squares.
Serve chilled for the best texture and flavor. The bars are refreshing, creamy, and beautifully vibrant.