Go Back
Mini Red Velvet Cheesecakes Recipe
Ash Tyrrell

Mini Red Velvet Cheescakes Recipe

I recently made these mini red velvet cheesecakes, and I have to say, they turned out even better than I imagined! The combination of creamy cheesecake filling and a soft red velvet base is just irresistible.
Prep Time 20 minutes
Cook Time 20 minutes

Ingredients
  

  • Cream cheese 8 ounces, softened — I always soften cream cheese to room temperature for a smoother batter.
  • Sugar 1/3 cup — Using fine granulated sugar helps it blend completely into the cream cheese.
  • Large egg 1 — Room temperature eggs incorporate better and prevent curdling.
  • Red food coloring 2 tablespoons — This gives the red velvet its signature color; you can adjust to your preference.
  • Vanilla extract 1 teaspoon — Adds a subtle, classic flavor that complements the cheesecake.
  • All-purpose flour 1 tablespoon — Helps stabilize the cheesecake filling so it doesn’t crack.
  • Chocolate wafer cookies 15 — I crush these finely for a crunchy, chocolatey crust.
  • Butter 3 tablespoons, melted — Melted butter binds the crust together and adds richness.
  • Whipped topping 1/2 cup (optional for garnish) — Lightly sweetened whipped cream gives a perfect finishing touch.

Method
 

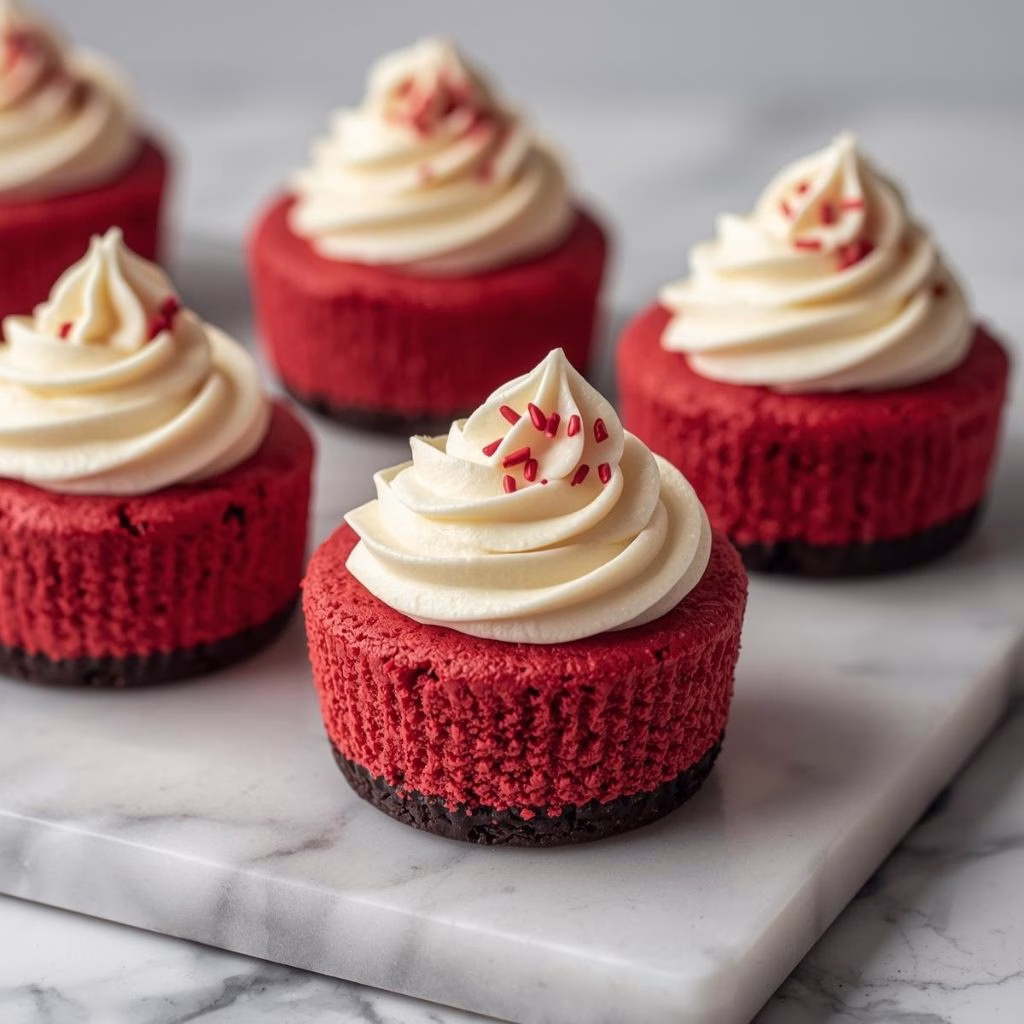
  1. Start by crushing your chocolate wafers until they’re fine crumbs. Mix them with melted butter and press the mixture into lined muffin cups. This forms a firm base for your cheesecake.
  2. Beat the softened cream cheese until smooth. Gradually add sugar, then mix in the egg, vanilla, flour, and red food coloring until you get a creamy, evenly colored batter.
  3. Spoon the filling onto the cookie crusts, filling each cup almost to the top. Smooth the tops with a spoon or spatula for an even finish.
  4. Bake in a preheated oven at 325°F (163°C) for about 18–20 minutes. The edges should be set while the centers remain slightly jiggly.
  5. Allow the mini cheesecakes to cool at room temperature for 30 minutes. Then refrigerate for at least 2 hours, or until completely chilled and firm.
  6. Add a dollop of whipped topping or a light dusting of cocoa powder before serving. I also love adding mini chocolate curls for extra flair.

Notes

  • I always use room temperature cream cheese and eggs for a silky, crack-free filling.
  • Press the crust firmly into the cups to prevent it from separating when you serve.
  • Don’t overbake; the center should still jiggle slightly—it firms as it cools.
  • Chill fully before serving to make slicing and garnishing easier.