Go Back
No-Bake Pear Cheesecake Cups Recipe
Ash Tyrrell

No-Bake Pear Cheesecake Cups Recipe

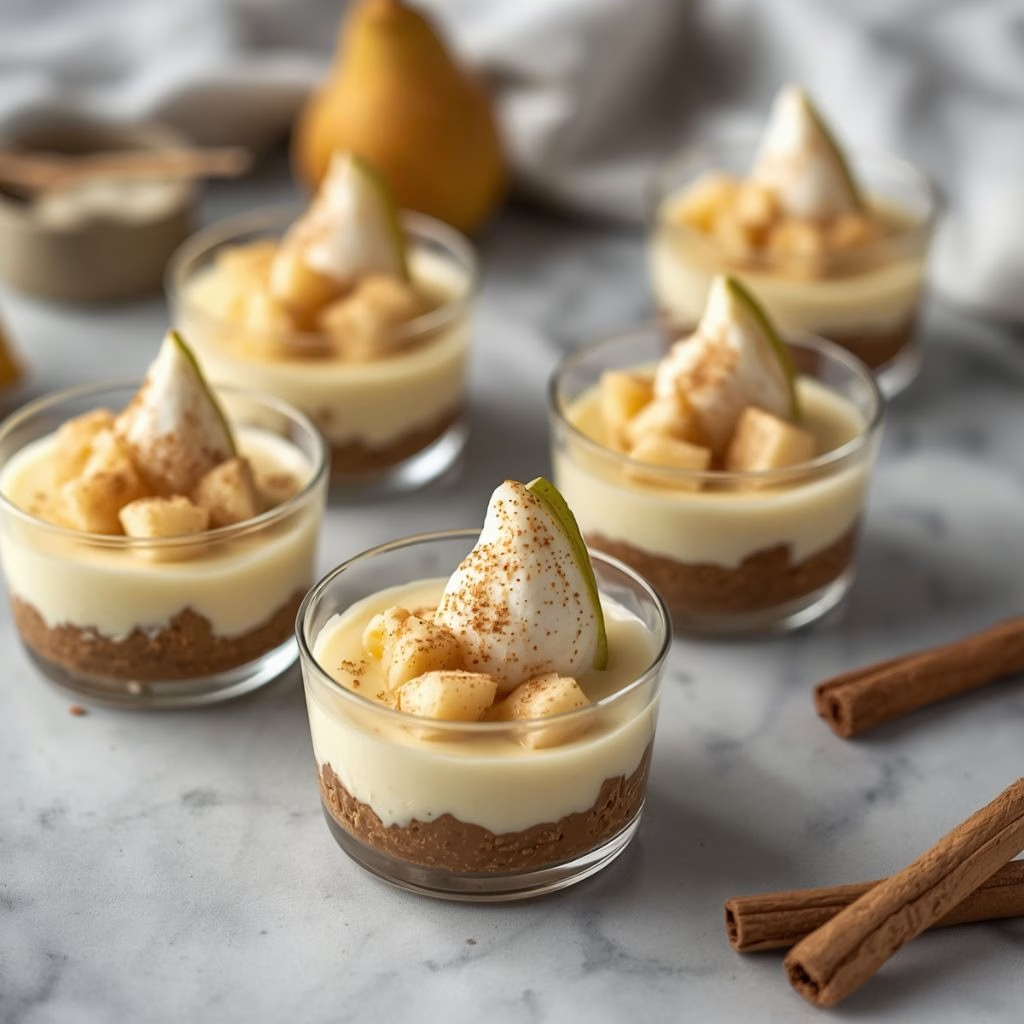
I made these no-bake pear cheesecake cups on a hot afternoon when the last thing I wanted was to turn on my oven, and they turned out to be one of the easiest desserts I have ever pulled together. I folded ripe, juicy pears into a soft, whipped cheesecake filling and layered it over a buttery graham cracker crust, and the whole thing set up beautifully in the fridge while I did something else
Total Time 2 hours 20 minutes
Servings: 4

Ingredients
  

  • cream cheese 8 ounces, softened – this is the heart of the filling, so let it soften fully for a smooth blend
  • powdered sugar ½ cup – sweetens the filling gently without leaving any grainy texture
  • vanilla extract 1 teaspoon – rounds out the flavor and keeps the filling from tasting flat
  • heavy whipping cream 1 cup – whipped separately, this is what gives the filling its light, mousse-like texture
  • ripe pears 2 medium, diced – choose pears that give slightly to gentle pressure for the best natural sweetness
  • ground cinnamon ¼ teaspoon – adds a warm note that pairs beautifully with the pears
  • graham cracker crumbs ½ cup – forms the crunchy base layer, so use fresh crumbs rather than stale ones
  • unsalted butter 2 tablespoons, melted – binds the graham crumbs into a crust that holds its shape

Method
 

  1. I start by beating the softened cream cheese in a large bowl until it is completely smooth, with no lumps left behind. Then I add the powdered sugar and vanilla extract and mix again until everything is fully combined and silky. This base needs to be smooth before you move on, since any lumps here will show up in the final texture.
  2. In a separate bowl, I whip the heavy cream on medium-high speed until soft to medium peaks form. This usually takes a few minutes, and I watch closely so I do not overwhip it into butter. Whipped cream is what gives the filling its light, airy quality, so this step is worth doing carefully.
  3. Next, I gently fold the whipped cream into the cream cheese mixture using a rubber spatula, working in broad strokes to keep as much air in the mixture as possible. Once it looks mostly combined, I fold in the diced pears so they are evenly distributed. The filling should look fluffy, pale, and speckled with little pieces of pear throughout.
  4. I spoon a layer of graham cracker crumbs into the bottom of each cup, followed by a generous layer of the cheesecake filling, then repeat until the cups are full. I always finish with the cheesecake layer on top so it looks clean and inviting. Pressing the crumbs down lightly with the back of a spoon helps them hold together as a base.
  5. Once the cups are assembled, I cover them and refrigerate for at least 2 hours, though I usually go closer to 4 hours for the best texture. This chilling time lets the filling firm up and the pear flavor settle into the cream cheese base. Skipping this step leaves the filling too soft to hold its shape.
Notes

  • I always make sure my cream cheese is fully softened at room temperature before I start, since cold cream cheese leaves stubborn lumps.
  • I dice my pears fairly small so every spoonful gets a bit of fruit without any oversized chunks.
  • I chill my mixing bowl and beaters in the freezer for a few minutes before whipping the cream, which helps it whip up faster and hold its structure.
  • I taste my pears before using them, and if they are underripe, I let them sit on the counter for a day or two first.
  • I like to build my layers in clear glass cups so the pretty striped layers actually show through.