Go Back
No Bake Pumpkin Pie Recipe
Ash Tyrrell

No Bake Pumpkin Pie Recipe

I first made this no-bake pumpkin pie recipe on a busy Thanksgiving week when my oven was already stacked with a turkey and two side dishes, and I needed a dessert that didn't need any baking time at all. I pulled out cream cheese, canned pumpkin, and a can of condensed milk, and within fifteen minutes the filling was ready to chill.
Total Time 4 hours 15 minutes
Servings: 8

Ingredients
  

  • 1 graham cracker pie crust 9-inch – gives the pie its classic buttery, crumbly base without any baking
  • 8 ounces cream cheese softened – this is what makes the filling rich and helps it set firmly once chilled
  • 1 can 14 ounces sweetened condensed milk – sweetens the filling and adds that silky, dense texture
  • 1 can 15 ounces pure pumpkin puree – use Libby's or another 100% pumpkin brand, not pumpkin pie filling
  • 2 teaspoons pumpkin pie spice – this is where all that warm cozy fall flavor comes from
  • 1/2 teaspoon ground cinnamon – adds an extra layer of warmth on top of the pumpkin pie spice
  • 1/4 teaspoon salt – balances the sweetness and makes the spices pop
  • 1 teaspoon vanilla extract – rounds out the flavor and keeps the filling from tasting flat
  • 1 cup whipped topping or fresh whipped cream plus more for garnish – folded in for a light, airy finish

Method
 

  1. Start by making sure your cream cheese is fully softened at room temperature, since cold cream cheese will leave lumps in your filling. Beat it alone in a large bowl for about a minute until it's completely smooth and creamy. This step matters more than people think, because it sets the texture for the entire pie.
  2. Pour in the sweetened condensed milk and beat it into the cream cheese until fully combined and glossy. Next, add the pumpkin puree along with the pumpkin pie spice, cinnamon, salt, and vanilla extract. Mix on medium speed until everything looks uniform in color with no visible streaks.
  3. Using a rubber spatula, gently fold the whipped topping into the pumpkin mixture rather than stirring it in aggressively. This keeps the filling light and fluffy instead of dense. Fold just until you no longer see white streaks, scraping from the bottom of the bowl up and over.
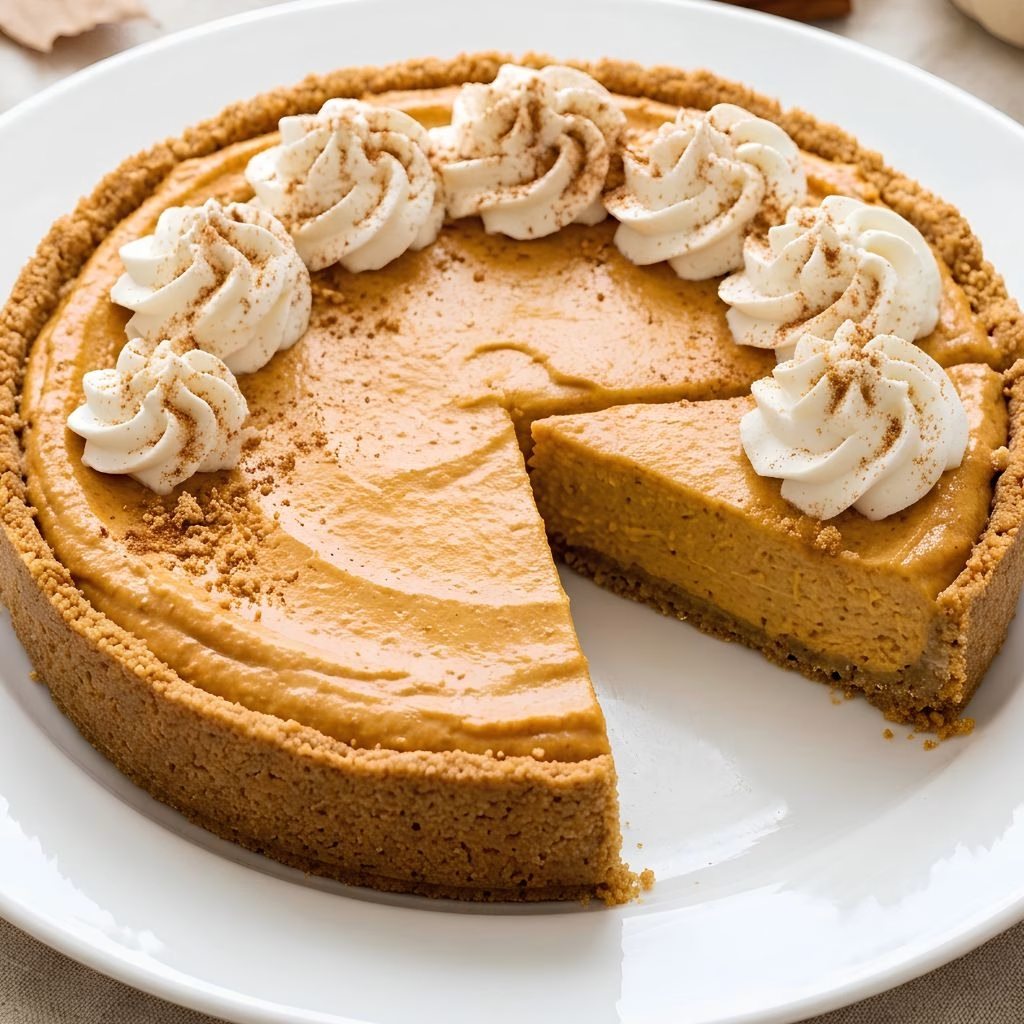
  4. Spoon the finished filling into your prepared graham cracker crust, smoothing the top with the back of a spoon or an offset spatula. Make sure the filling reaches the edges evenly so every slice looks clean when you cut it. At this point the pie will look soft, but that's completely normal.
  5. Cover the pie loosely with plastic wrap and refrigerate it for at least 4 hours, though overnight gives the best texture. The cold is what firms up the filling, since there's no oven involved to set it. Don't rush this step, or your slices won't hold their shape.
  6. Right before serving, top the pie with extra whipped cream, a light dusting of cinnamon, or crushed graham crackers. Slice with a clean, slightly warm knife for neat edges. Serve chilled straight from the refrigerator for the best flavor and texture.
Notes

  • I always bring my cream cheese to true room temperature, because cold cream cheese is the number one reason my early attempts turned out lumpy.
  • I like using canned pumpkin puree straight from the fridge rather than fresh roasted pumpkin, since it's thicker and keeps my filling from turning watery.
  • I fold in the whipped topping by hand instead of using the mixer, because it keeps the texture light instead of dense.
  • I chill my pie overnight whenever I have the time, since the flavors blend together so much better after a full night in the fridge.
  • I keep a store-bought graham cracker crust on hand for busy days, but a homemade crust gives slightly better flavor if I have ten extra minutes.