Go Back
Onion Rings Recipe
Ash Tyrrell

Onion Rings Recipe

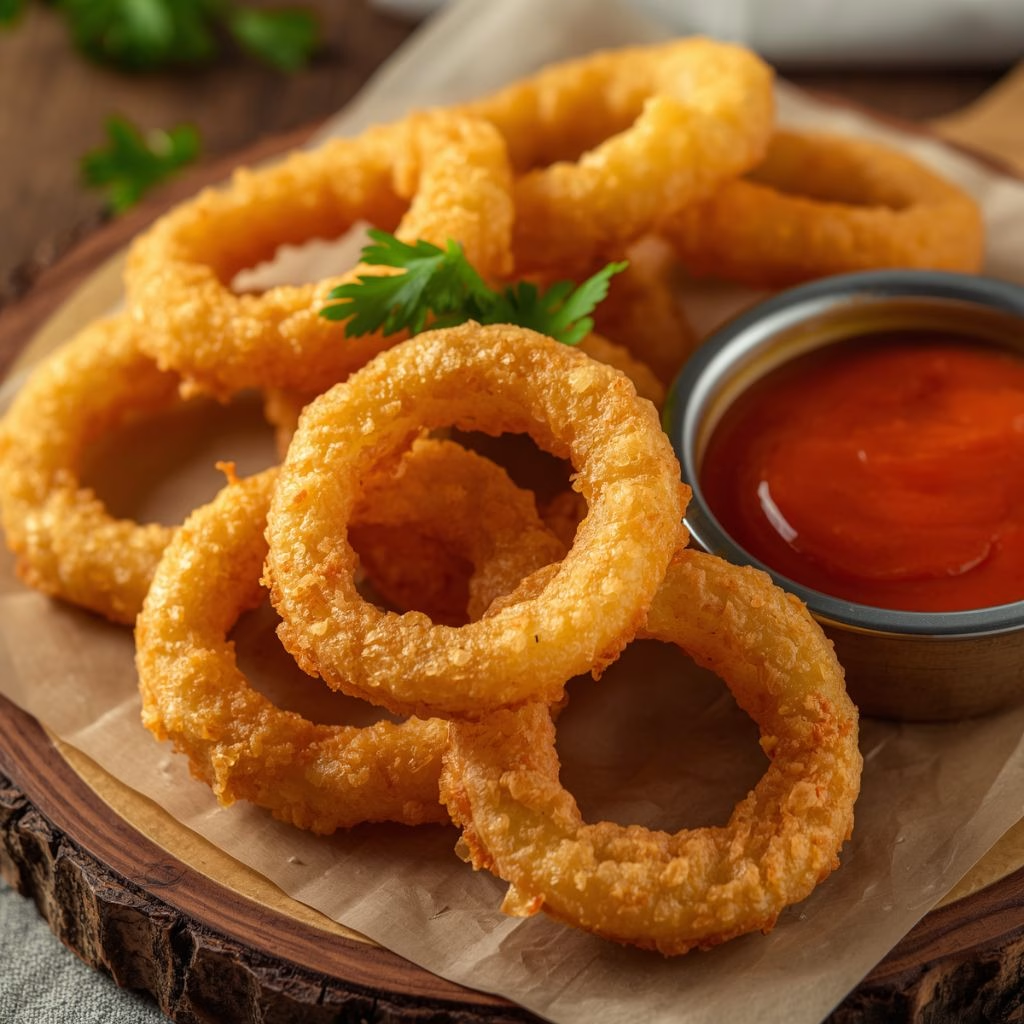
I still remember the first time I made these onion rings from scratch, and I was shocked at how easy the whole process turned out to be. I had always assumed that diner-style rings needed some kind of secret trick, but honestly, it's just a few pantry staples and a hot pot of oil. Once I pulled that first batch out golden and crackling, I knew this recipe was going straight into my regular rotation
Total Time 30 minutes
Servings: 3

Ingredients
  

  • 1 large sweet onion like Vidalia, sliced into 1/4-inch rounds and separated into rings
  • 1 1/4 cups all-purpose flour divided use for coating and batter
  • 1 teaspoon baking powder helps the batter puff up light instead of dense
  • 1 teaspoon salt seasons the batter from the inside out
  • 1/8 teaspoon seasoned salt or to taste, adds a savory depth once the rings are fried
  • 1 large egg binds the batter together
  • 1 cup milk or as needed, thins the batter to the right dipping consistency
  • 3/4 cup dry bread crumbs gives that classic crunchy shell
  • 1 quart oil for frying or as needed, a neutral oil works best so it doesn't compete with the onion flavor

Method
 

  1. Pour the oil into a deep fryer or heavy pot and heat it to about 365 degrees Fahrenheit. Getting the temperature right before you start battering means the rings fry evenly instead of turning greasy. A thermometer clipped to the side of the pot takes all the guesswork out of this step.
  2. While the oil heats, slice your onion into rounds about a quarter inch thick. Gently push out the individual rings and set them aside on a plate. The bigger outer rings usually hold together best, so save the tiny inner pieces for another use.
  3. In a small bowl, stir together the flour, baking powder, and salt until fully combined. This dry mixture is what the onion rings get dipped into first, so it needs to coat every ring completely. Toss the rings through it until each one looks lightly dusted.
  4. Whisk the egg and milk directly into that same flour mixture using a fork until it turns into a smooth, pourable batter. This step only takes a minute or two once everything is measured out. The batter should be thick enough to cling to the rings but not so thick that it clumps.
  5. Dip each floured ring into the batter, letting the excess drip back into the bowl. Place them on a wire rack set over foil so any extra batter drains away cleanly. Letting them rest here for a minute keeps the coating from sliding off in the oil.
  6. Spread the dry bread crumbs across a shallow dish or plate. Press each battered ring into the crumbs, scooping more over the top so it's fully covered on both sides. This final layer is what gives the rings their signature crunch once fried.
  7. Carefully lower the coated rings into the hot oil in small batches so the temperature doesn't drop. Fry for about two to three minutes, flipping once, until they turn a deep golden brown. Lift them out with tongs and let them drain on paper towels before serving.
Notes

  • I always slice my onion a little thicker than I think I need, since thin rings tend to overcook before the coating even browns.
  • I let my battered rings sit on the rack for a full minute before crumbing them, and it keeps that coating from slipping off in the oil.
  • I fry in small batches every time, because crowding the pot drops the oil temperature and leaves me with soggy rings.
  • I salt the rings the second they come out of the oil, since the seasoning sticks so much better while they're still hot and glistening.
  • I keep a thermometer clipped to my pot the whole time, because guessing at the temperature is exactly how I used to end up with greasy batches.