Go Back
Pear Puff Pastry Tart Recipe
Ash Tyrrell

Pear Puff Pastry Tart Recipe

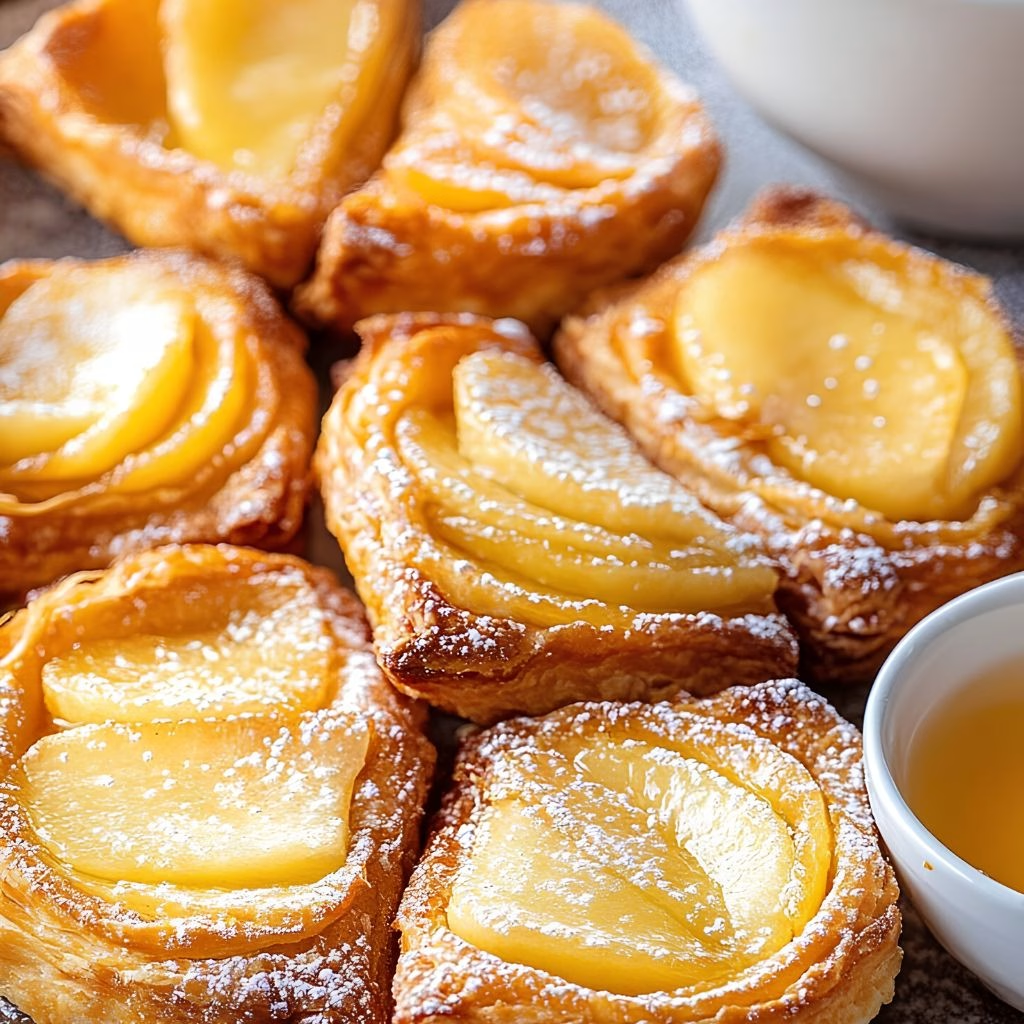
I still remember the first time I pulled this tart out of the oven and watched the edges puff up into golden, flaky layers. I had almost given up on making a "fancy" dessert because I assumed it needed hours of work, but this pear tart proved me wrong in under 45 minutes. I love that it uses store-bought puff pastry, so all the hard work is already done for me.
Prep Time 20 minutes
Cook Time 18 minutes
Servings: 6

Ingredients
  

  • Puff pastry sheet thawed – this is the base of the tart, so let it thaw in the fridge instead of the counter for a cleaner rise
  • Fresh pears thinly sliced – Bartlett or Anjou pears hold their shape and give the best sweet, juicy bite
  • Unsalted butter melted – forms the base of the glaze and helps the pastry turn a deep golden color
  • Brown sugar – adds caramel-like sweetness that pairs beautifully with the pears
  • Fresh ginger minced – gives the glaze a warm, slightly spicy edge, so skip the powdered version if you can
  • Pure vanilla extract – rounds out the flavor of the glaze and real vanilla makes a noticeable difference
  • Ground cinnamon – brings a cozy fall-spiced note to every bite
  • All-purpose flour – helps thicken the glaze slightly so it clings to the pears
  • Fresh lemon juice – keeps the pear slices from browning while you assemble the tart

Method
 

  1. I always start by setting my oven to 400 degrees F so it's fully heated by the time my tart is assembled. A hot oven is what gives puff pastry that dramatic rise and crisp, golden finish. While it heats, I use the time to prep my pastry and pears.
  2. On a lightly floured surface, I unroll my puff pastry sheet and gently smooth out any fold lines with a rolling pin. Using a paring knife, I score a rectangle about half an inch from the edge, cutting only partway through the dough. This border is what puffs up around the filling as it bakes.
  3. In a small bowl, I whisk together the melted butter, brown sugar, minced ginger, vanilla extract, and cinnamon until it's smooth. This glaze is really the flavor backbone of the whole tart, so I make sure it's well combined. I set a little aside for brushing over the pears later.
  4. I brush a generous layer of the butter mixture over the scored rectangle, staying inside the border I cut. This keeps the center from staying pale while the edges turn golden. I save the rest of the glaze for the top layer.
  5. I thinly slice my pears, removing the cores as I go, then toss them in fresh lemon juice right away. This step keeps them looking bright instead of turning brown while I finish assembling everything. I like my slices thin enough to fan out easily.
  6. I layer the pear slices in slightly overlapping rows inside the scored rectangle, then brush the remaining glaze over the top. I gently pinch the pastry edges all the way around to seal in the filling. This little border is what creates that beautiful puffed frame.
  7. I place my tart on a parchment-lined baking sheet and slide it into the oven for about 18 minutes. I watch for the pastry to turn a deep golden brown with crisp, puffed edges. Once it's out, I let it cool for a few minutes before slicing.
Notes

  • I always choose pears that give slightly when I press them, since overripe ones turn mushy in the oven.
  • I keep my puff pastry cold until I'm ready to use it, since warm dough gets sticky and hard to work with.
  • I brush a thin layer of egg wash on the border for a glossier, more bakery-style finish.
  • I slice my pears as evenly as possible so every piece cooks at the same rate.
  • I bake on the middle rack, since I found the bottom rack browns the crust too quickly