Go Back
Pumpkin Cheesecake Truffles Recipe
Ash Tyrrell

Pumpkin Cheesecake Truffles Recipe

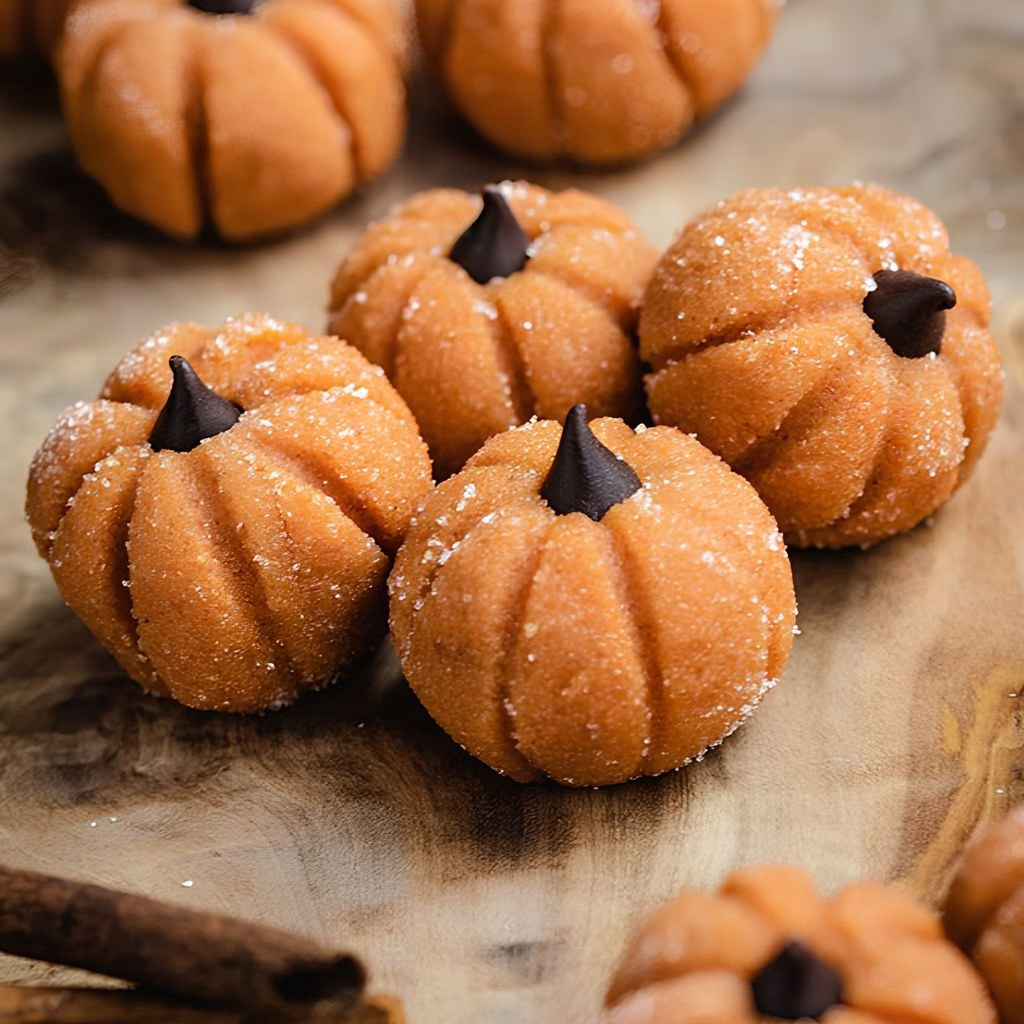
I first made these pumpkin cheesecake truffles when I had half a can of pumpkin puree sitting in my fridge and no real plan for it. One batch later, I was hooked, and now I make them every single fall. They come together with almost no effort, they don't need an oven, and every bite tastes like a tiny spoonful of pumpkin pie wrapped in a soft cheesecake shell.
Prep Time 20 minutes
Cook Time 2 hours

Ingredients
  

  • 8 oz cream cheese softened – softened cheese blends smooth; cold cream cheese leaves lumps
  • 1/2 cup canned pumpkin puree – use plain pumpkin puree not pumpkin pie filling, or the truffles turn out too sweet
  • 1 cup graham cracker crumbs – this gives the filling its classic cheesecake base and texture
  • 1/3 cup powdered sugar – dissolves instantly so the filling stays silky instead of grainy
  • 1 1/2 tsp pumpkin pie spice – the backbone of that warm cozy fall flavor
  • 1/2 tsp vanilla extract – rounds out the sweetness and balances the spice
  • Pinch of salt – wakes up all the other flavors don't skip it
  • 10 oz white or dark chocolate melting wafers – melt these low and slow so they don't seize
  • Extra pumpkin pie spice or sprinkles for topping – adds a finished, bakery-style look

Method
 

  1. I always start by beating the softened cream cheese on its own for about a minute. This step matters more than people think, because it removes any lumps before the pumpkin joins the party. If your cream cheese is even slightly cold, give it a few extra seconds under the mixer until it looks completely smooth and fluffy.
  2. Next, I add the pumpkin puree, powdered sugar, pumpkin pie spice, vanilla, and salt right into the same bowl. I mix on low speed first so the powdered sugar doesn't fly everywhere, then increase the speed until the mixture turns a uniform, pale orange color with no streaks left.
  3. Once the wet mixture looks even, I switch to a rubber spatula and fold in the graham cracker crumbs by hand. This keeps the crumbs from turning into paste, which can happen if you leave the mixer running too long. The dough should look thick, slightly sticky, and easy to scoop.
  4. I always cover the bowl and pop it in the fridge for at least two hours. This step is non-negotiable for me, because a warm mixture is nearly impossible to roll into neat balls. If I'm short on time, thirty minutes in the freezer works as a shortcut.
  5. Once chilled, I use a small cookie scoop to portion the dough, then roll each piece between my palms into a smooth ball. I keep a small bowl of water nearby to dampen my hands slightly, which stops the mixture from sticking to my fingers.
  6. I melt the chocolate wafers in the microwave in 20-second bursts, stirring between each one so the chocolate never scorches. Using a fork, I dip each truffle in, tap off the excess, then set it back on the parchment-lined tray to set.
  7. While the chocolate coating is still soft, I dust the tops with a pinch of pumpkin pie spice or a few sprinkles. This is purely optional, but it makes the truffles look like they came from a bakery display case instead of my kitchen counter.
Notes

  • I always use full-fat cream cheese instead of the light version, since it holds its shape much better once chilled.
  • I never skip the chill time, even when I'm in a rush, because it's the difference between neat truffles and a sticky mess.
  • I like to freeze the rolled balls for 10 minutes right before dipping, since colder truffles hold together better in warm chocolate.
  • I keep my melted chocolate on the thinner side by adding a teaspoon of coconut oil, which makes dipping so much smoother.
  • I taste my pumpkin puree first, since some cans are watery and can make the filling too soft to roll.