Go Back
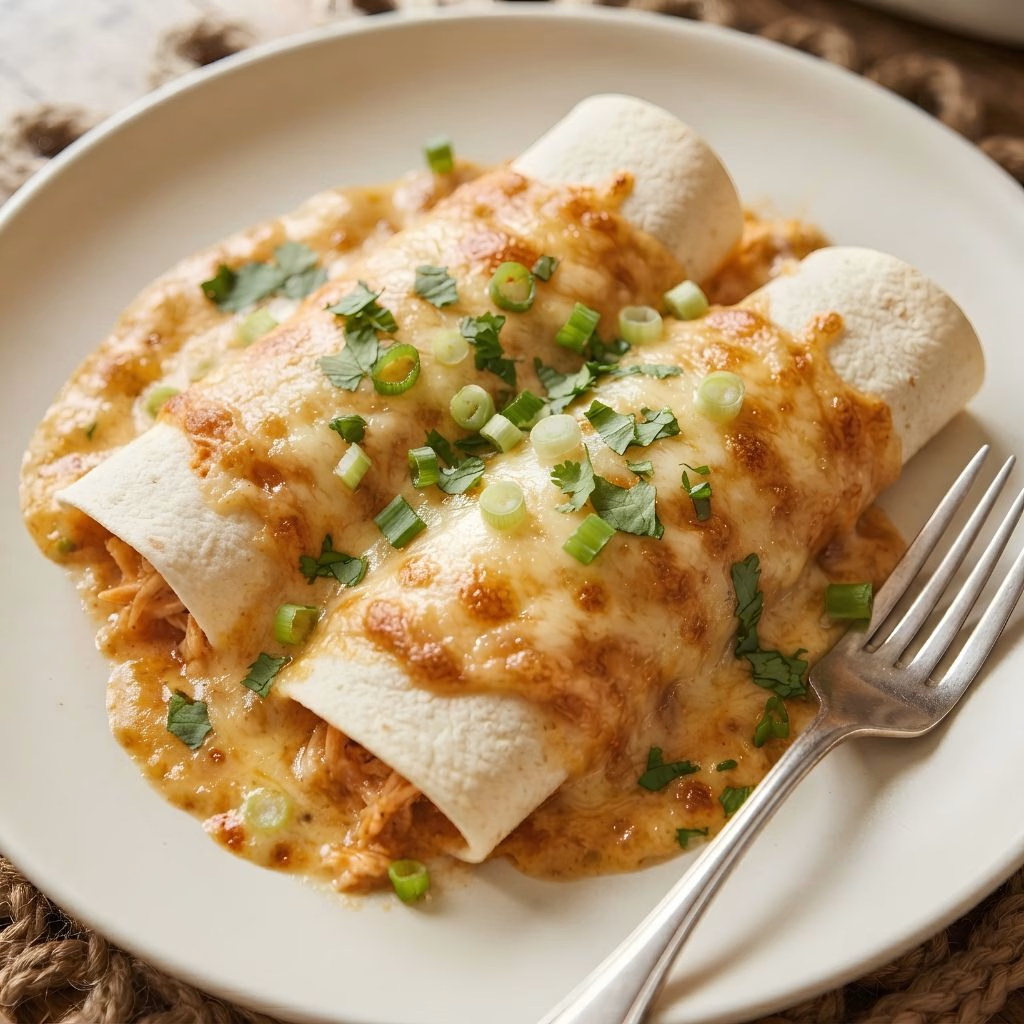
Pumpkin Chicken Enchiladas Recipe
Ash Tyrrell

Pumpkin Chicken Enchiladas Recipe

I never thought I'd be blending a can of pumpkin into my enchilada sauce, but here we are, and I'm never going back. The first time I made this, I was just trying to use up a lonely can of pumpkin puree sitting in my pantry, and it turned into one of my favorite fall dinners.
Prep Time 25 minutes
Cook Time 30 minutes
Servings: 4

Ingredients
  

  • 1 rotisserie chicken skin removed and meat shredded — this is the shortcut that keeps the filling juicy without any extra cooking
  • ½ cup thinly sliced green onions — they add a mild bite that balances the sweetness of the pumpkin
  • ½ cup sour cream — stirred into the chicken it keeps every bite moist and slightly tangy
  • Salt and black pepper to taste — season the filling generously, it needs more than you'd think
  • 1 can 15 ounces pure pumpkin puree — make sure it says "pumpkin puree" and not "pumpkin pie filling," which is already sweetened
  • 2 ½ cups chicken broth — this thins the pumpkin into a pourable saucy consistency
  • 4 cloves garlic peeled — fresh garlic makes a real difference here over powder
  • 1 jalapeño seeds and ribs removed (optional) — leave it out entirely if you want a milder sauce for kids
  • 1 teaspoon chili powder — this is what makes the sauce taste like enchiladas and not pumpkin soup
  • ½ teaspoon ground cinnamon — a small amount that quietly deepens the pumpkin flavor don't skip it
  • 9 corn tortillas 6-inch — warm them slightly first so they don't crack when you roll them
  • 1 ½ cups shredded Monterey Jack cheese — it melts smoothly and won't overpower the sauce
  • Avocado cilantro, extra sour cream and sliced green onion, for serving — all optional but highly recommended

Method
 

  1. Start by preheating your oven to 425°F so it's fully hot by the time you're ready to bake. In a large bowl, mix the shredded rotisserie chicken with the sour cream and sliced green onions. Season it generously with salt and pepper, then set the bowl aside while you make the sauce.
  2. Add the pumpkin puree, garlic, jalapeño, chili powder, chicken broth, cinnamon, and a good pinch of salt and pepper to your blender. Blend everything until it's completely smooth, with no visible garlic or jalapeño chunks left. Taste it carefully, since this sauce coats every part of the dish.
  3. Pour about a cup of the pumpkin sauce into the bottom of your baking dish, then pour another cup onto a shallow plate for dipping. Working one at a time, dip each tortilla in the sauce on both sides. This step keeps the tortillas soft and flavorful instead of dry once baked.
  4. Lay a sauce-dipped tortilla flat and spoon about a third of a cup of the chicken filling down the center. Roll it up snugly and place it seam-side down in the baking dish. Repeat with the remaining tortillas until your dish is packed with neat little rolls.
  5. Pour the rest of the pumpkin sauce evenly over the rolled enchiladas, making sure every tortilla is covered. Sprinkle the shredded Monterey Jack cheese generously across the top. This layer is what turns golden and bubbly in the oven.
  6. Slide the dish into your preheated oven and bake for 25 to 30 minutes, until the cheese is melted and starting to turn golden and the sauce is visibly bubbling at the edges. Let the dish rest for 5 minutes before serving so it sets slightly.
Notes

  • I always taste my pumpkin sauce before pouring it over the enchiladas, since blenders can mellow out spice differently depending on how long you run them.
  • I like to lightly toast my corn tortillas in a dry skillet for a few seconds per side before dipping, it keeps them from getting mushy in the oven.
  • I use a rotisserie chicken almost every time I make this, it saves me a whole step and the meat stays so much more tender than boiling chicken breasts.
  • I always shred my own cheese instead of buying pre-shredded bags, since it melts far more smoothly into that golden top layer.
  • I let the dish rest for a few minutes after baking, it makes serving so much neater and keeps the filling from sliding out.