I feed my sourdough starter about 4 to 12 hours before I plan to mix the dough. It needs to look active and bubbly, almost doubled in size. A quick float test, dropping a small spoonful into water, confirms it's ready to work.
In a large bowl, I combine the water, all three flours, starter, and salt using my hands or a wooden spoon. I let this mixture rest for about 30 minutes so the flour fully hydrates. This resting stage is called autolyse, and it makes the dough easier to handle later.
Once the rest is done, I sprinkle in the chopped rosemary before starting the stretch and fold process. Working it in at this stage distributes the flavor evenly throughout the dough instead of clumping in one spot.
Instead of kneading, I grab one edge of the dough, stretch it upward, then fold it back over the center. I turn the bowl a quarter turn and repeat this three to four times, which counts as one round. I do six rounds total, spacing the first three every 15 minutes and the last three every 30 minutes.
After the final fold, I cover the bowl and let the dough rise until it roughly doubles in size. Depending on my kitchen's temperature and how active my starter is, this can take anywhere from 4 to 8 hours or longer.
I turn the dough onto a lightly floured surface and use a bench scraper to divide it if I'm making two smaller loaves, or leave it whole for one large boule. I shape it into a tight ball using a gentle circular motion, which builds tension for a better rise in the oven.
I let the shaped dough sit uncovered for 15 to 20 minutes so a thin skin forms on the surface. Then I flip it over and reshape it one more time before moving it into its proofing container.
I transfer the dough into a floured banneton or a bowl lined with a tea towel, cover it with plastic wrap, and place it in the refrigerator for 12 to 15 hours. This slow, cold rise develops flavor and makes the dough easier to score in the morning.
The next morning, I preheat my Dutch oven at 500 degrees for a full hour before baking. I take the dough straight from the fridge, dust the top with flour, and score it with a lame or sharp knife so it has room to expand.
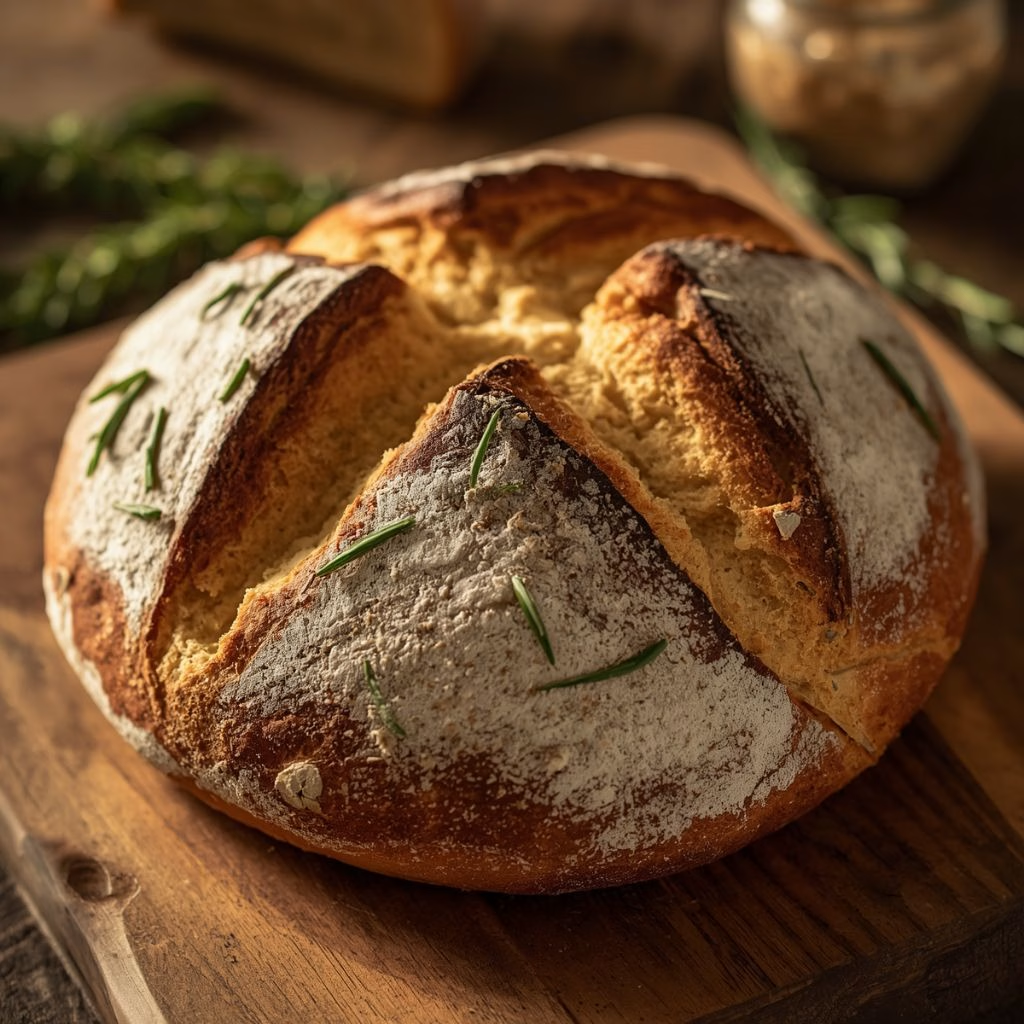
I bake the loaf covered for 20 minutes at 500 degrees, then lower the temperature to 475 and remove the lid for another 25 minutes, until the crust turns deep golden brown.