Go Back
Skeleton Chocolate Cake Recipe
Ash Tyrrell

Skeleton Chocolate Cake Recipe

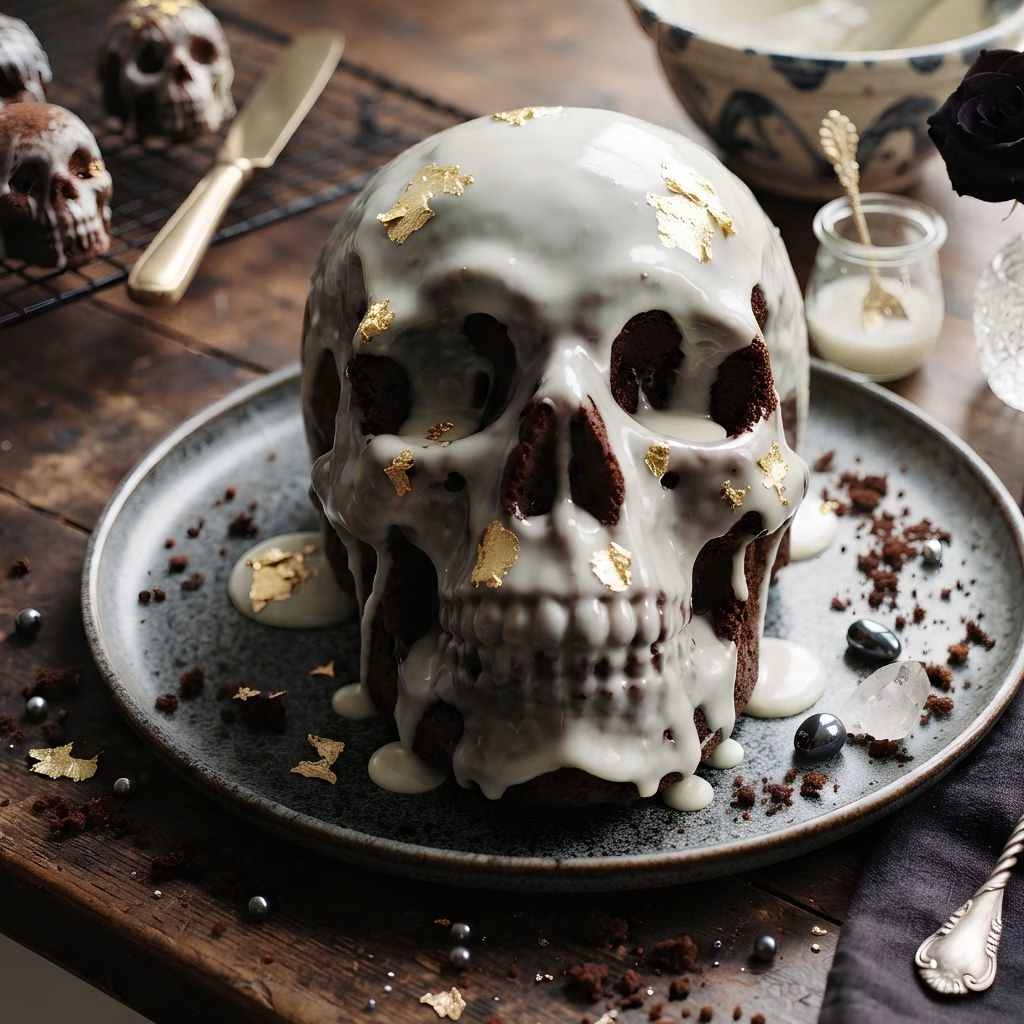
I made this skeleton chocolate cake for the first time last Halloween, and it completely stole the show at my party. I wanted something that looked dramatic without being complicated, and this dark, dense chocolate skull cake delivered on both fronts.
Prep Time 30 minutes
Cook Time 45 minutes
Servings: 10

Ingredients
  

  • All-purpose flour – gives the cake its structure so measure it by spooning and leveling rather than scooping
  • Black cocoa powder – this is what gives the cake its deep almost black color, don't swap it for regular cocoa if you want that dramatic look
  • Natural cocoa powder – balances the bitterness of the black cocoa and keeps the flavor rounded
  • Granulated sugar – sweetens the batter and keeps the crumb tender
  • Baking soda – helps the cake rise evenly inside the detailed skull mold
  • Baking powder – adds a little extra lift so the cake fills every crevice of the pan
  • Salt – sharpens the chocolate flavor so the cake doesn't taste flat
  • Buttermilk – keeps the crumb moist and adds a subtle tang use full-fat for the richest texture
  • Vegetable oil – locks in moisture better than butter alone in this type of dense cake
  • Eggs – bind everything together let them sit out until room temperature before mixing
  • Vanilla extract – rounds out the chocolate flavor use real extract instead of imitation if you can
  • Hot coffee or hot water – blooms the cocoa powder and intensifies the chocolate taste without adding a coffee flavor
  • Crushed chocolate sandwich cookies – folded into the buttercream filling for that cookies and cream crunch crush them by hand so you keep some texture
  • Unsalted butter – the base for the buttercream filling make sure it's softened, not melted
  • Powdered sugar – sweetens and thickens the buttercream filling
  • Heavy cream – loosens the buttercream to a spreadable consistency
  • White chocolate or vanilla candy melts – melted down for the glaze that gets poured over the finished cake
  • Milk – thins the glaze so it pours smoothly and drips down the sides

Method
 

  1. Set your oven to 350°F and place a rack in the lower third. Coat every detail of the skull cake mold with baking spray that contains flour, using a pastry brush to reach the deeper grooves. This step matters more than people expect, since skipping it is the main reason cakes stick and lose their skull shape when unmolded.
  2. Whisk the flour, both cocoas, sugar, baking soda, baking powder, and salt in one bowl. In another, whisk the buttermilk, oil, eggs, and vanilla. Combine the two, then stir in the hot coffee last. The batter will look thin, but that's exactly what gives this cake its dense, fudgy texture once baked.
  3. Divide the batter evenly between both sides of the skull pan, filling each about three-quarters full. Bake for 40 to 45 minutes, checking with a skewer near the thickest part of the skull. Let the cakes cool in the pan for 15 minutes before turning them out onto a wire rack to cool completely.
  4. Beat the softened butter until fluffy, then gradually add powdered sugar and a splash of heavy cream. Fold in the crushed cookies once the buttercream is smooth. This filling goes between the two skull halves, so keep it thick enough to hold everything together without oozing out the sides.
  5. Spread the buttercream filling generously over the flat side of one cake half, then press the second half on top to form the full 3D skull shape. Insert a skewer through the base and another near the back for stability, then smooth any visible seam with an offset spatula.
  6. Wrap the assembled cake loosely in plastic and refrigerate for at least 30 minutes. This firms up the buttercream so it won't melt or shift once the warm glaze goes on, and it makes the final glazing step far less messy.
  7. Melt the white chocolate or candy melts with milk until smooth and pourable. Set the chilled cake on a wire rack over a sheet pan, then pour the glaze slowly over the top, letting it drip naturally down the sides and into every eye socket and groove.
Notes

  • I always chill my cake halves in the freezer for 15 minutes before assembling, since firmer cake is much easier to handle without crumbling
  • I brush the pan with a little extra baking spray around the nose and eye details, since those areas stick the most
  • I like adding a pinch of espresso powder to the batter, since it deepens the chocolate flavor without making the cake taste like coffee
  • I never rush the glaze step, since pouring it too fast leaves bald patches instead of an even drip
  • I keep my glaze slightly warm while working, since it thickens fast and gets harder to pour smoothly