Go Back
Cheesy Garlic Chicken Wraps Recipe
Ash Tyrrell

Cheesy Garlic Chicken Wraps Recipe

I still remember the first time I pan-seared one of these wraps and heard that sizzle turn into a golden crust. I had some leftover chicken sitting in my fridge and no real plan, so I mixed it with garlic, a little mayo, and a handful of cheese. What came out of the pan tasted like something from a takeout counter, not my kitchen.
Total Time 20 minutes

Ingredients
  

  • 2 large tortillas regular or low-carb/high-protein – go for a sturdier flour tortilla here since it holds the filling without tearing when you roll it tight.
  • 7 oz cooked chicken chopped or shredded – rotisserie chicken saves time, and leftover grilled chicken works just as well.
  • 2 garlic cloves minced – fresh garlic gives a sharper, more fragrant punch than the jarred kind, so skip the shortcut here.
  • 2 tablespoons light mayonnaise – this is what keeps the chicken moist and helps the filling bind together.
  • 1 tablespoon light Greek yogurt or plain yogurt – adds a slight tang and lightens up the mayo without losing creaminess.
  • 2 teaspoons hot sauce like Frank's – just enough to bring tangy heat without overpowering the garlic and cheese.
  • ¼ teaspoon salt – balances all the flavors and wakes up the chicken.
  • 3 oz cheddar cheese grated – grate your own block of cheddar instead of using pre-shredded bags, since fresh-grated cheese melts smoother and clings better to the filling.
  • 1 green onion chopped – adds a mild bite and a pop of color inside the wrap.
  • Olive oil spray – just enough to crisp the outside of the tortilla without making it greasy.

Method
 

  1. Add the chopped chicken, minced garlic, mayonnaise, yogurt, hot sauce, and salt to a mixing bowl. Stir everything together until the chicken is fully coated in that creamy, garlicky sauce. This mixture is really the heart of the whole wrap, so take a moment to taste and adjust the seasoning if needed.
  2. Lay a tortilla flat on your counter or cutting board. Sprinkle a layer of cheese along the lower third, then spoon the chicken mixture right on top. Finish with another sprinkle of cheese and a bit of chopped green onion for freshness.
  3. Fold the sides of the tortilla in toward the center to keep the filling from spilling out. From there, roll it up tightly starting from the bottom edge. Repeat the same process with your second tortilla so both wraps are ready to cook.
  4. Heat a non-stick skillet over medium-high heat and give it a light spray of olive oil. Place the wraps seam-side down so they seal shut while cooking, then cover with a lid and cook a few minutes on each side. You're looking for a deep golden color and a crisp exterior.
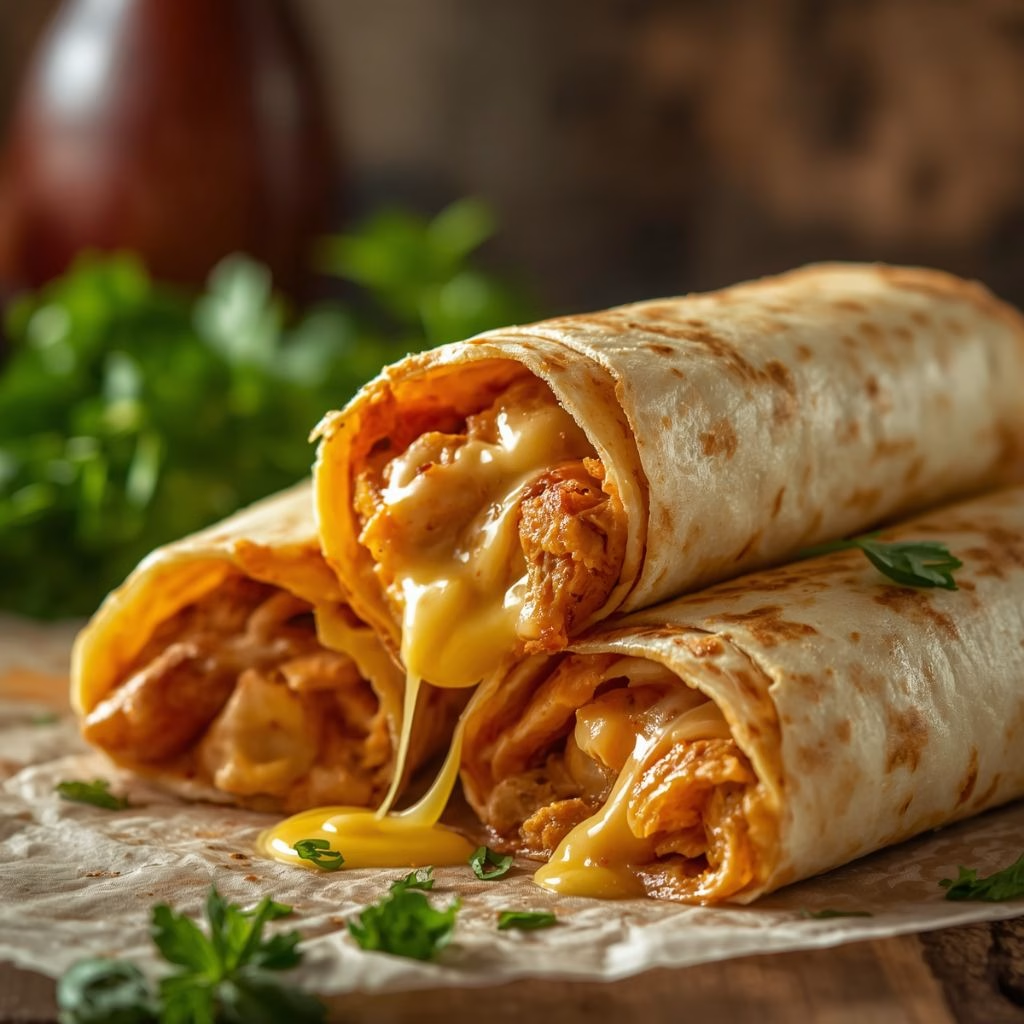
  5. Once both sides are golden brown, transfer the wraps to a cutting board. Slice them in half, straight across or on a diagonal, so you can see all that melty cheese inside. Serve them right away while everything is still warm and gooey.
Notes

  • I always cover the pan with a lid while cooking, since it traps steam and heats the filling through while the outside gets crispy.
  • I like to add cheese both under and over the chicken mixture, because it acts like glue and holds the wrap together once it melts.
  • I keep the heat at medium-high instead of cranking it up, since too much heat browns the tortilla before the inside even warms.
  • I've found that letting the chicken mixture sit for a couple of minutes before assembling helps the flavors blend together better.
  • I always use freshly grated cheese instead of the pre-shredded bags, since it melts so much smoother inside the wrap.