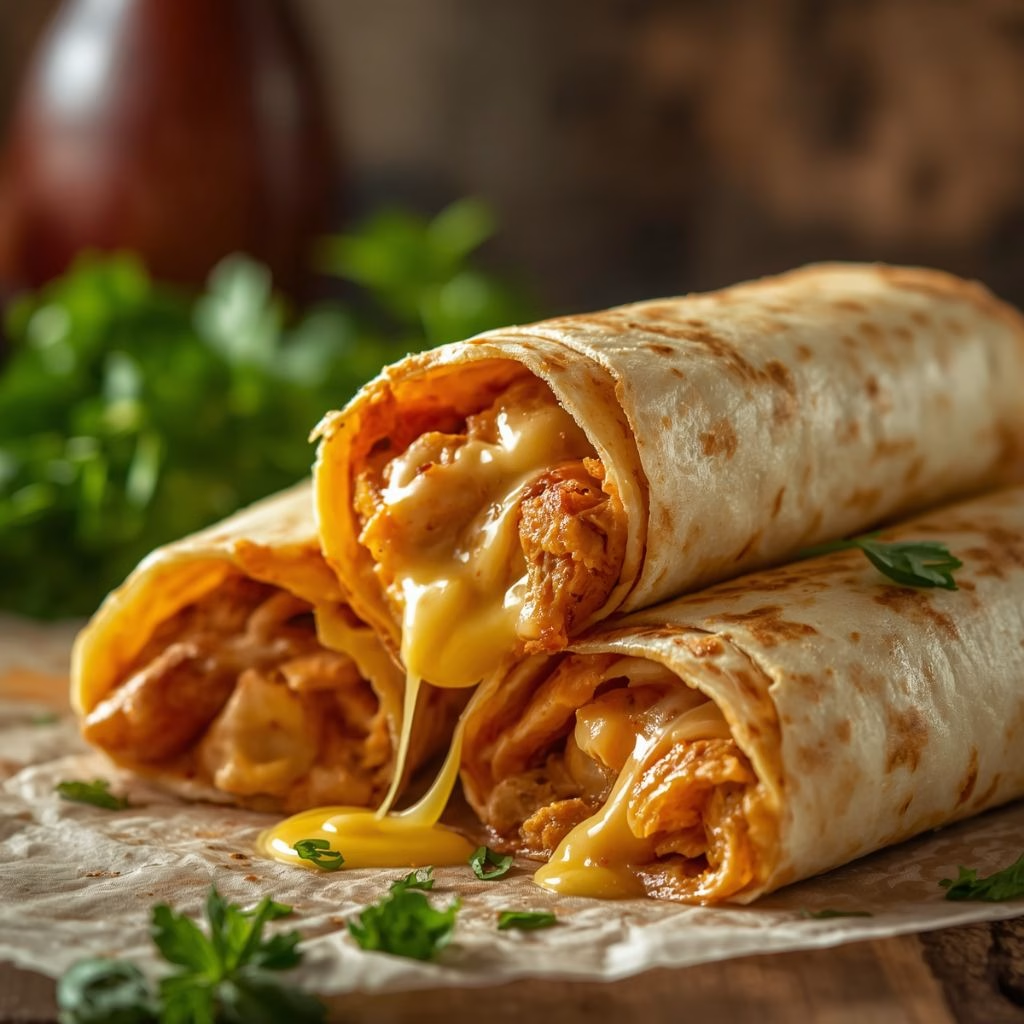
I still remember the first time I pan-seared one of this Cheesy Garlic Chicken Wraps Recipe and heard that sizzle turn into a golden crust. I had some leftover chicken sitting in my fridge and no real plan, so I mixed it with garlic, a little mayo, and a handful of cheese.
What came out of the pan tasted like something from a takeout counter, not my kitchen. Ever since, this has been my go-to when I want something fast, cheesy, and genuinely satisfying. I make a batch almost every week now, and it never gets old.
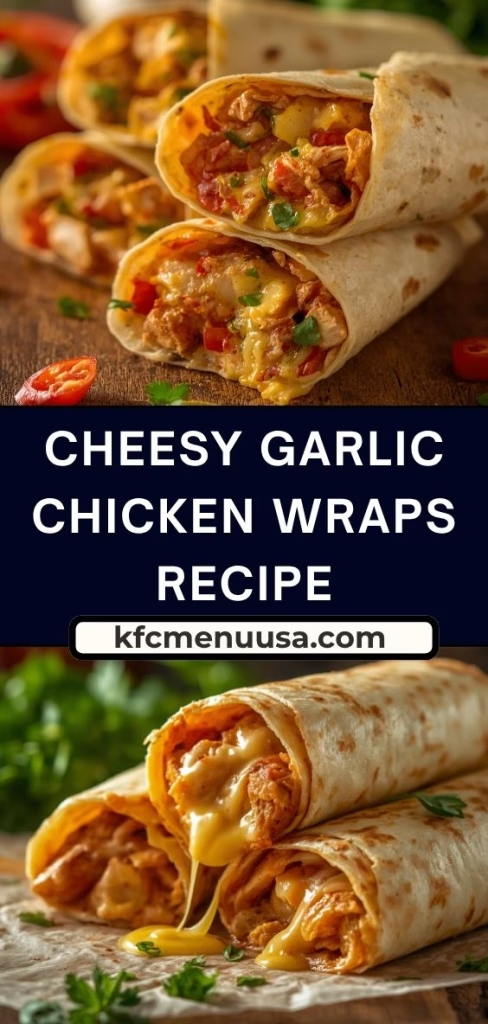
Ingredients You’ll Need
- 2 large tortillas, regular or low-carb/high-protein – go for a sturdier flour tortilla here since it holds the filling without tearing when you roll it tight.
- 7 oz cooked chicken, chopped or shredded – rotisserie chicken saves time, and leftover grilled chicken works just as well.
- 2 garlic cloves, minced – fresh garlic gives a sharper, more fragrant punch than the jarred kind, so skip the shortcut here.
- 2 tablespoons light mayonnaise – this is what keeps the chicken moist and helps the filling bind together.
- 1 tablespoon light Greek yogurt or plain yogurt – adds a slight tang and lightens up the mayo without losing creaminess.
- 2 teaspoons hot sauce, like Frank’s – just enough to bring tangy heat without overpowering the garlic and cheese.
- ¼ teaspoon salt – balances all the flavors and wakes up the chicken.
- 3 oz cheddar cheese, grated – grate your own block of cheddar instead of using pre-shredded bags, since fresh-grated cheese melts smoother and clings better to the filling.
- 1 green onion, chopped – adds a mild bite and a pop of color inside the wrap.
- Olive oil spray – just enough to crisp the outside of the tortilla without making it greasy.
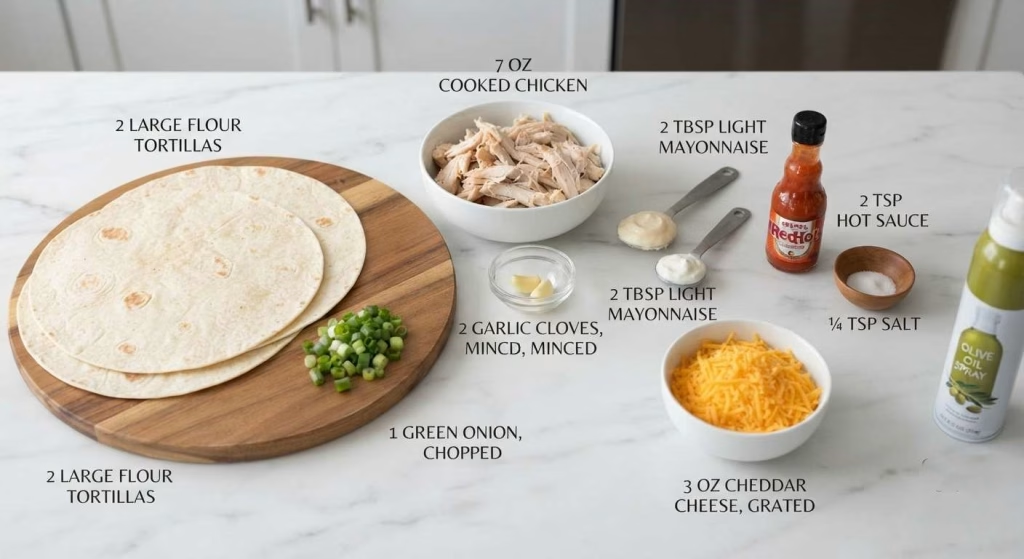
Note: These ingredient amounts make 2 full-size wraps, so double or triple everything if you’re feeding more people or want extra for lunch the next day.
Variations
- Dairy-free swap – use a plant-based shredded cheese and a dairy-free mayo alternative so the wrap stays creamy without the dairy.
- Low-carb option – wrap the filling in a low-carb or high-protein tortilla to cut down on carbs while keeping the same flavor.
- Buffalo style – switch the hot sauce for buffalo sauce and add a drizzle of ranch or blue cheese dressing before rolling.
- Smoky BBQ – replace the hot sauce with barbecue sauce and toss in extra cheddar for a sweeter, smokier bite.
- Veggie add-ins – stir in sautéed peppers, spinach, or mushrooms with the chicken mixture for extra texture and nutrients. If you enjoy creamy appetizer-style dishes with fresh herbs, Italian Goddess Antipasto Dip Recipe also pairs beautifully with these flavors.
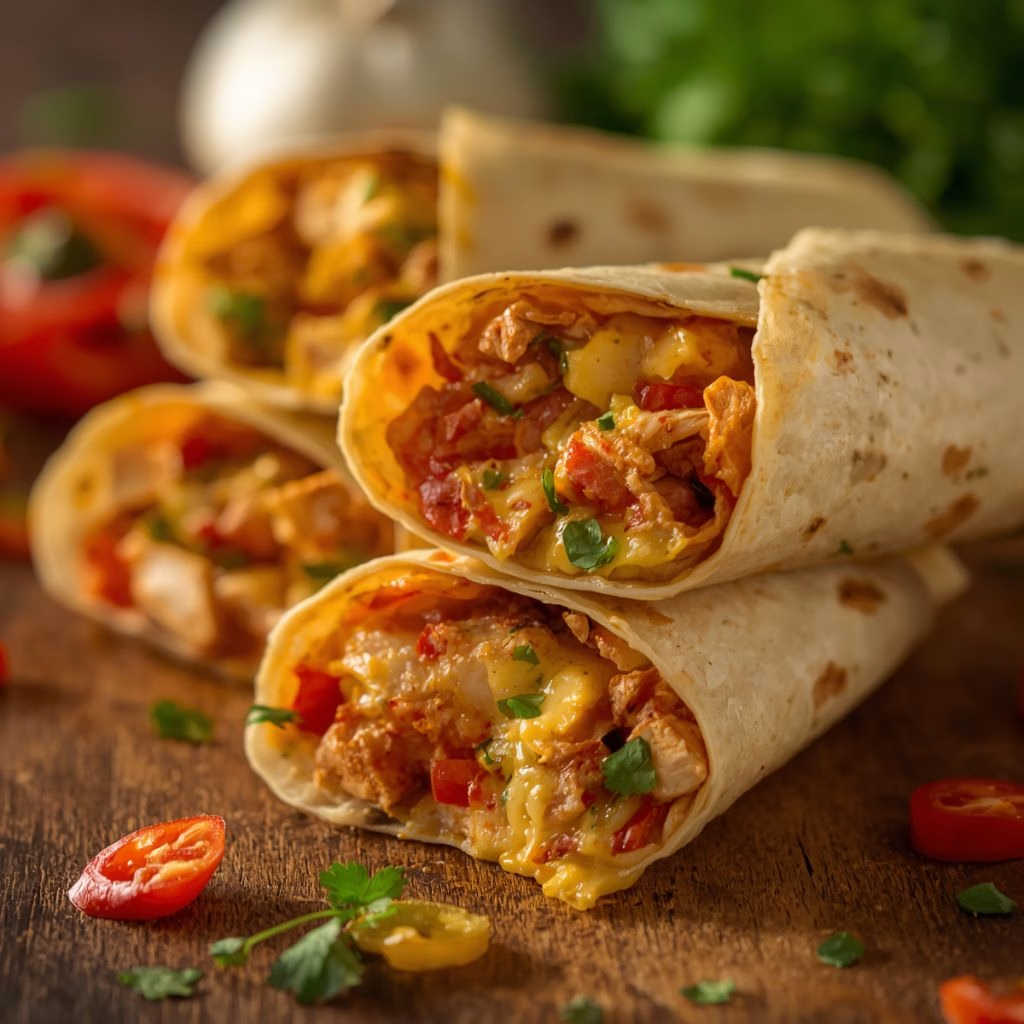
Cooking Time
- Prep Time: 10 minutes
- Cook Time: 10 minutes
- Total Time: 20 minutes
Equipment You Need
- Mixing bowl – for combining the chicken with the garlic, mayo, yogurt, and hot sauce.
- Cutting board – to chop the chicken and green onion.
- Non-stick skillet – to pan-fry the wraps until golden and crispy.
- Spatula – for flipping the wraps without tearing the tortilla.
- Grater – for shredding your cheddar fresh right before assembling.
How to Make Cheesy Garlic Chicken Wraps?
This part is where the magic actually happens, and it only takes a few simple steps. I like to have everything prepped and ready before I start rolling, since the assembly goes fast. Follow along and you’ll have a crispy, cheesy wrap on your plate in no time.
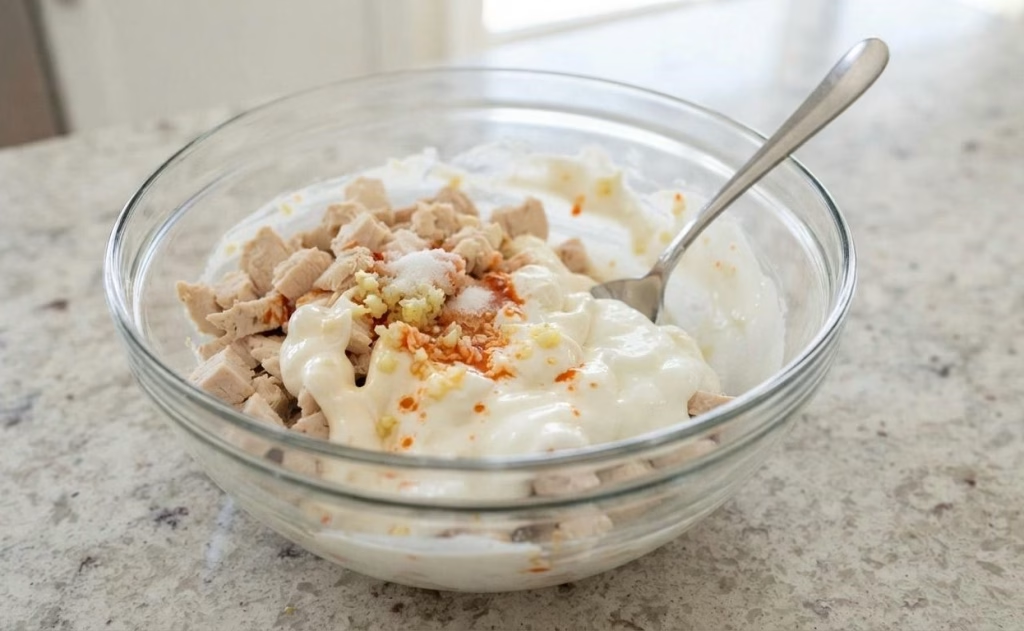
Step 1: Mix the Filling
Add the chopped chicken, minced garlic, mayonnaise, yogurt, hot sauce, and salt to a mixing bowl. Stir everything together until the chicken is fully coated in that creamy, garlicky sauce. This mixture is really the heart of the whole wrap, so take a moment to taste and adjust the seasoning if needed.
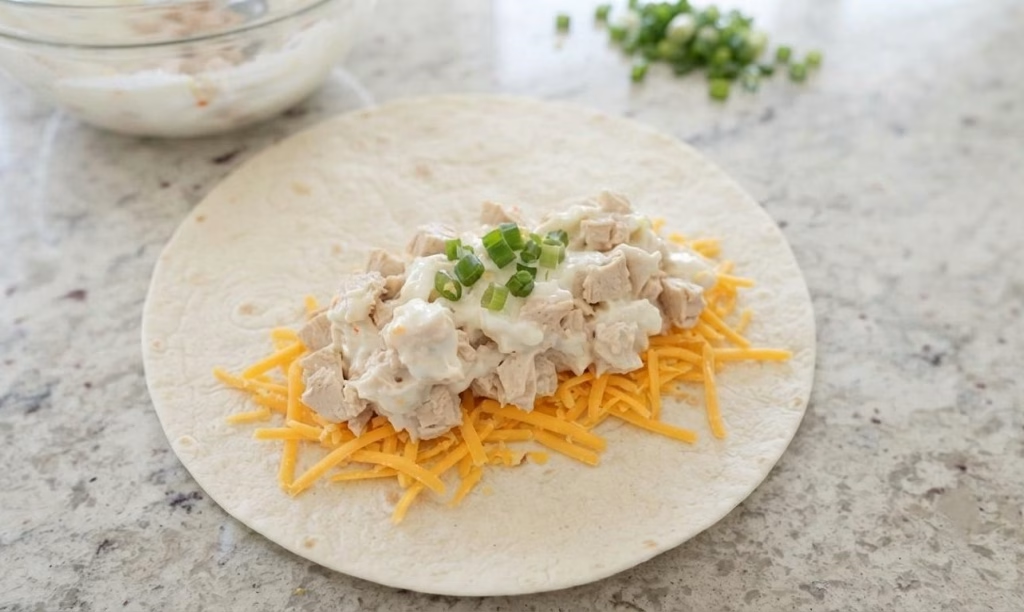
Step 2: Build the Wraps
Lay a tortilla flat on your counter or cutting board. Sprinkle a layer of cheese along the lower third, then spoon the chicken mixture right on top. Finish with another sprinkle of cheese and a bit of chopped green onion for freshness.
Step 3: Fold and Roll
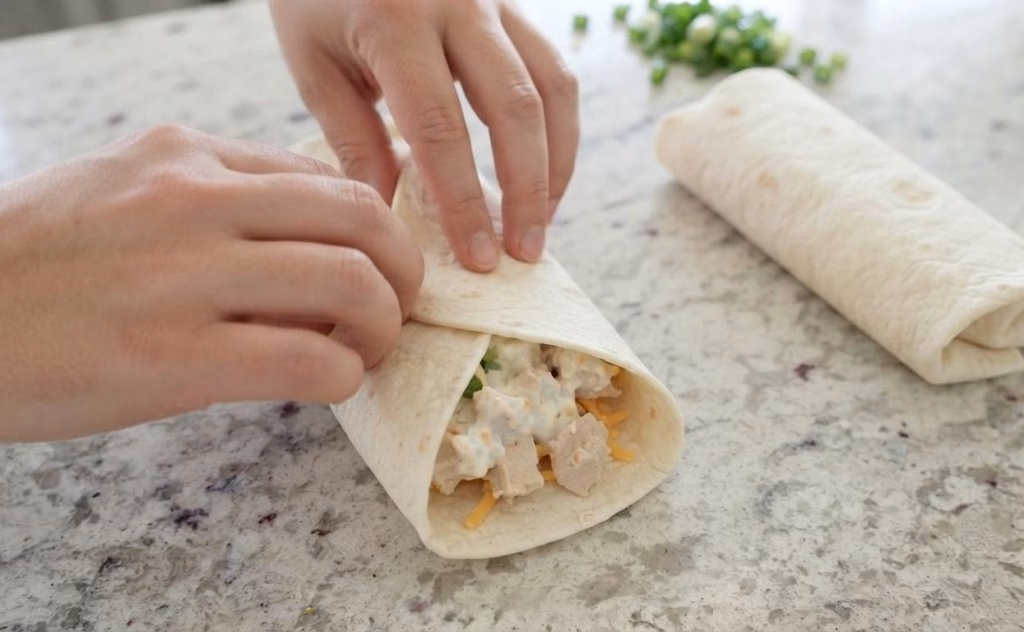
Fold the sides of the tortilla in toward the center to keep the filling from spilling out. From there, roll it up tightly starting from the bottom edge. Repeat the same process with your second tortilla so both wraps are ready to cook.
Step 4: Pan-Fry Until Crispy
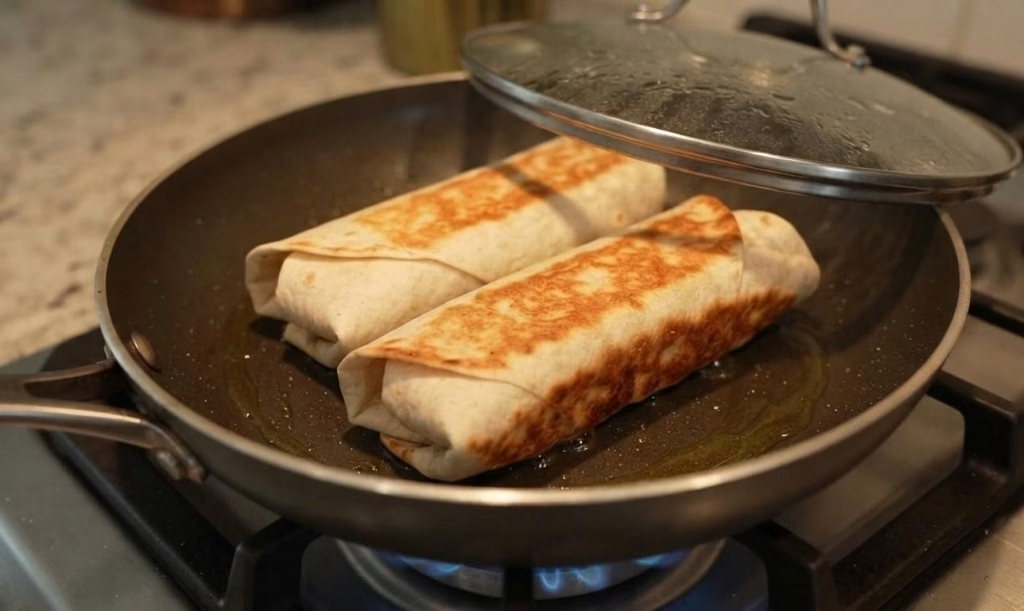
Heat a non-stick skillet over medium-high heat and give it a light spray of olive oil. Place the wraps seam-side down so they seal shut while cooking, then cover with a lid and cook a few minutes on each side. You’re looking for a deep golden color and a crisp exterior.
Step 5: Slice and Serve
Once both sides are golden brown, transfer the wraps to a cutting board. Slice them in half, straight across or on a diagonal, so you can see all that melty cheese inside. These wraps also go well alongside Sizzling Green Goddess Butter Over Cold Burrata Recipe for a fresh and creamy contrast on the table. Serve them right away while everything is still warm and gooey.
Additional Tips for Making This Recipe Better
- I always cover the pan with a lid while cooking, since it traps steam and heats the filling through while the outside gets crispy.
- I like to add cheese both under and over the chicken mixture, because it acts like glue and holds the wrap together once it melts.
- I keep the heat at medium-high instead of cranking it up, since too much heat browns the tortilla before the inside even warms.
- I’ve found that letting the chicken mixture sit for a couple of minutes before assembling helps the flavors blend together better.
- I always use freshly grated cheese instead of the pre-shredded bags, since it melts so much smoother inside the wrap.
How to Serve Cheesy Garlic Chicken Wraps?
I love slicing these wraps on a diagonal so you get that beautiful cross-section of melted cheese and chicken peeking out. Arrange them on a wooden board or a simple plate with a small bowl of extra shredded cheddar and sliced green onion scattered around for a fresh, colorful touch.
A side of ranch, blue cheese dressing, or garlic aioli in a small dipping bowl makes the presentation feel a little more special. Pair the wraps with a simple side salad or some crispy fries if you want to round it out into a full meal.
Nutritional Information
Here’s a quick look at what you can expect per serving of this recipe.
- Calories: 844
- Protein: 60g
- Carbohydrates: 39g
- Fat: 49g
Make Ahead and Storage
Make Ahead: You can prepare the chicken mixture up to 3 days in advance and store it in an airtight container in the fridge. When you’re ready to eat, just assemble and pan-fry the wraps fresh so they crisp up properly.
Storage: Let cooked wraps cool completely, then wrap each one tightly in foil or place them in an airtight container. They’ll stay good in the refrigerator for up to 3 days without losing much quality.
Freezing: These wraps freeze surprisingly well for up to 2 months. Wrap each one individually in foil or plastic wrap, then place them in a freezer bag before storing.
Reheating: For the best texture, reheat leftover or thawed wraps in a skillet or air fryer for a few minutes so the outside crisps back up. I’d avoid the microwave when you can, since it tends to leave the tortilla soft and a little soggy.
Why You’ll Love This Recipe
This recipe has earned a permanent spot in my regular rotation, and here’s why it might become one of yours too.
- It’s incredibly quick – from start to finish, you’re looking at just 20 minutes, which makes it perfect for busy weeknights or a fast lunch break.
- It’s endlessly customizable – swap the cheese, sauce, or add-ins to match whatever flavor mood you’re in, whether that’s buffalo, BBQ, or Tex-Mex.
- It’s high in protein – with 60g of protein per serving, it’s a filling meal that keeps you satisfied longer than a typical wrap.
- It uses ingredients you likely have – leftover chicken, cheese, and pantry staples come together without a special grocery trip.
- It reheats beautifully – leftovers taste nearly as good as fresh, making it an easy meal-prep option for the week ahead.

Cheesy Garlic Chicken Wraps Recipe
Ingredients
Method
- Add the chopped chicken, minced garlic, mayonnaise, yogurt, hot sauce, and salt to a mixing bowl. Stir everything together until the chicken is fully coated in that creamy, garlicky sauce. This mixture is really the heart of the whole wrap, so take a moment to taste and adjust the seasoning if needed.
- Lay a tortilla flat on your counter or cutting board. Sprinkle a layer of cheese along the lower third, then spoon the chicken mixture right on top. Finish with another sprinkle of cheese and a bit of chopped green onion for freshness.
- Fold the sides of the tortilla in toward the center to keep the filling from spilling out. From there, roll it up tightly starting from the bottom edge. Repeat the same process with your second tortilla so both wraps are ready to cook.
- Heat a non-stick skillet over medium-high heat and give it a light spray of olive oil. Place the wraps seam-side down so they seal shut while cooking, then cover with a lid and cook a few minutes on each side. You’re looking for a deep golden color and a crisp exterior.
- Once both sides are golden brown, transfer the wraps to a cutting board. Slice them in half, straight across or on a diagonal, so you can see all that melty cheese inside. Serve them right away while everything is still warm and gooey.
Notes
- I always cover the pan with a lid while cooking, since it traps steam and heats the filling through while the outside gets crispy.
- I like to add cheese both under and over the chicken mixture, because it acts like glue and holds the wrap together once it melts.
- I keep the heat at medium-high instead of cranking it up, since too much heat browns the tortilla before the inside even warms.
- I’ve found that letting the chicken mixture sit for a couple of minutes before assembling helps the flavors blend together better.
- I always use freshly grated cheese instead of the pre-shredded bags, since it melts so much smoother inside the wrap.