Go Back
Costco Copycat Chicken Parmesan Recipe
Ash Tyrrell

Costco Copycat Chicken Parmesan Recipe

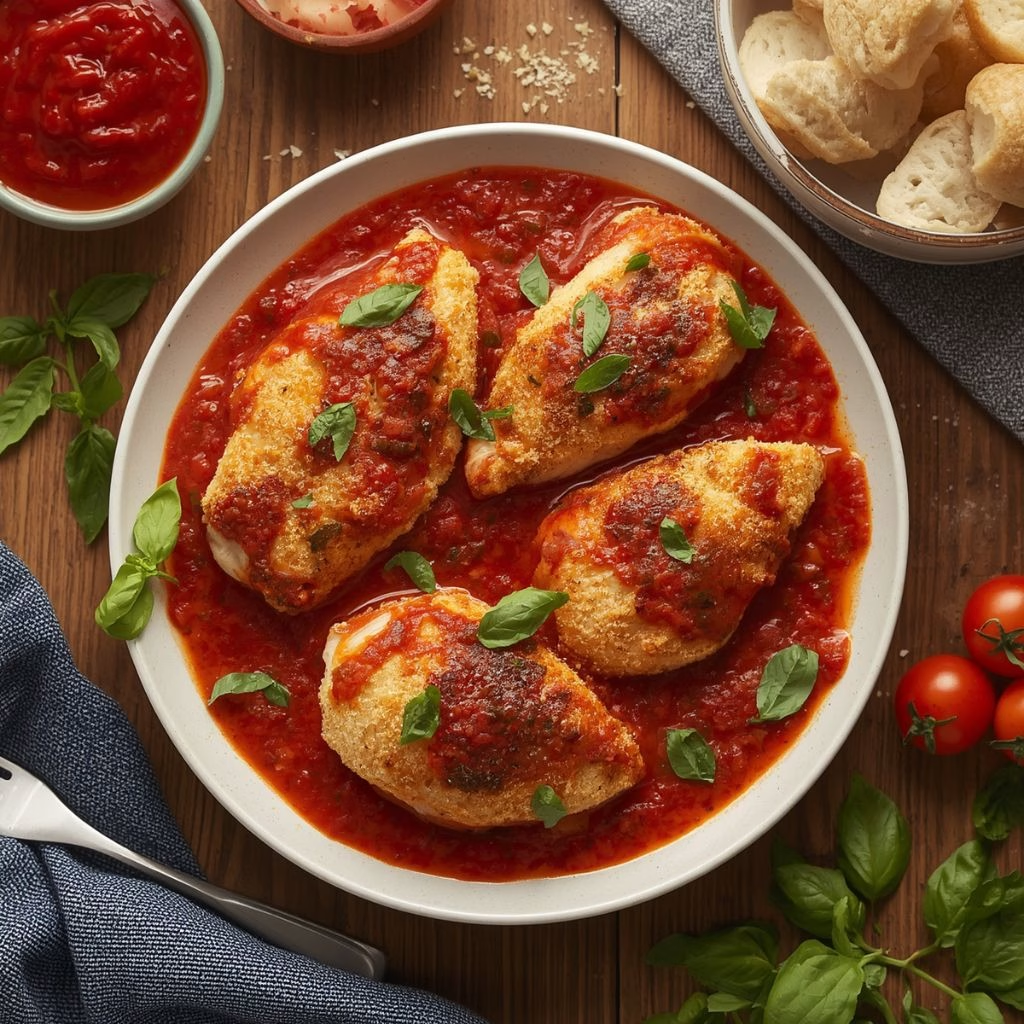
I first tried the Ventera chicken parmesan tray from my Costco deli on a night I truly did not feel like cooking, and I was surprised at how much I liked it. That got me curious about recreating the same flavors at home with a bit more control over the breading and cheese.
Prep Time 20 minutes
Cook Time 25 minutes
Servings: 4

Ingredients
  

  • 4 boneless skinless chicken breasts, pounded to even thickness so every piece cooks at the same rate
  • 1 cup all-purpose flour for the first dredging layer that helps the egg wash stick
  • 2 large eggs beaten, to bind the breadcrumbs to the chicken
  • 1 ½ cups panko breadcrumbs my pick for that light, crispy deli-style crunch
  • ½ cup freshly grated parmesan cheese mixed into the breadcrumbs for extra savory flavor
  • 1 teaspoon garlic powder for a quick flavor boost without chopping fresh garlic
  • 1 teaspoon Italian seasoning to bring in that classic herby note
  • Salt and black pepper to taste, seasoned into every layer, not just the surface
  • 3 tablespoons olive oil for pan-searing the cutlets to a golden crust
  • 2 cups jarred marinara sauce a good-quality jar like Rao's saves time without losing flavor
  • 1 ½ cups shredded part-skim mozzarella cheese grated fresh rather than pre-shredded for better melting
  • ¼ cup grated parmesan cheese for the final layer of sharpness on top
  • 8 ounces spaghetti or penne pasta to serve underneath or alongside the chicken
  • Fresh basil leaves torn, for garnish and a pop of freshness at the end

Method
 

  1. Place each chicken breast between two sheets of plastic wrap and pound it to about half an inch thick. This keeps the chicken from drying out and helps it cook evenly all the way through. Season both sides generously with salt and pepper before you start breading.
  2. Put the flour in one shallow dish, the beaten eggs in a second, and the panko mixed with parmesan, garlic powder, and Italian seasoning in a third. Keep one hand dry and one hand wet as you work so the breading doesn't clump on your fingers. This little trick makes the whole process much less messy.
  3. Dredge each chicken breast in flour, then egg, then press firmly into the breadcrumb mixture so it sticks well. Heat the olive oil in your oven-safe skillet over medium-high heat and sear the cutlets for about three minutes per side until golden. You're not cooking them through yet, just building that crispy crust.
  4. Spoon a few tablespoons of marinara over each seared cutlet, then top with a generous layer of mozzarella and a sprinkle of parmesan.
  5. Slide the skillet under a preheated broiler for three to five minutes, watching closely until the cheese is melted and bubbling with light golden spots. Use your meat thermometer to confirm the chicken has reached 165°F in the thickest part. Pull it out the moment the cheese looks right, since broilers work fast.
  6. While the chicken broils, cook your pasta according to the package directions and toss it with a bit of the remaining marinara sauce. Plate the pasta first, then set a cheesy chicken cutlet right on top. Finish with torn basil leaves for a fresh, restaurant-style presentation.
Notes

  • I always grate my own mozzarella instead of buying pre-shredded, since it melts so much smoother.
  • I pound my chicken to an even thickness every time, because uneven cutlets mean some parts overcook while others stay underdone.
  • I let the seared chicken rest for a minute before adding sauce so the crust doesn't turn soggy right away.
  • I keep my broiler door cracked open slightly so I can watch the cheese without walking away.
  • I season my flour and breadcrumbs, not just the chicken itself, so every bite has flavor.