Go Back
Costco Rotisserie Chicken Recipe

Costco Rotisserie Chicken Recipe

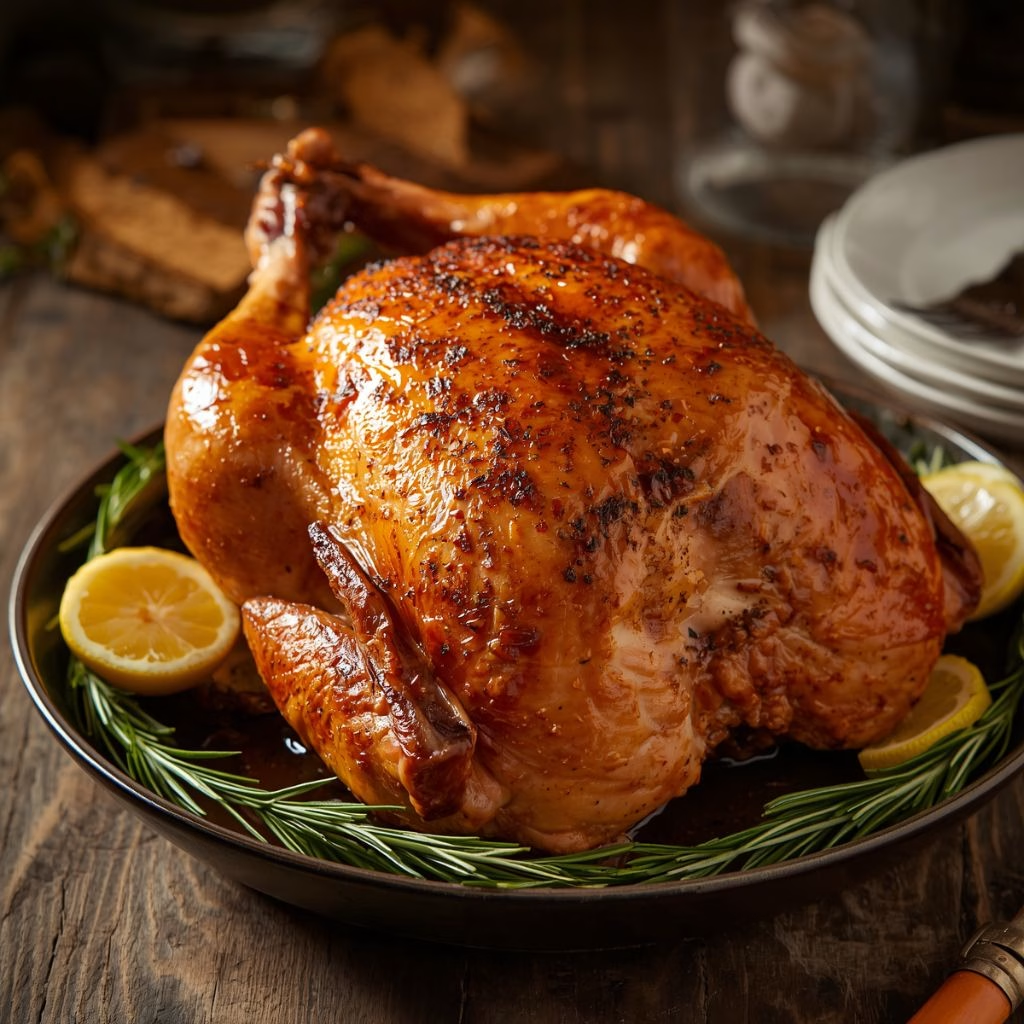
I still remember the first time I pulled this chicken out of my own oven and thought, wait, this actually tastes like the one from Costco. I had been buying those warm rotisserie chickens for years without ever thinking I could recreate that flavor at home.
Prep Time 10 minutes
Cook Time 1 hour 20 minutes
Servings: 8

Ingredients
  

  • Whole chicken about 4 to 5 pounds: this is the star of the dish, and a fresh bird gives the juiciest results
  • Olive oil 2 tablespoons: helps the skin turn golden and crisp while sealing in moisture
  • Salt 2 teaspoons: the backbone of the seasoning, don't skip it or the chicken will taste flat
  • Black pepper 1 teaspoon: adds a gentle warmth that balances the other spices
  • Paprika 1 teaspoon: gives that classic reddish-gold color everyone loves on rotisserie chicken
  • Onion powder 1 teaspoon: builds a deep, savory background flavor
  • Garlic powder 1 teaspoon: rounds out the seasoning with a rich, aromatic punch
  • Dried thyme half a teaspoon: adds an earthy note that pairs beautifully with poultry
  • Dried oregano half a teaspoon: brings a light herbal lift to the blend
  • Dried rosemary half a teaspoon: gives a woodsy fragrance that makes the kitchen smell amazing
  • Cayenne pepper a quarter teaspoon, optional: use it if you like a little heat in the background

Method
 

  1. Start by heating your oven to 375 degrees Fahrenheit so it's fully ready when the chicken goes in. Remove any giblets from inside the cavity and set them aside or discard them. Pat the chicken completely dry with paper towels, since damp skin will steam instead of crisp.
  2. In a small bowl, combine the salt, black pepper, paprika, onion powder, garlic powder, thyme, oregano, rosemary, and cayenne if you're using it. Give it a good stir so every spice is evenly distributed. This blend is really what makes the chicken taste like the Costco version.
  3. Rub the olive oil all over the outside of the chicken and just inside the cavity. Then take your spice mix and massage it over the skin, under the skin, and inside the cavity too. Don't be shy here, since a generous coating is what gives you that bold, salty crust.
  4. Tie the legs together with kitchen twine so the chicken holds its shape while roasting. Tuck the wing tips underneath the body to keep them from burning. This little step helps the chicken cook more evenly from end to end.
  5. Place the chicken breast side up in your roasting pan and slide it into the oven. Roast for about 1 hour and 20 minutes, checking the thickest part of the thigh with a meat thermometer near the end. You're looking for an internal temperature of 165 degrees Fahrenheit.
  6. Once it's done, pull the chicken out and let it rest for about 10 minutes before you cut into it. This resting time lets the juices settle back into the meat instead of spilling out onto the cutting board. Carve it up and serve while it's still warm.
Notes

  • I always pat the chicken bone dry, even going over it twice, since that's the secret to really crispy skin.
  • I like to season the chicken a few hours ahead and let it sit uncovered in the fridge, which dries the skin out even more.
  • I never skip rubbing seasoning under the skin, because that's where a lot of the flavor actually lives.
  • I set a timer for the last 20 minutes and check the thigh temperature so I never overcook the breast meat.
  • I save every bit of the pan drippings, since they make the easiest gravy with almost no extra work.