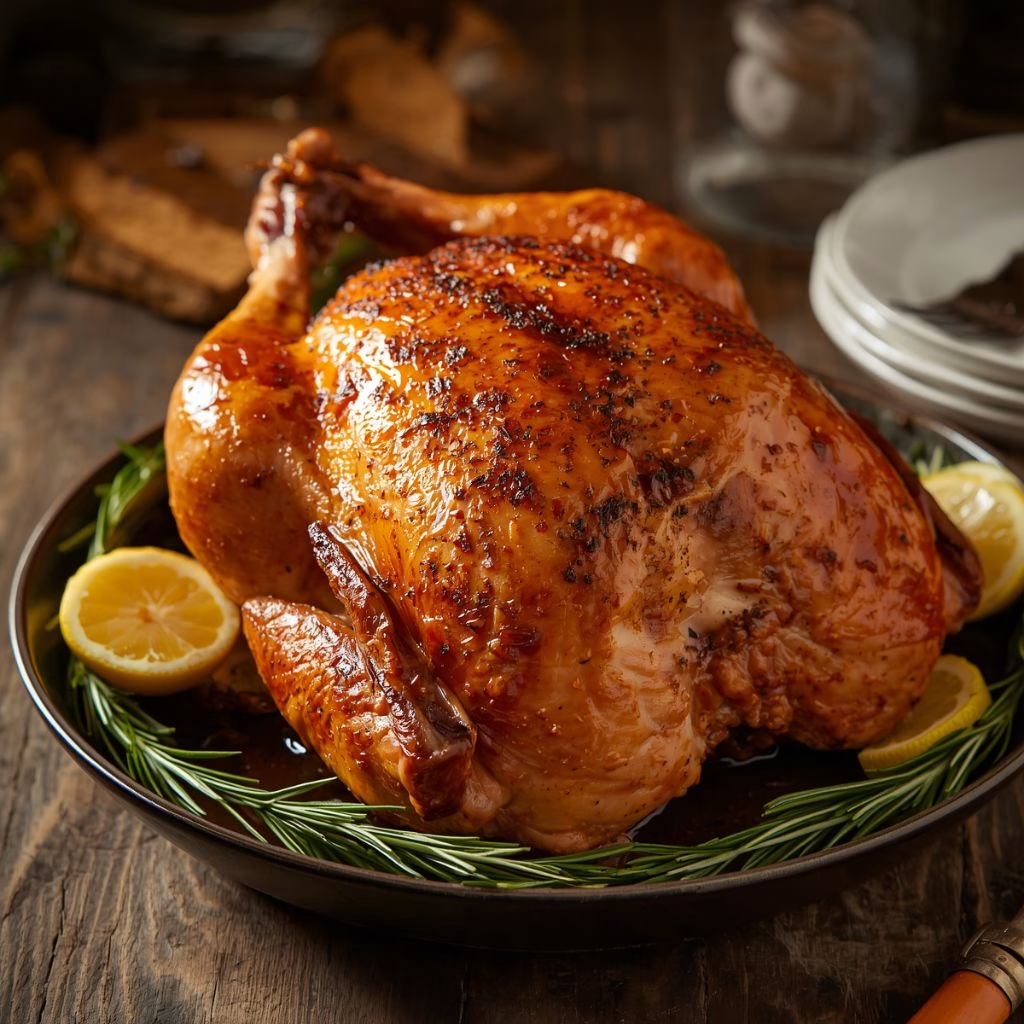
I still remember the first time I pulled this Costco Rotisserie Chicken Recipe out of my own oven and thought, wait, this actually tastes like the one from Costco. I had been buying those warm rotisserie chickens for years without ever thinking I could recreate that flavor at home.
Once I figured out the right spice blend and roasting method, I never looked back. Now this is the recipe I make almost every Sunday for my family. I promise it’s easier than it looks, and your kitchen will smell incredible while it cooks.

Cooking Time
- Prep Time: 10 minutes
- Cooking Time: 1 hour 20 minutes
- Total Time: 1 hour 30 minutes
Ingredients
- Whole chicken, about 4 to 5 pounds: this is the star of the dish, and a fresh bird gives the juiciest results
- Olive oil, 2 tablespoons: helps the skin turn golden and crisp while sealing in moisture
- Salt, 2 teaspoons: the backbone of the seasoning, don’t skip it or the chicken will taste flat
- Black pepper, 1 teaspoon: adds a gentle warmth that balances the other spices
- Paprika, 1 teaspoon: gives that classic reddish-gold color everyone loves on rotisserie chicken
- Onion powder, 1 teaspoon: builds a deep, savory background flavor
- Garlic powder, 1 teaspoon: rounds out the seasoning with a rich, aromatic punch
- Dried thyme, half a teaspoon: adds an earthy note that pairs beautifully with poultry
- Dried oregano, half a teaspoon: brings a light herbal lift to the blend
- Dried rosemary, half a teaspoon: gives a woodsy fragrance that makes the kitchen smell amazing
- Cayenne pepper, a quarter teaspoon, optional: use it if you like a little heat in the background
Note: this recipe serves about 8, so it’s perfect for a family dinner with leftovers to spare.
Equipment You Need
- Roasting pan: holds the chicken steady and catches the drippings for gravy
- Kitchen twine: ties the legs together so the chicken cooks evenly
- Small mixing bowl: for blending all the dry spices together
- Meat thermometer: makes sure the chicken hits a safe internal temperature
- Paper towels: for patting the chicken dry before seasoning
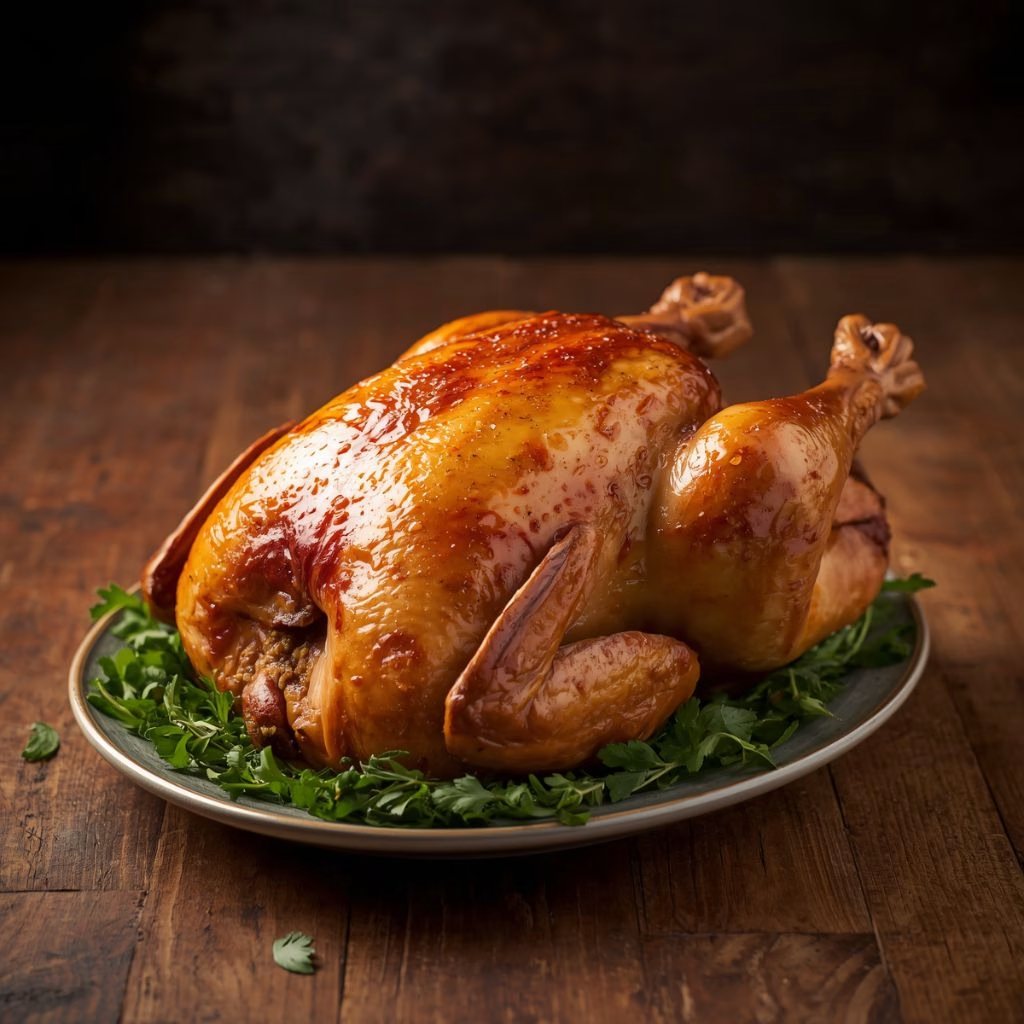
How to Make a Costco Rotisserie Chicken Recipe?
This copycat Costco rotisserie chicken comes together in just a handful of simple steps. I like to prep everything the night before so dinner is fast the next day. Follow along and you’ll have that same juicy, golden bird on your table tonight.
Preheat and Prep the Chicken
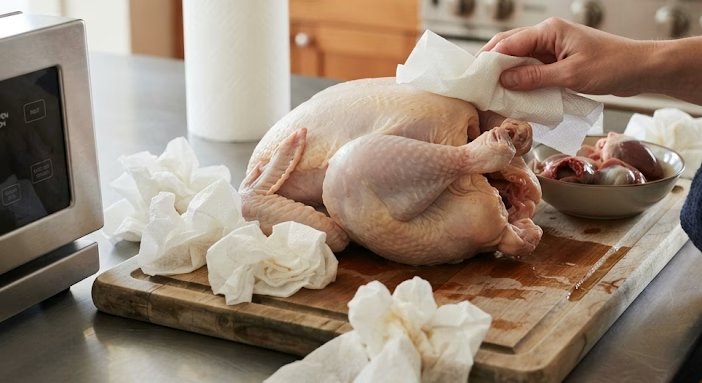
Start by heating your oven to 375 degrees Fahrenheit so it’s fully ready when the chicken goes in. Remove any giblets from inside the cavity and set them aside or discard them. Pat the chicken completely dry with paper towels, since damp skin will steam instead of crisp.
Mix the Spice Blend
In a small bowl, combine the salt, black pepper, paprika, onion powder, garlic powder, thyme, oregano, rosemary, and cayenne if you’re using it. Give it a good stir so every spice is evenly distributed. This blend is really what makes the chicken taste like the Costco version.

Season the Chicken Generously
Rub the olive oil all over the outside of the chicken and just inside the cavity. Then take your spice mix and massage it over the skin, under the skin, and inside the cavity too. Don’t be shy here, since a generous coating is what gives you that bold, salty crust.
Tie and Truss
Tie the legs together with kitchen twine so the chicken holds its shape while roasting. Tuck the wing tips underneath the body to keep them from burning. This little step helps the chicken cook more evenly from end to end.
Roast Until Golden
Place the chicken breast side up in your roasting pan and slide it into the oven. Roast for about 1 hour and 20 minutes, checking the thickest part of the thigh with a meat thermometer near the end. You’re looking for an internal temperature of 165 degrees Fahrenheit.
Rest Before Carving
Once it’s done, pull the chicken out and let it rest for about 10 minutes before you cut into it. This resting time lets the juices settle back into the meat instead of spilling out onto the cutting board. Carve it up and serve while it’s still warm.
Additional Tips for Making This Recipe Better
I’ve made this chicken more times than I can count, and these small tweaks have made a real difference for me.
- I always pat the chicken bone dry, even going over it twice, since that’s the secret to really crispy skin.
- I like to season the chicken a few hours ahead and let it sit uncovered in the fridge, which dries the skin out even more.
- I never skip rubbing seasoning under the skin, because that’s where a lot of the flavor actually lives.
- I set a timer for the last 20 minutes and check the thigh temperature so I never overcook the breast meat.
- I save every bit of the pan drippings, since they make the easiest gravy with almost no extra work.
Common Mistakes to Avoid
I’ve made a few of these mistakes myself over the years, so I like to call them out for anyone trying this recipe.
- I used to skip patting the chicken dry, and the skin came out pale and rubbery instead of crisp.
- I once under-seasoned the cavity, and the meat near the bone tasted bland compared to the outside.
- I’ve forgotten to truss the legs before, and the thighs ended up cooking unevenly compared to the breast.
- I’ve pulled the chicken too early before checking with a thermometer, which is risky and not worth guessing on.
- I cut into the chicken right away without resting it, and all those good juices ran straight out onto the board.
How to Serve Costco Rotisserie Chicken?
I like to carve this chicken right at the table so everyone can see that golden, crackly skin before it’s sliced. A big platter with the chicken in the center, surrounded by roasted vegetables or a scoop of mashed potatoes, always looks impressive without much extra effort.
For a pop of color, I scatter fresh herbs like parsley or thyme sprigs over the top right before serving. A few lemon wedges tucked around the platter add a nice bright touch too.
If I’m feeding a crowd, I’ll shred half the chicken for sandwiches or salads and leave the rest whole for slicing. Leftover chicken can also be used in other filling meals, such as Chicken Burritos With Rice and Beans Recipe.
Variations
- Swap the olive oil for melted butter if you want an even richer, more golden skin.
- Use smoked paprika instead of regular paprika for a deeper, smokier flavor profile.
- Add lemon zest and a few garlic cloves inside the cavity for a brighter, more aromatic chicken.
- Try a dairy-free herb butter rub made with olive oil and fresh chopped herbs for extra flavor.
- Cut back on the cayenne or leave it out entirely if you’re cooking for kids or spice-sensitive guests.
- Add a tablespoon of brown sugar to the spice rub for a subtle caramelized sweetness on the skin.
Nutritional Information
Here’s a quick look at what you can expect per serving of this homemade rotisserie chicken.
- Calories: about 35 kcal per serving of seasoning blend and skin coating (chicken meat itself will vary by portion)
- Protein: roughly 0.1g from the seasoning coating alone, with the chicken meat adding significantly more per serving
- Carbohydrates: around 1g per serving, mostly from the spice blend
- Fat: about 4g per serving from the olive oil and skin
Make Ahead and Storage
You can season the chicken up to a day in advance and keep it covered in the fridge, which actually helps the flavor go even deeper into the meat.
Leftovers keep well in an airtight container in the refrigerator for 3 to 4 days. I like to pull the skin off before storing if I want it to stay crisp for reheating later.
To reheat, warm it in a 350 degree oven for 10 to 15 minutes, which keeps the skin from going soggy the way a microwave sometimes does. For longer storage, pull the meat off the bones and freeze it in a freezer-safe bag or container for up to 2 to 3 months, then thaw overnight in the fridge before reheating.
Why You’ll Love This Recipe
This homemade version has become a weekly staple in my house, and here’s why I think you’ll feel the same way.
- It’s simple and affordable: you’re using pantry spices and one chicken, so it costs a fraction of buying one at the store every week.
- It’s fully customizable: you can adjust the spice blend to make it milder, spicier, or more herby depending on what your family likes.
- It’s juicy every single time: the olive oil and seasoning under the skin keep the meat moist while the outside turns golden and crisp.
- It’s endlessly versatile: serve it whole for dinner, or shred the leftovers into soups, salads, and sandwiches throughout the week. You can also turn leftover ingredients into a satisfying Ground Beef Bibimbap Bowl Recipe when you want something different for another meal.
- It’s a healthier homemade option: you control every ingredient, so there are no preservatives or mystery additives like some store-bought versions.
FAQs
How do I make Costco rotisserie chicken crispy at home?
Pat the chicken completely dry before seasoning, then rub it well with olive oil and your spice blend. Roasting at a hot 375 degrees is what really crisps up that skin, so don’t lower the temperature.
Is there a viral version of this Costco rotisserie chicken recipe going around?
Yes, several versions of this copycat recipe have gone viral online for how closely they match the flavor of the original. Most use the same basic method of a seasoned rub, olive oil, and a high roasting temperature.
Do I need to brine the chicken for this recipe?
Brining isn’t required for this recipe since the seasoning rub under the skin does most of the flavor work. If you want to try it, a simple saltwater brine for a few hours before roasting can add extra juiciness.
What spices are in the Costco rotisserie chicken seasoning?
The classic blend includes salt, black pepper, paprika, onion powder, garlic powder, thyme, oregano, rosemary, and a touch of cayenne pepper for a little heat.
Can I use this seasoning on a rotisserie chicken bag instead of roasting a whole chicken?
Yes, this same seasoning blend works well if you prefer using a cooking bag, since it helps the chicken stay moist while the spices still soak into the meat and skin.
What are some easy recipes I can make using leftover rotisserie chicken?
Shredded leftover chicken works wonderfully in soups, tacos, sandwiches, and pasta salads, making it one of the most versatile ingredients to keep on hand for quick weeknight meals.
Costco Rotisserie Chicken Recipe
Ingredients
Method
- Start by heating your oven to 375 degrees Fahrenheit so it’s fully ready when the chicken goes in. Remove any giblets from inside the cavity and set them aside or discard them. Pat the chicken completely dry with paper towels, since damp skin will steam instead of crisp.
- In a small bowl, combine the salt, black pepper, paprika, onion powder, garlic powder, thyme, oregano, rosemary, and cayenne if you’re using it. Give it a good stir so every spice is evenly distributed. This blend is really what makes the chicken taste like the Costco version.
- Rub the olive oil all over the outside of the chicken and just inside the cavity. Then take your spice mix and massage it over the skin, under the skin, and inside the cavity too. Don’t be shy here, since a generous coating is what gives you that bold, salty crust.
- Tie the legs together with kitchen twine so the chicken holds its shape while roasting. Tuck the wing tips underneath the body to keep them from burning. This little step helps the chicken cook more evenly from end to end.
- Place the chicken breast side up in your roasting pan and slide it into the oven. Roast for about 1 hour and 20 minutes, checking the thickest part of the thigh with a meat thermometer near the end. You’re looking for an internal temperature of 165 degrees Fahrenheit.
- Once it’s done, pull the chicken out and let it rest for about 10 minutes before you cut into it. This resting time lets the juices settle back into the meat instead of spilling out onto the cutting board. Carve it up and serve while it’s still warm.
Notes
- I always pat the chicken bone dry, even going over it twice, since that’s the secret to really crispy skin.
- I like to season the chicken a few hours ahead and let it sit uncovered in the fridge, which dries the skin out even more.
- I never skip rubbing seasoning under the skin, because that’s where a lot of the flavor actually lives.
- I set a timer for the last 20 minutes and check the thigh temperature so I never overcook the breast meat.
- I save every bit of the pan drippings, since they make the easiest gravy with almost no extra work.