Go Back
Easy Apple Crisp Recipe
Ash Tyrrell

Easy Apple Crisp Recipe

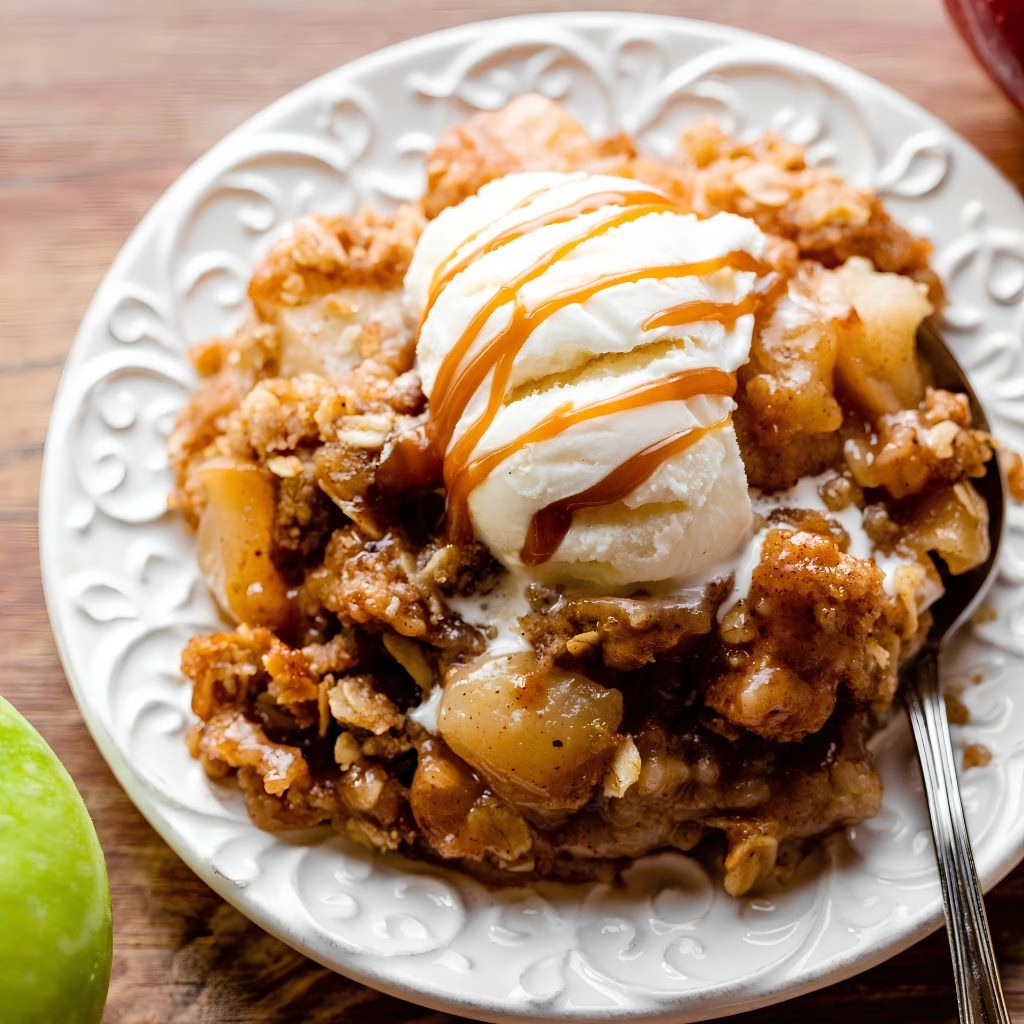
I still remember the first time I pulled a bubbling apple crisp out of my oven the whole kitchen smelled like cinnamon and warm butter, and I knew instantly this was going into my regular rotation
Prep Time 15 minutes
Cook Time 40 minutes
Servings: 6

Ingredients
  

  • 6 cups apples peeled and sliced — I like a mix of tart and sweet apples for the best balance of flavor
  • 1 tablespoon lemon juice — keeps the apple slices from browning while you prep the rest
  • 3/4 cup granulated sugar — sweetens the apple filling and helps create that syrupy base
  • 1 teaspoon ground cinnamon — the classic warm spice that makes apple crisp taste like fall
  • 1/4 teaspoon ground nutmeg — adds a subtle depth that pairs beautifully with the cinnamon
  • 1 cup old-fashioned rolled oats — gives the topping its signature crisp chewy texture
  • 1 cup all-purpose flour — helps bind the topping into that crumbly golden crust
  • 3/4 cup brown sugar packed — adds moisture and a rich caramel flavor to the topping
  • 1/2 teaspoon salt — balances the sweetness and keeps the flavors from tasting flat
  • 3/4 cup unsalted butter melted — brings everything in the topping together into a buttery crumble

Method
 

  1. Preheat your oven to 350°F before you start anything else, since apple crisp bakes best in a fully heated oven. Lightly grease your 2-quart baking dish with butter or nonstick spray so the filling doesn't stick to the edges. I always do this step first so I'm not scrambling once my apples are sliced and ready to go.
  2. Peel and slice your apples into even, thin pieces so they cook at the same rate. In a large bowl, toss the apple slices with lemon juice, granulated sugar, cinnamon, and nutmeg until every slice is coated. Let the mixture sit for a few minutes while you make the topping, since this helps the apples release a little juice.
  3. In a separate medium bowl, stir together the oats, flour, brown sugar, and salt until well combined. Pour the melted butter over the dry mixture and stir with a fork or spatula until it turns into a thick, crumbly texture. You want it clumpy, not runny, so add a touch more flour if it feels too wet.
  4. Pour the apple filling into your prepared baking dish and spread it into an even layer. Sprinkle the oat topping evenly over the apples, covering as much of the surface as you can. Don't press it down too firmly, since a loose topping bakes up crispier than a packed one.
  5. Place the dish in your preheated oven and bake for 35 to 40 minutes, until the topping is deep golden brown. You'll know it's ready when you see the apple filling bubbling up around the edges of the dish. If the topping browns too quickly, loosely tent it with foil for the last few minutes.
  6. Let the apple crisp rest for about 10 minutes before serving so the filling has time to set slightly. This short cooling period also means you won't burn your tongue on that molten apple filling. Serve it warm, on its own or with your favorite topping.
Notes

  • I always use a mix of apple varieties, because relying on just one type can leave the filling either too mushy or too firm.
  • I slice my apples fairly thin and uniform, since uneven pieces cook unevenly and I end up with some slices still hard.
  • I never skip the lemon juice, because it keeps the apples from browning and adds a nice brightness to the sweetness.
  • I like to chill my topping mixture for 10 minutes before sprinkling it on, since cold butter crisps up better in the oven.
  • I always bake on a rimmed baking sheet placed under my dish, because bubbling juices can drip and make a mess in my oven.