Go Back
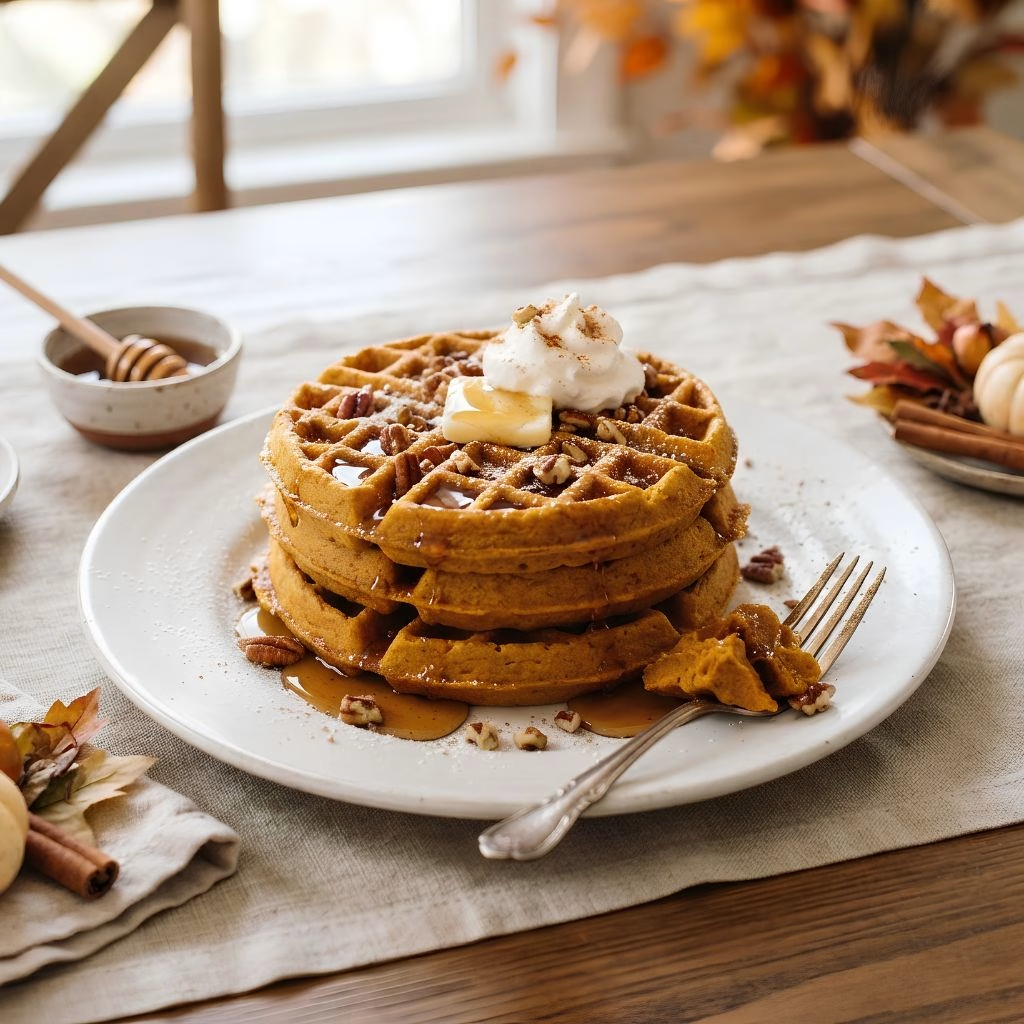
Easy Pumpkin Waffle Recipe
Ash Tyrrell

Easy Pumpkin Waffle Recipe

I still remember the first chilly October morning I pulled out my waffle iron and decided pancakes just weren't going to cut it anymore. I wanted something with a little crunch on the outside and cozy pumpkin spice in every bite.
Prep Time 10 minutes
Cook Time 25 minutes
Servings: 4

Ingredients
  

  • 2 cups all-purpose flour – gives the waffles their sturdy crisp structure
  • ¼ cup brown sugar – adds a gentle molasses sweetness that pairs so well with pumpkin
  • 1 teaspoon baking powder – helps the waffles puff up light instead of dense
  • ½ teaspoon baking soda – works with the pumpkin's acidity for extra lift
  • ¼ teaspoon salt – balances the sweetness and rounds out the spices
  • 2 teaspoons ground cinnamon – the backbone flavor of any good pumpkin spice mix
  • 1 teaspoon ground ginger – adds a warm slightly peppery kick
  • ½ teaspoon allspice – rounds out the spice blend with a hint of clove-like warmth
  • ½ teaspoon ground nutmeg – brings that classic cozy fall aroma
  • 3 large eggs – bind the batter and help the waffles turn out fluffy inside
  • 1⅓ cups milk – thins the batter to the right pourable consistency
  • ¼ cup maple syrup – sweetens naturally and boosts that fall flavor
  • 3 tablespoons butter melted – keeps the waffles rich and helps them crisp on the outside
  • 1 cup canned pumpkin puree – the star ingredient use pure pumpkin, not pie filling

Method
 

  1. Before I do anything else, I plug in my waffle iron so it's fully hot by the time the batter is ready. A properly preheated iron is the difference between a crisp waffle and a pale, soft one. Most irons take about 5 minutes to reach temperature, so this is a good first move.
  2. In a large bowl, I stir together the flour, brown sugar, baking powder, baking soda, salt, cinnamon, ginger, allspice, and nutmeg. Whisking these together first makes sure the leaveners and spices are evenly distributed. This little step prevents any clumps of baking soda from ending up in one bite.
  3. In a separate bowl or large measuring cup, I whisk the eggs first until they're a little frothy, then add the milk, maple syrup, and melted butter. Once that's combined, I stir in the pumpkin puree until the mixture looks smooth and uniformly orange. This order keeps the pumpkin from clumping.
  4. I pour the wet mixture into the bowl of dry ingredients and fold everything together with a spatula just until no dry flour streaks remain. Overmixing activates the gluten too much, which can make the waffles chewy instead of tender, so I stop as soon as it's combined.
  5. I lightly grease the hot waffle iron, then ladle about ⅓ to ½ cup of batter into the center, depending on my iron's size. I close the lid and let it cook until golden and crisp, usually 4 to 6 minutes, without peeking too early.
  6. As each waffle finishes, I transfer it to a wire rack instead of stacking them on a plate. Stacking traps steam and turns crispy edges soggy, while the rack keeps every batch just as crisp as the first one that came off the iron.
Notes

  • I always measure my pumpkin puree carefully instead of dumping it in the whole can, since too much extra moisture makes the batter heavier than it should be.
  • I let the batter sit for about 5 minutes before cooking the first waffle, which helps the flour hydrate fully and gives a better texture.
  • I never open the waffle iron early to check on it, because that first minute of steam is what helps the outside crisp up properly.
  • I use a light hand when greasing my iron, since too much oil can actually make the waffles fry unevenly instead of crisping.
  • I keep my oven on low heat with the waffles spread on a rack inside if I'm making a big batch, so everything stays warm and crisp until serving.