I still remember the first chilly October morning I pulled out my waffle iron and decided pancakes just weren’t going to cut it anymore. I wanted something with a little crunch on the outside and cozy pumpkin spice in every bite.
After a few tries (and a couple of soggy attempts), I finally landed on a batter that comes together in one bowl and turns out perfectly golden every single time. Now this is the Easy Pumpkin Waffle Recipe I make almost every weekend once the weather turns cool, and I’m excited to walk you through exactly how I do it.

Cooking Time
- Prep Time: 10 minutes
- Cooking Time: 25 minutes
- Total Time: 35 minutes
Ingredients
- 2 cups all-purpose flour – gives the waffles their sturdy, crisp structure
- ¼ cup brown sugar – adds a gentle molasses sweetness that pairs so well with pumpkin
- 1 teaspoon baking powder – helps the waffles puff up light instead of dense
- ½ teaspoon baking soda – works with the pumpkin’s acidity for extra lift
- ¼ teaspoon salt – balances the sweetness and rounds out the spices
- 2 teaspoons ground cinnamon – the backbone flavor of any good pumpkin spice mix
- 1 teaspoon ground ginger – adds a warm, slightly peppery kick
- ½ teaspoon allspice – rounds out the spice blend with a hint of clove-like warmth
- ½ teaspoon ground nutmeg – brings that classic cozy fall aroma
- 3 large eggs – bind the batter and help the waffles turn out fluffy inside
- 1⅓ cups milk – thins the batter to the right pourable consistency
- ¼ cup maple syrup – sweetens naturally and boosts that fall flavor
- 3 tablespoons butter, melted – keeps the waffles rich and helps them crisp on the outside
- 1 cup canned pumpkin puree – the star ingredient, use pure pumpkin, not pie filling
Note: This recipe makes about 12 waffles and serves 4-6 people.
Equipment You Need
- Waffle iron – cooks the batter into that classic crisp-edged shape
- Large mixing bowl – for combining the dry ingredients
- Medium bowl or large measuring cup – for whisking the wet ingredients
- Whisk – blends everything smoothly without overworking the batter
- Rubber spatula – folds the wet and dry mixtures together gently
- Ladle or measuring cup – portions the batter evenly onto the iron
- Wire cooling rack – keeps finished waffles crisp instead of steaming soft
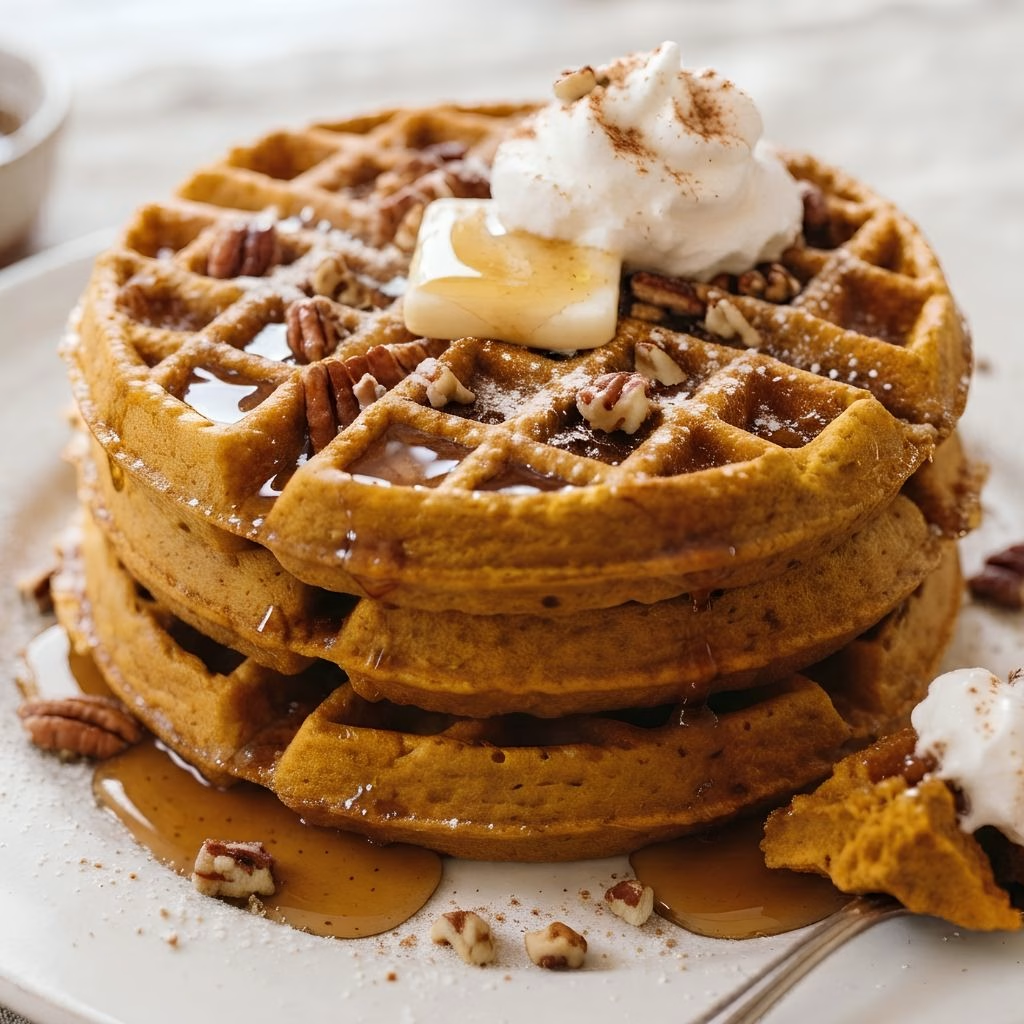
How to Make an Easy Pumpkin Waffle Recipe?
Making these waffles really is as simple as mixing two bowls and pouring the batter into your iron. The only thing to keep in mind is that pumpkin adds moisture and density, so I always give the batter a minute to rest before cooking. Here’s exactly how I put it all together, step by step.
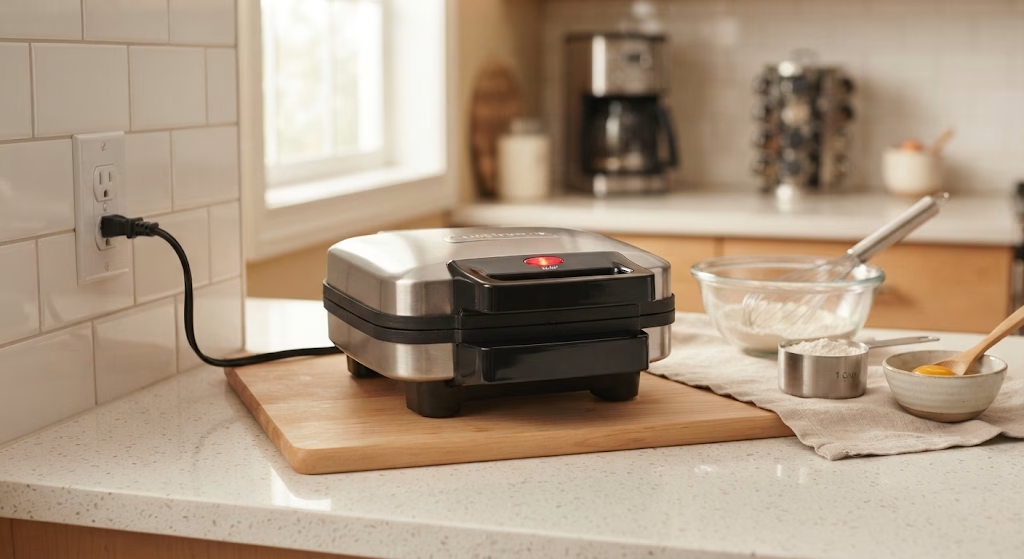
Preheat Your Waffle Iron
Before I do anything else, I plug in my waffle iron so it’s fully hot by the time the batter is ready. A properly preheated iron is the difference between a crisp waffle and a pale, soft one. Most irons take about 5 minutes to reach temperature, so this is a good first move.
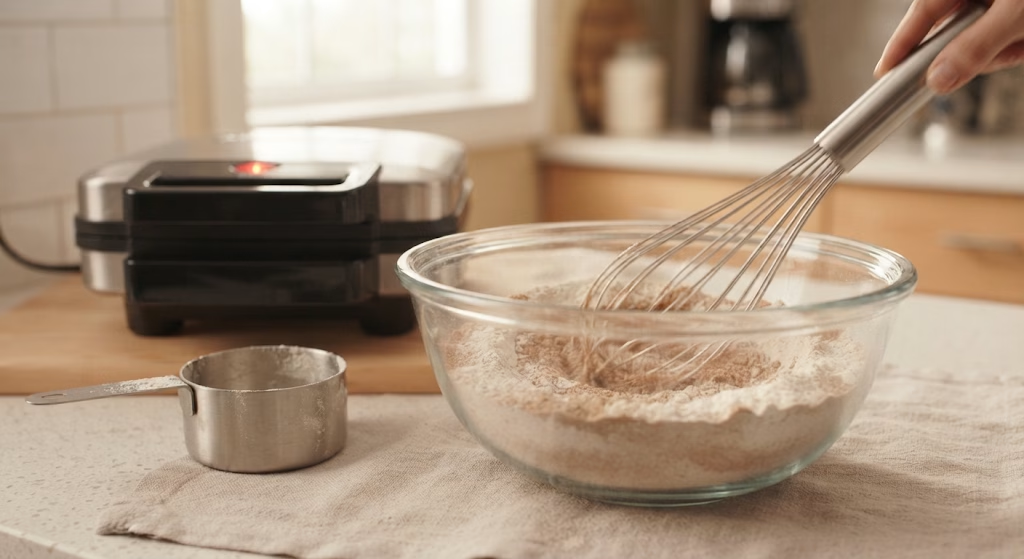
Whisk the Dry Ingredients
In a large bowl, I stir together the flour, brown sugar, baking powder, baking soda, salt, cinnamon, ginger, allspice, and nutmeg. Whisking these together first makes sure the leaveners and spices are evenly distributed. This little step prevents any clumps of baking soda from ending up in one bite.
Mix the Wet Ingredients
In a separate bowl or large measuring cup, I whisk the eggs first until they’re a little frothy, then add the milk, maple syrup, and melted butter. Once that’s combined, I stir in the pumpkin puree until the mixture looks smooth and uniformly orange. This order keeps the pumpkin from clumping.
Combine Without Overmixing
I pour the wet mixture into the bowl of dry ingredients and fold everything together with a spatula just until no dry flour streaks remain. Overmixing activates the gluten too much, which can make the waffles chewy instead of tender, so I stop as soon as it’s combined.
Cook the Waffles
I lightly grease the hot waffle iron, then ladle about ⅓ to ½ cup of batter into the center, depending on my iron’s size. I close the lid and let it cook until golden and crisp, usually 4 to 6 minutes, without peeking too early.
Keep Them Warm and Crisp
As each waffle finishes, I transfer it to a wire rack instead of stacking them on a plate. Stacking traps steam and turns crispy edges soggy, while the rack keeps every batch just as crisp as the first one that came off the iron.
Additional Tips for Making This Recipe Better
I’ve made this batter more times than I can count, and these are the little things I’ve learned along the way that genuinely make a difference.
- I always measure my pumpkin puree carefully instead of dumping it in the whole can, since too much extra moisture makes the batter heavier than it should be.
- I let the batter sit for about 5 minutes before cooking the first waffle, which helps the flour hydrate fully and gives a better texture.
- I never open the waffle iron early to check on it, because that first minute of steam is what helps the outside crisp up properly.
- I use a light hand when greasing my iron, since too much oil can actually make the waffles fry unevenly instead of crisping.
- I keep my oven on low heat with the waffles spread on a rack inside if I’m making a big batch, so everything stays warm and crisp until serving.
Common Mistakes to Avoid
Every mistake I’ve made with this recipe taught me something, so here’s what I watch out for now.
- I used to skip preheating the iron fully, and my first waffle always came out pale and stuck to the plates.
- I once used pumpkin pie filling instead of plain puree, and the waffles turned out way too sweet and dense.
- I learned the hard way that overfilling the iron makes the batter overflow everywhere, so I always start with a little less than I think I need.
- I stacked my waffles right off the iron once, and by the time I sat down to eat, they had gone completely soft.
- I overmixed my batter early on trying to get it perfectly smooth, which made the waffles tough instead of fluffy.
How to Serve Easy Pumpkin Waffle Recipe?
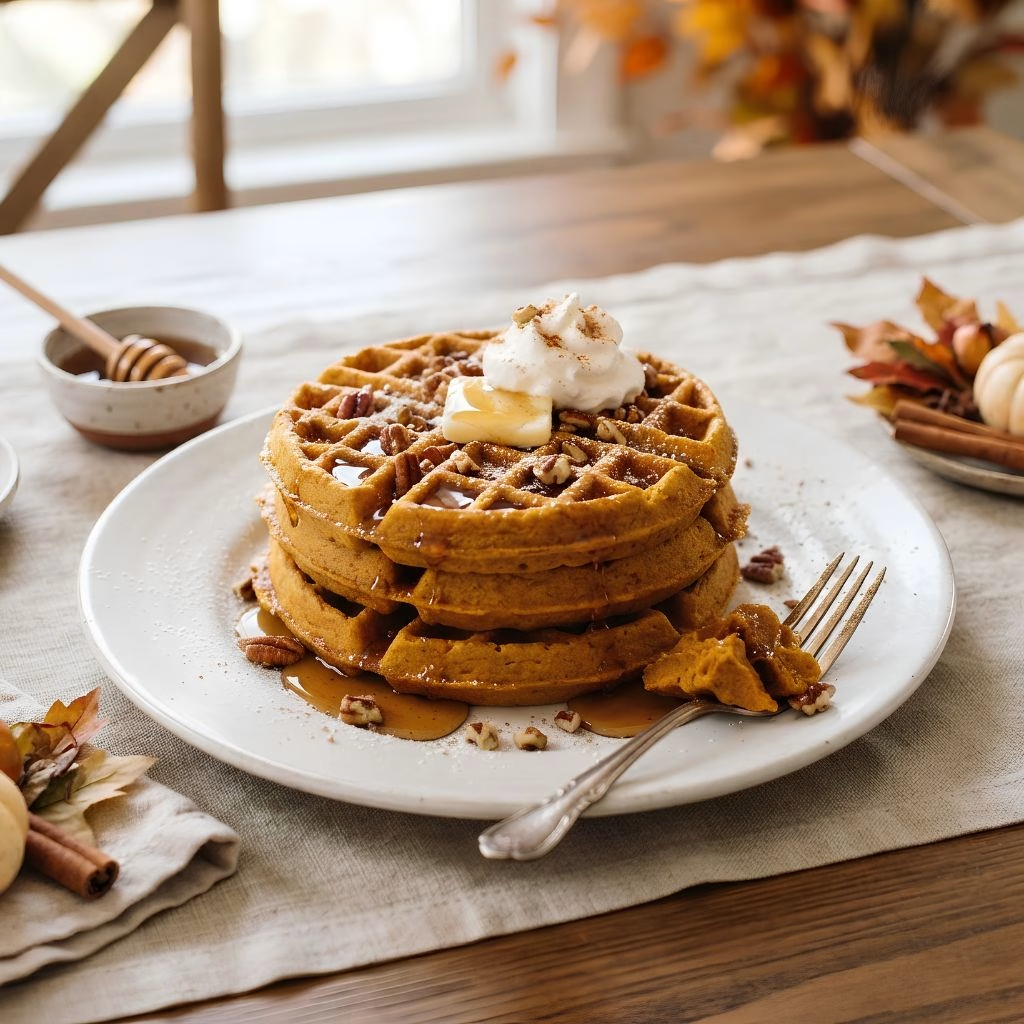
These waffles are pretty versatile when it comes to serving. I like to fan a few waffles out on a plate and pour warm maple syrup right over the top so it soaks into every square. A dollop of whipped cream and a light dusting of cinnamon on top makes them look bakery-worthy in seconds.
For an extra fall touch, I’ll scatter some toasted pecans or a spoonful of spiced apple compote over the stack. If I’m feeding a crowd, I like setting up a little topping bar with butter, syrup, chopped nuts, and even a drizzle of cream cheese glaze so everyone can build their own plate.
Variations
This base batter is easy to adjust depending on what I’m in the mood for or what I have on hand.
- For a lighter option, I swap half the flour for whole wheat flour for a healthy pumpkin waffle recipe that still tastes indulgent.
- I sometimes use pumpkin waffles with pancake mix as a shortcut, adding pumpkin puree and spices straight into a store-bought mix for busy mornings.
- For a dairy-free version, I use almond milk and coconut oil in place of milk and butter.
- I’ve made eggless pumpkin waffles by using a flax egg (1 tablespoon ground flaxseed with 3 tablespoons water per egg) and they still turn out fluffy.
- Folding in mini chocolate chips or chopped pecans right before cooking adds a fun texture twist.
- For a simple weekday version, I’ve tried 3 ingredient pumpkin waffles using just pancake mix, pumpkin puree, and water, which works great in a pinch.
- If you’re making these for little ones, a milder spice version makes great pumpkin waffles (baby) friendly for early finger foods.
Nutritional Information
Here’s a general breakdown per waffle, based on this recipe making 12 servings.
- Calories: approximately 150-170 kcal
- Protein: around 4-5 grams
- Carbohydrates: approximately 22-24 grams
- Fat: around 5-6 grams
Make Ahead and Storage
I often make a double batch on Sunday just to have breakfast ready for the week. Once the waffles cool completely on a wire rack, I store them in an airtight container in the fridge for up to 4 days.
For longer storage, I lay the waffles in a single layer on a baking sheet, freeze until solid, then transfer them to a freezer bag where they’ll keep well for up to 2 months.
To reheat, I pop them straight into the toaster or a 350°F oven for a few minutes until warmed through and crisp again, which works so much better than the microwave for keeping that crunch.
Why You’ll Love This Recipe?
This easy pumpkin waffle recipe has become one of my go-to fall breakfasts for so many reasons.
- It comes together in one bowl with simple pantry staples, so I never need a special trip to the store.
- The batter freezes beautifully, which means I always have a cozy breakfast ready on busy mornings.
- It’s easy to customize with mix-ins or swaps, so I can make it dairy-free, eggless, or extra indulgent depending on the day.
- The warm spice blend makes my whole kitchen smell like fall the moment the waffle iron opens.
- It’s a recipe the whole family enjoys, from a mellow version for little ones to a fully loaded stack with toppings for the adults.
FAQs
Can I make this recipe with a pumpkin waffle maker?
Yes, any standard or Belgian-style pumpkin waffle maker works well for this batter, though Belgian irons may need slightly more batter per waffle.
Can I use fresh pumpkin instead of canned?
I’ve done this before, just make sure to roast and puree it well and drain any excess liquid so the batter isn’t too wet.
Why are my waffles not crispy?
This usually happens if the iron wasn’t fully preheated or the waffles were stacked right after cooking instead of cooled on a rack.
Can I make this an eggless pumpkin waffle recipe?
Absolutely, a flax egg substitute works well here and keeps the waffles just as fluffy.
How do I make a healthier version of this recipe?
Swapping part of the flour for whole wheat and reducing the brown sugar slightly both work well without sacrificing flavor.
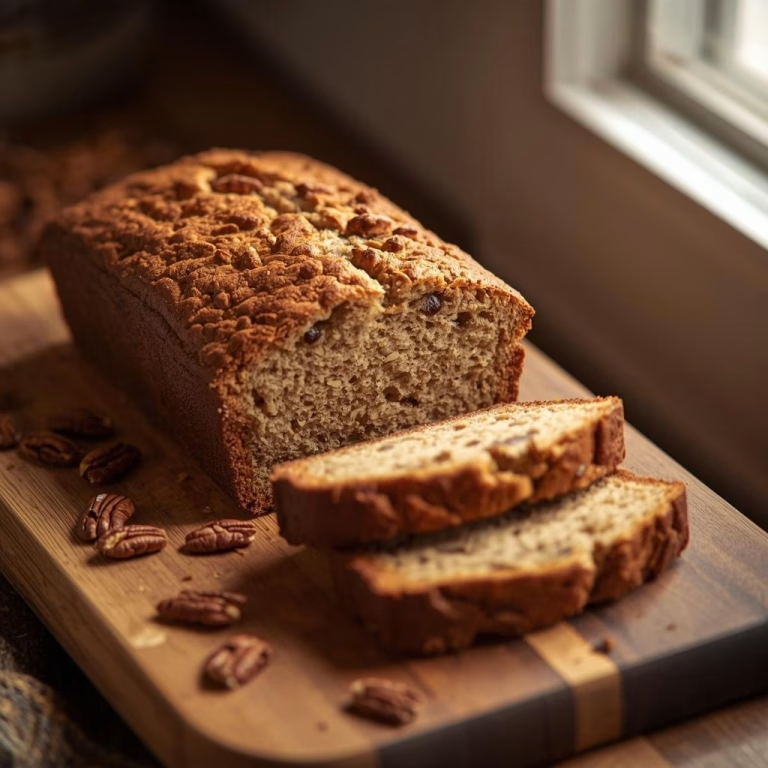
For more cozy breakfast ideas, you might also like this pumpkin pancake recipe or this spiced pumpkin bread recipe — both share that same warm fall pumpkin flavor.

Easy Pumpkin Waffle Recipe
Ingredients
Method
- Before I do anything else, I plug in my waffle iron so it’s fully hot by the time the batter is ready. A properly preheated iron is the difference between a crisp waffle and a pale, soft one. Most irons take about 5 minutes to reach temperature, so this is a good first move.
- In a large bowl, I stir together the flour, brown sugar, baking powder, baking soda, salt, cinnamon, ginger, allspice, and nutmeg. Whisking these together first makes sure the leaveners and spices are evenly distributed. This little step prevents any clumps of baking soda from ending up in one bite.
- In a separate bowl or large measuring cup, I whisk the eggs first until they’re a little frothy, then add the milk, maple syrup, and melted butter. Once that’s combined, I stir in the pumpkin puree until the mixture looks smooth and uniformly orange. This order keeps the pumpkin from clumping.
- I pour the wet mixture into the bowl of dry ingredients and fold everything together with a spatula just until no dry flour streaks remain. Overmixing activates the gluten too much, which can make the waffles chewy instead of tender, so I stop as soon as it’s combined.
- I lightly grease the hot waffle iron, then ladle about ⅓ to ½ cup of batter into the center, depending on my iron’s size. I close the lid and let it cook until golden and crisp, usually 4 to 6 minutes, without peeking too early.
- As each waffle finishes, I transfer it to a wire rack instead of stacking them on a plate. Stacking traps steam and turns crispy edges soggy, while the rack keeps every batch just as crisp as the first one that came off the iron.
Notes
- I always measure my pumpkin puree carefully instead of dumping it in the whole can, since too much extra moisture makes the batter heavier than it should be.
- I let the batter sit for about 5 minutes before cooking the first waffle, which helps the flour hydrate fully and gives a better texture.
- I never open the waffle iron early to check on it, because that first minute of steam is what helps the outside crisp up properly.
- I use a light hand when greasing my iron, since too much oil can actually make the waffles fry unevenly instead of crisping.
- I keep my oven on low heat with the waffles spread on a rack inside if I’m making a big batch, so everything stays warm and crisp until serving.