Go Back
Halloween Oreo Cookies Recipe
Ash Tyrrell

Halloween Oreo Cookies Recipe

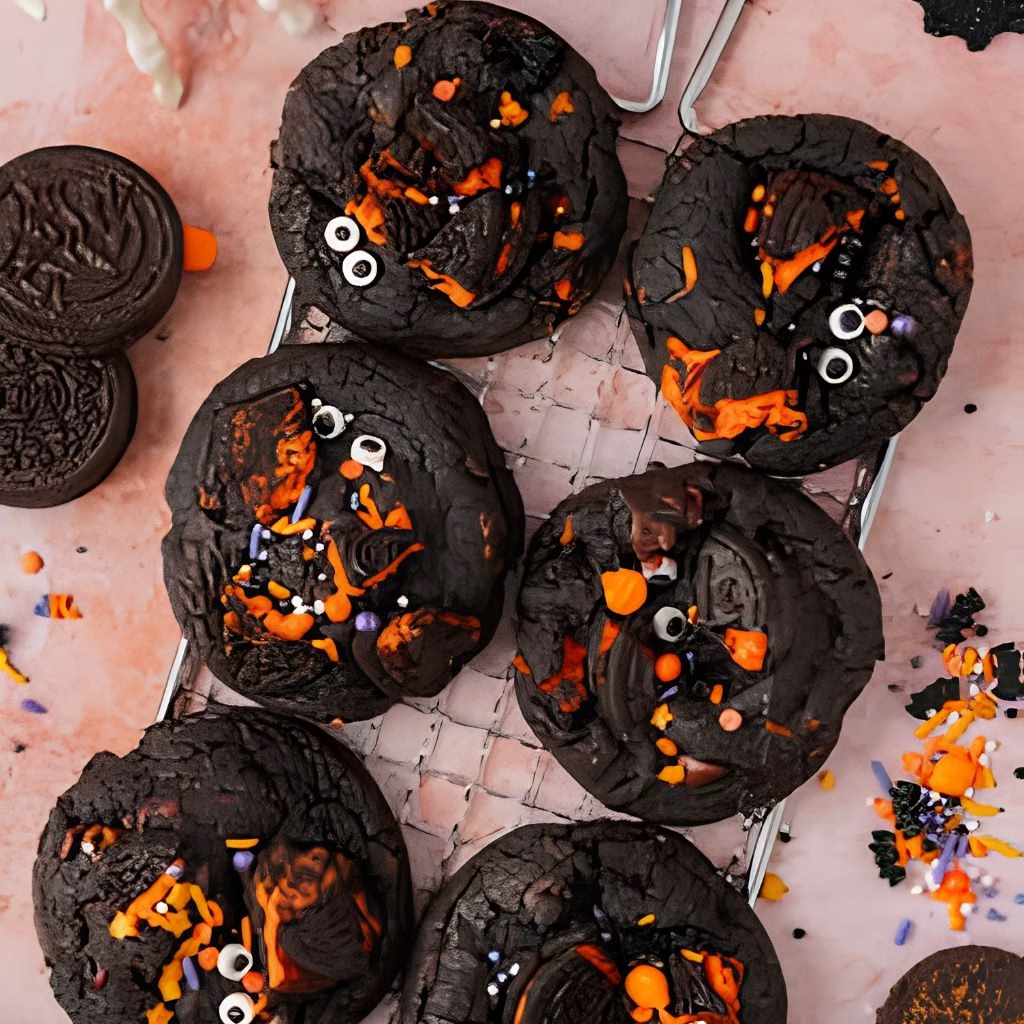
I still remember the first time I pulled a tray of these Halloween Oreo cookies out of the oven the whole kitchen smelled like a bakery, and my kids were hovering by the stove before the cookies even cooled.
Prep Time 20 minutes
Cook Time 12 minutes
Servings: 10

Ingredients
  

  • 2 cups all-purpose flour – gives the cookie its sturdy chewy base
  • 1/2 cup black cocoa powder – this is the secret to that deep Oreo-style black color and flavor
  • 1 teaspoon baking soda – helps the cookies rise just enough without going flat
  • 1/2 teaspoon salt – balances all the sweetness and deepens the chocolate flavor
  • 1 cup unsalted butter softened – room temperature butter creams up light and fluffy, don't melt it
  • 3/4 cup brown sugar – adds moisture and that soft chewy texture
  • 1/2 cup granulated sugar – helps the edges turn slightly crisp
  • 2 large eggs – bind everything together and add richness
  • 1 teaspoon vanilla extract – rounds out the chocolate flavor nicely
  • 2 cups Halloween Oreo cookies roughly chopped – the star of the show, use the orange-creme Halloween version for the best festive look
  • 1/2 cup chocolate chips optional – for extra pockets of melty chocolate in every bite

Method
 

  1. In a medium bowl, whisk together the flour, black cocoa powder, baking soda, and salt. Set this bowl aside while you work on the wet ingredients. Whisking first keeps the cocoa powder from clumping later, so the batter mixes up smooth.
  2. Beat the softened butter on medium speed for about 2-3 minutes until it turns pale and fluffy. Add both sugars and continue beating for another 2 minutes, scraping down the bowl as needed. This step builds air into the dough, which keeps your cookies soft in the middle.
  3. Mix in the eggs one at a time, then add the vanilla extract. Beat just until everything is fully combined and glossy. Don't overmix here, or the cookies can turn out tougher instead of tender.
  4. Slowly add the dry flour mixture into the butter mixture on low speed. Mix only until you no longer see streaks of flour, since overworking the dough makes chewy cookies turn dense. The dough will look thick, dark, and slightly sticky.
  5. Using a spatula, gently fold in the chopped Halloween Oreos and chocolate chips if using. Try to keep some larger Oreo chunks intact so you get that classic cookies-and-cream bite in every mouthful. Save a few extra pieces to press on top later.
  6. Cover the bowl and refrigerate the dough for at least 30 minutes. Chilling firms up the butter so your cookies bake thick instead of spreading thin. If you're short on time, 15 minutes in the freezer works too.
  7. Preheat your oven to 350°F and line a baking sheet with parchment paper. Scoop 2-tablespoon balls of dough, space them a few inches apart, and press a reserved Oreo piece on top of each. Bake for 10-12 minutes until the edges look just set.
  8. Let the cookies rest on the hot baking sheet for 5 minutes before moving them to a wire rack. They'll continue cooking slightly from residual heat, so don't skip this resting step. Once fully cool, they're ready to serve or decorate.
Notes

  • I always use black cocoa powder instead of regular cocoa, because it gives that true Oreo color and flavor without any food coloring.
  • I never skip chilling the dough, since warm dough always spreads into flat, greasy cookies for me.
  • I like to slightly underbake mine by a minute, because the centers keep cooking on the tray and stay wonderfully soft.
  • I press a few extra Oreo pieces on top right after baking so every cookie looks bakery-style and loaded.
  • I weigh my flour when I can, since scooping straight from the bag has made my dough too dry more than once.