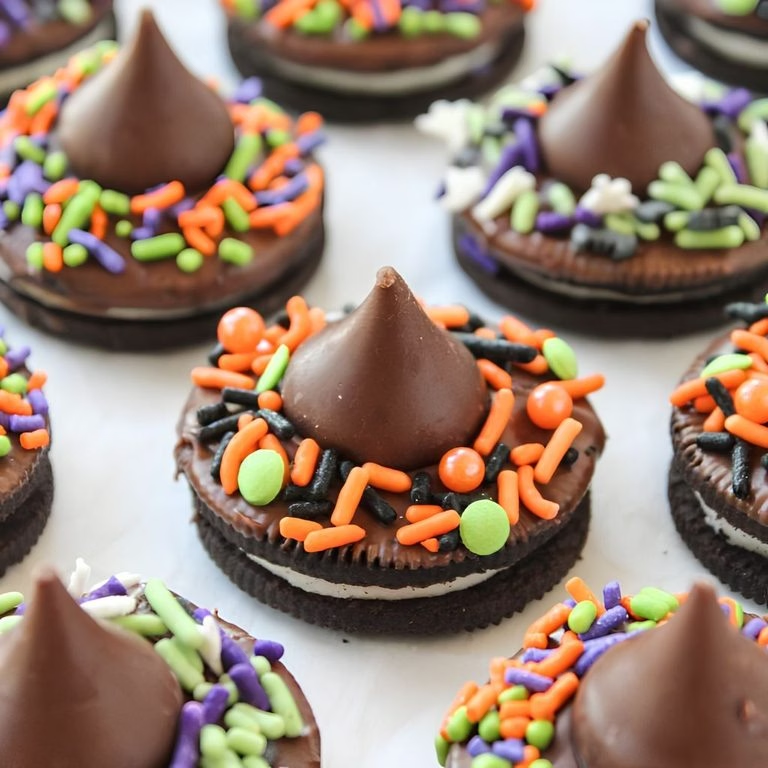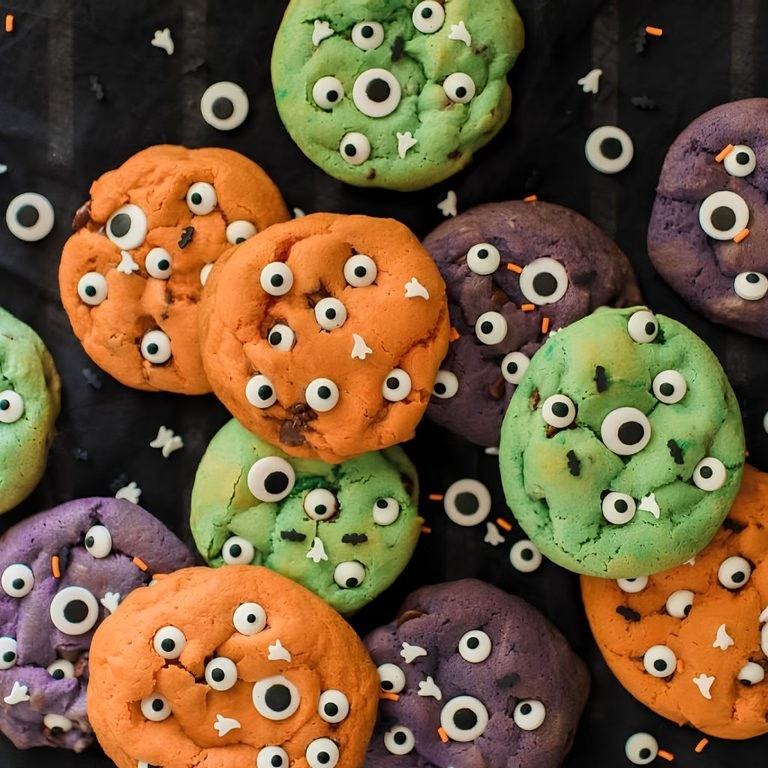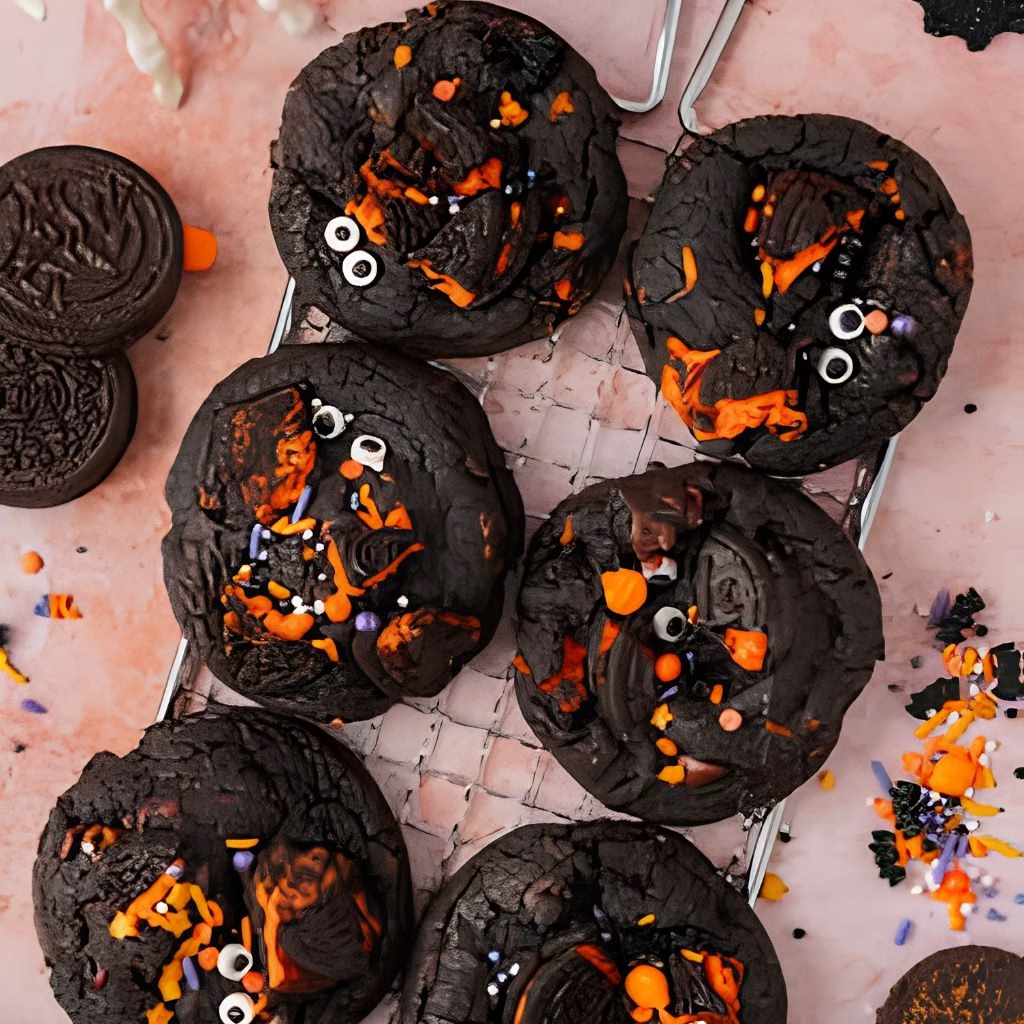
I still remember the first time I pulled a tray of this Halloween Oreo Cookies Recipe out of the oven the whole kitchen smelled like a bakery, and my kids were hovering by the stove before the cookies even cooled. I make a version of this recipe every October, and it’s become one of our most requested Halloween cookies.
These are deeply chocolatey, loaded with chunks of Halloween Oreos, and just the right amount of spooky-cute for a party plate. If you love Oreo cookies as much as I do, you’re going to want to bake a double batch, because trust me, they disappear fast.
Cooking Time
- Prep Time: 20 minutes
- Cooking Time: 12 minutes
- Total Time: 32 minutes (plus 30 minutes chilling)
Ingredients
- 2 cups all-purpose flour – gives the cookie its sturdy, chewy base
- 1/2 cup black cocoa powder – this is the secret to that deep, Oreo-style black color and flavor
- 1 teaspoon baking soda – helps the cookies rise just enough without going flat
- 1/2 teaspoon salt – balances all the sweetness and deepens the chocolate flavor
- 1 cup unsalted butter, softened – room temperature butter creams up light and fluffy, don’t melt it
- 3/4 cup brown sugar – adds moisture and that soft, chewy texture
- 1/2 cup granulated sugar – helps the edges turn slightly crisp
- 2 large eggs – bind everything together and add richness
- 1 teaspoon vanilla extract – rounds out the chocolate flavor nicely
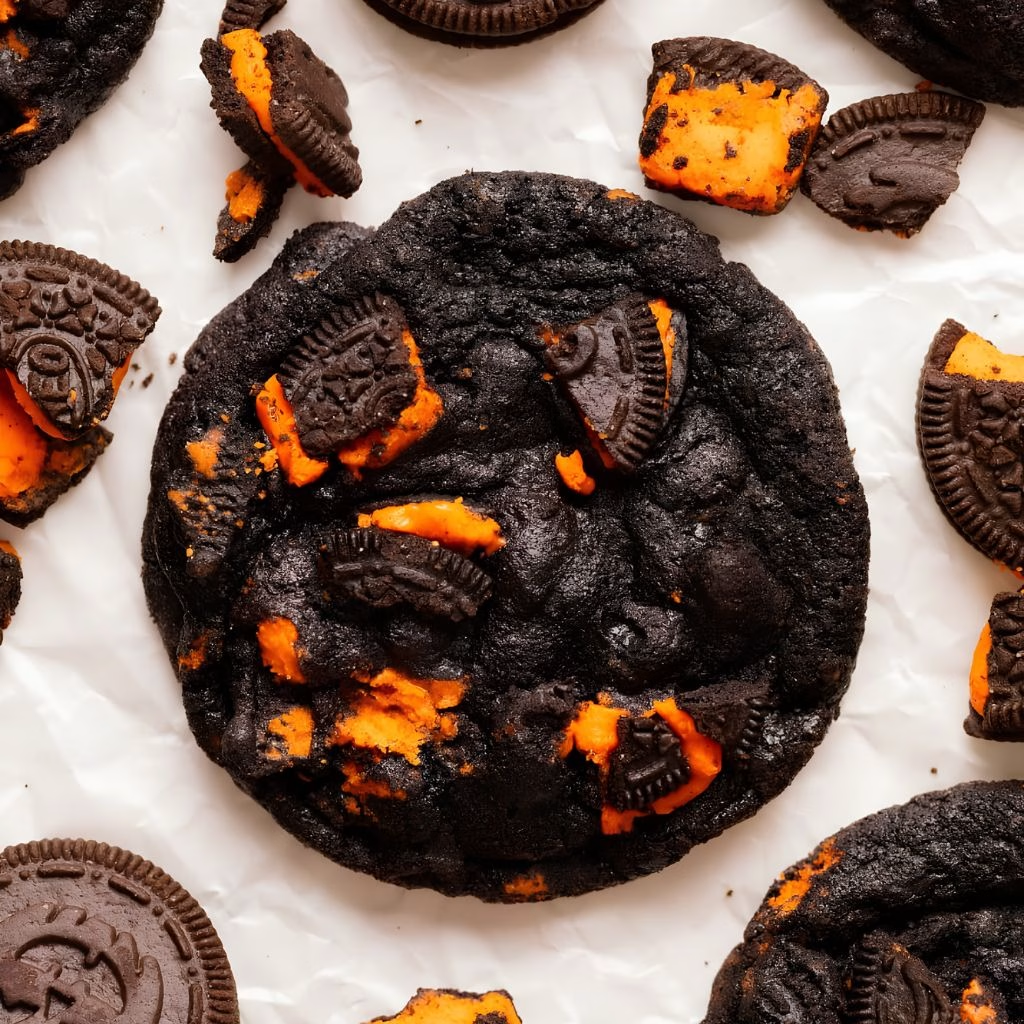
- 2 cups Halloween Oreo cookies, roughly chopped – the star of the show, use the orange-creme Halloween version for the best festive look
- 1/2 cup chocolate chips (optional) – for extra pockets of melty chocolate in every bite
Note: this recipe serves 8-10 people, and makes about 18-20 cookies.
Equipment You Need
- Stand mixer or hand mixer – creams the butter and sugar smoothly and quickly
- Large mixing bowl – for combining the wet and dry ingredients
- Baking sheet – to bake the cookies evenly
- Parchment paper – keeps cookies from sticking and makes cleanup easy
- Cookie scoop – gives you evenly sized cookies every time
- Wire cooling rack – helps cookies cool without getting soggy on the bottom
How to Make Halloween Oreo Cookies Recipe?
I promise this recipe is way easier than it looks, even with the fancy black cocoa. It comes together in one bowl with a mixer, and the hardest part is waiting for the dough to chill. Here’s exactly how I make these every single year.
Whisk the Dry Ingredients
In a medium bowl, whisk together the flour, black cocoa powder, baking soda, and salt. Set this bowl aside while you work on the wet ingredients. Whisking first keeps the cocoa powder from clumping later, so the batter mixes up smooth.
Cream the Butter and Sugar
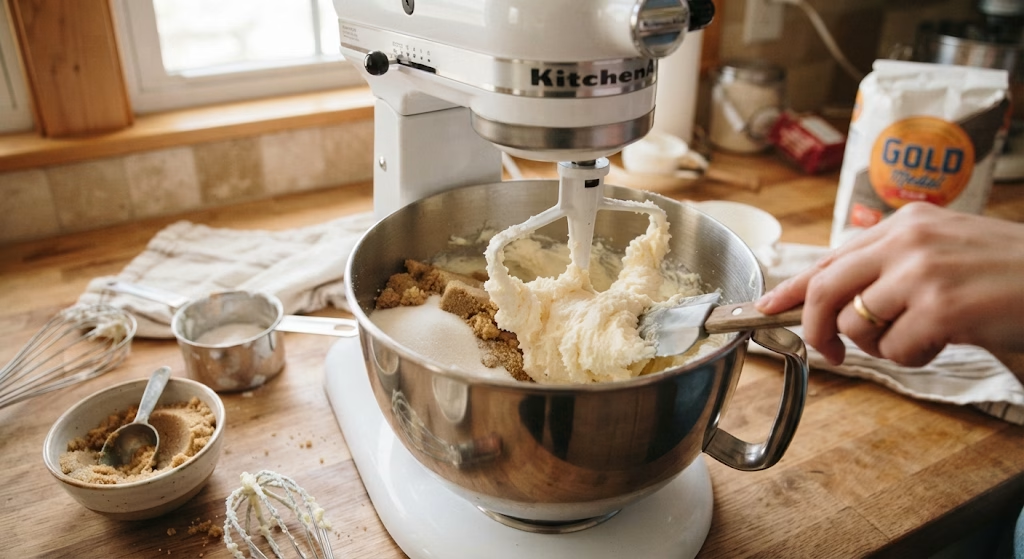
Beat the softened butter on medium speed for about 2-3 minutes until it turns pale and fluffy. Add both sugars and continue beating for another 2 minutes, scraping down the bowl as needed. This step builds air into the dough, which keeps your cookies soft in the middle.
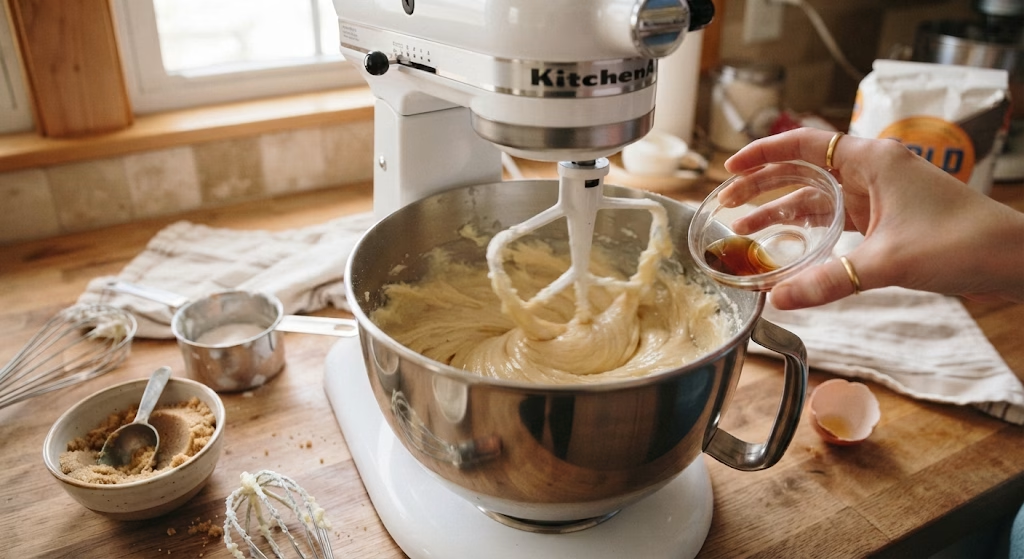
Add the Eggs and Vanilla
Mix in the eggs one at a time, then add the vanilla extract. Beat just until everything is fully combined and glossy. Don’t overmix here, or the cookies can turn out tougher instead of tender.
Combine Wet and Dry
Slowly add the dry flour mixture into the butter mixture on low speed. Mix only until you no longer see streaks of flour, since overworking the dough makes chewy cookies turn dense. The dough will look thick, dark, and slightly sticky.
Fold in the Oreos
Using a spatula, gently fold in the chopped Halloween Oreos and chocolate chips if using. Try to keep some larger Oreo chunks intact so you get that classic cookies-and-cream bite in every mouthful. Save a few extra pieces to press on top later.
Chill the Dough
Cover the bowl and refrigerate the dough for at least 30 minutes. Chilling firms up the butter so your cookies bake thick instead of spreading thin. If you’re short on time, 15 minutes in the freezer works too.
Scoop and Bake
Preheat your oven to 350°F and line a baking sheet with parchment paper. Scoop 2-tablespoon balls of dough, space them a few inches apart, and press a reserved Oreo piece on top of each. Bake for 10-12 minutes until the edges look just set.
Cool and Serve
Let the cookies rest on the hot baking sheet for 5 minutes before moving them to a wire rack. They’ll continue cooking slightly from residual heat, so don’t skip this resting step. Once fully cool, they’re ready to serve or decorate.
Additional Tips for Making This Recipe Better
I’ve made these Halloween Oreo cookies more times than I can count, and here’s what actually makes a difference for me:
- I always use black cocoa powder instead of regular cocoa, because it gives that true Oreo color and flavor without any food coloring.
- I never skip chilling the dough, since warm dough always spreads into flat, greasy cookies for me.
- I like to slightly underbake mine by a minute, because the centers keep cooking on the tray and stay wonderfully soft.
- I press a few extra Oreo pieces on top right after baking so every cookie looks bakery-style and loaded.
- I weigh my flour when I can, since scooping straight from the bag has made my dough too dry more than once.
Common Mistakes to Avoid
- I’ve over-mixed the dough before, and it made my cookies dense instead of soft, so I only mix until the flour disappears.
- I used to skip chilling when I was in a hurry, and every time my cookies spread into thin, greasy puddles.
- I once used regular cocoa powder thinking it wouldn’t matter, but the color and flavor were nowhere near as rich.
- I baked a batch too long because I wanted them extra done, and they turned hard and crumbly once cooled.
- I crushed the Oreos too finely one time, and I lost that satisfying chunky texture in the finished cookie.
How to Serve Halloween Oreo Cookies?
I love piling these onto a black platter lined with orange and black parchment for an instant spooky-season table setup. A light dusting of powdered sugar makes them look like they’re dusted in cobwebs, which is a fun touch for a Halloween party dessert table.
For an extra festive spread, I’ll set these next to other Halloween spider desserts or a bowl of oreo halloween balls, since the mix of textures always gets compliments. If I’m hosting kids, I like laying a few cookies alongside my Halloween Chocolate Pretzel Spider Web Recipe for a fun, crunchy contrast on the same tray. A tall glass of cold milk on the side never hurts either.
Variations
- Dairy-free version: swap the butter for a plant-based baking stick and use dairy-free chocolate chips.
- Sugar-reduced version: cut the granulated sugar down by a third and use sugar-free chocolate chips.
- Spider cookie twist: press pretzel sticks into the dough before baking to mimic little oreo spider biscuits legs.
- Extra fudgy version: add an extra 2 tablespoons of black cocoa powder and reduce the flour slightly.
- Holiday swap: use classic christmas oreos in December for a festive red-and-green version of the same base recipe.
- Nutty crunch: fold in 1/2 cup of chopped pecans or walnuts along with the Oreo pieces.
Nutritional Information
Here’s a rough breakdown per cookie, based on a batch of 18:
- Calories: 190 kcal
- Protein: 2.5 g
- Carbohydrates: 25 g
- Fat: 9 g
Make Ahead and Storage
You can make the dough up to 3 days ahead of time and keep it tightly covered in the fridge until you’re ready to bake. This actually deepens the chocolate flavor, so I often prep it the night before a party.
Baked cookies stay fresh in an airtight container at room temperature for about 5 days. I like to add a slice of bread to the container, which helps keep the cookies from drying out.
To freeze, place cooled cookies in a single layer on a tray until firm, then transfer them to a freezer bag for up to 2 months. You can also freeze the raw dough balls the same way and bake them straight from frozen, just add 1-2 extra minutes to the bake time.
Why You’ll Love This Recipe?
This one earns a permanent spot on my Halloween baking list every year, and here’s why:
- Easy to make: the dough comes together in one bowl with simple pantry staples, no fancy equipment required.
- Great make-ahead option: the dough chills and freezes beautifully, so I can prep days before a party.
- Kid-friendly fun: my kids love folding in the Oreo chunks and pressing extra pieces on top themselves.
- Naturally festive: the black cocoa color means I don’t need food dye to get that spooky look.
- Crowd-pleasing flavor: it’s rich, chocolatey, and always one of the first treats gone at any Halloween gathering.
FAQs
Can I use regular Oreos instead of Halloween Oreos?
Yes, regular oreo cookies work perfectly fine in this recipe, though you’ll lose the orange-creme color that makes these feel extra festive.
Why did my cookies spread too much?
This usually means the dough wasn’t chilled long enough or the butter was too warm, so pop the dough in the fridge for another 15-20 minutes before baking.
Can I make these into Halloween spider desserts?
Definitely — press pretzel stick legs into the dough before baking, or check out a dedicated halloween spiders recipe if you want a more spider-focused treat.
How do I keep the cookies soft for days?
Store them in an airtight container with a slice of bread, and avoid overbaking, since that’s the biggest reason cookies turn hard and dry.
Can I turn this into no-bake oreo halloween balls instead?
Yes, if you’d rather skip the oven, you can crush the same Oreos with cream cheese and roll them into balls for a quick no-bake version, similar to my Halloween Puppy Chow Recipe for an easy no-bake alternative.

Halloween Oreo Cookies Recipe
Ingredients
Method
- In a medium bowl, whisk together the flour, black cocoa powder, baking soda, and salt. Set this bowl aside while you work on the wet ingredients. Whisking first keeps the cocoa powder from clumping later, so the batter mixes up smooth.
- Beat the softened butter on medium speed for about 2-3 minutes until it turns pale and fluffy. Add both sugars and continue beating for another 2 minutes, scraping down the bowl as needed. This step builds air into the dough, which keeps your cookies soft in the middle.
- Mix in the eggs one at a time, then add the vanilla extract. Beat just until everything is fully combined and glossy. Don’t overmix here, or the cookies can turn out tougher instead of tender.
- Slowly add the dry flour mixture into the butter mixture on low speed. Mix only until you no longer see streaks of flour, since overworking the dough makes chewy cookies turn dense. The dough will look thick, dark, and slightly sticky.
- Using a spatula, gently fold in the chopped Halloween Oreos and chocolate chips if using. Try to keep some larger Oreo chunks intact so you get that classic cookies-and-cream bite in every mouthful. Save a few extra pieces to press on top later.
- Cover the bowl and refrigerate the dough for at least 30 minutes. Chilling firms up the butter so your cookies bake thick instead of spreading thin. If you’re short on time, 15 minutes in the freezer works too.
- Preheat your oven to 350°F and line a baking sheet with parchment paper. Scoop 2-tablespoon balls of dough, space them a few inches apart, and press a reserved Oreo piece on top of each. Bake for 10-12 minutes until the edges look just set.
- Let the cookies rest on the hot baking sheet for 5 minutes before moving them to a wire rack. They’ll continue cooking slightly from residual heat, so don’t skip this resting step. Once fully cool, they’re ready to serve or decorate.
Notes
- I always use black cocoa powder instead of regular cocoa, because it gives that true Oreo color and flavor without any food coloring.
- I never skip chilling the dough, since warm dough always spreads into flat, greasy cookies for me.
- I like to slightly underbake mine by a minute, because the centers keep cooking on the tray and stay wonderfully soft.
- I press a few extra Oreo pieces on top right after baking so every cookie looks bakery-style and loaded.
- I weigh my flour when I can, since scooping straight from the bag has made my dough too dry more than once.