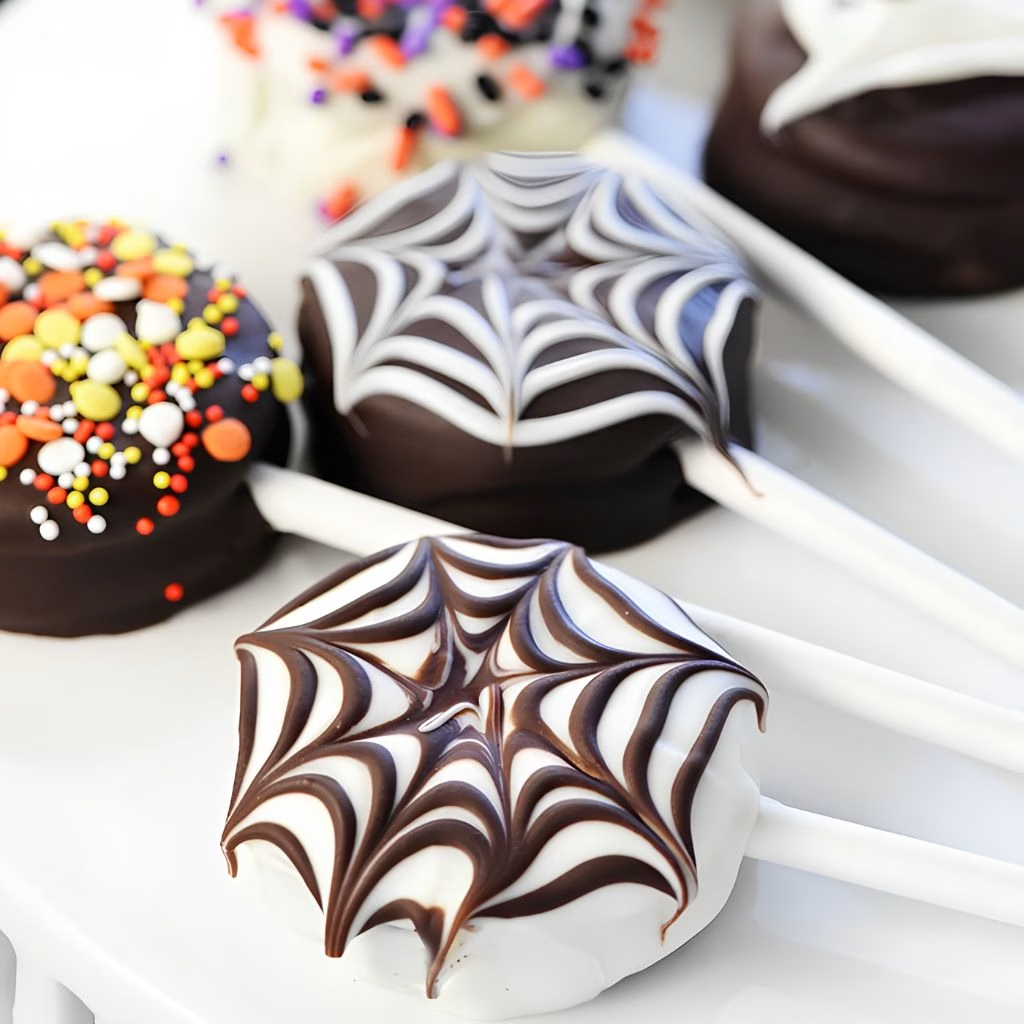
I start by melting a small amount of candy coating in the microwave, just a spoonful at a time. I dip the tip of each lollipop stick into the melted coating, then gently press it into the cream filling of an Oreo before pressing the other half back on. This little dab acts like glue, so the stick doesn't slide out later.
Before I dip anything in coating, I let the assembled pops rest for at least 15 minutes. This step matters more than it seems. If the stick isn't fully set, the cookie can slip apart the moment you try to coat it, and you'll end up with a sticky mess instead of a pop.
Once the sticks are secure, I hold each cookie pop over a bowl of melted coating and use a spoon to drizzle it over the top, sides, and bottom, turning the cookie as I go. I scrape off the extra coating on the rim of the bowl, then set the pop flat on parchment paper to begin drying.
For spiderweb pops, I pipe a thin spiral of chocolate coating on top of a freshly white-coated cookie, working from the center outward. Then I drag a toothpick from the center to the edge in several straight lines, like slicing a pizza, which pulls the spiral into a web pattern.
For ghost pops, I coat the cookie in chocolate first, then spoon a blob of white coating slightly off-center on top. I use a toothpick to pull the white coating downward into a wavy ghost tail and outward on the sides for little arms, working quickly before it firms up.
Once the ghosts are fully dry, I melt a little extra chocolate coating, transfer it to a small zip-top bag, snip the corner, and pipe two tiny eyes and a mouth on each one. Any leftover plain cookies get a quick roll in Halloween sprinkles while the coating is still wet