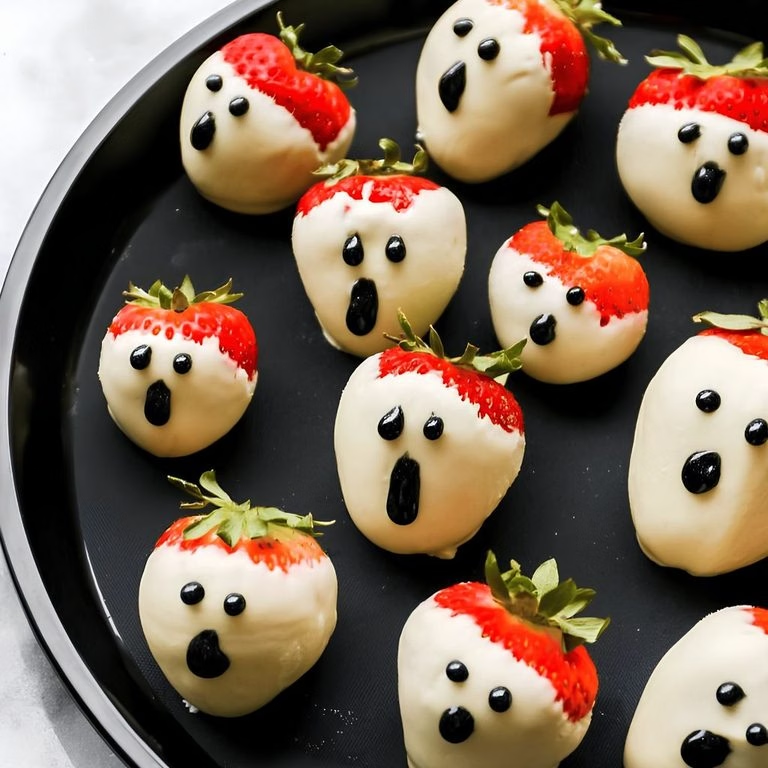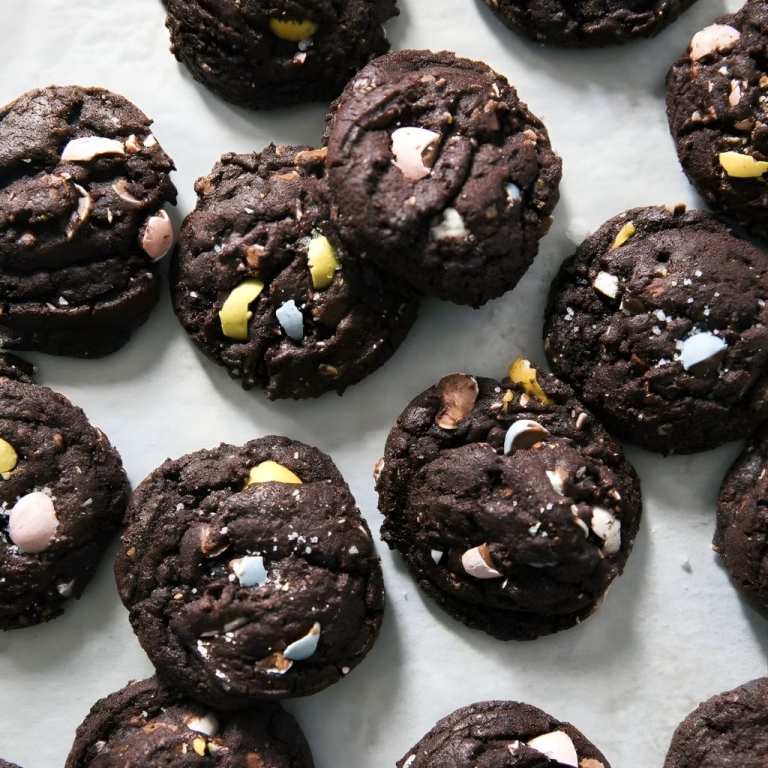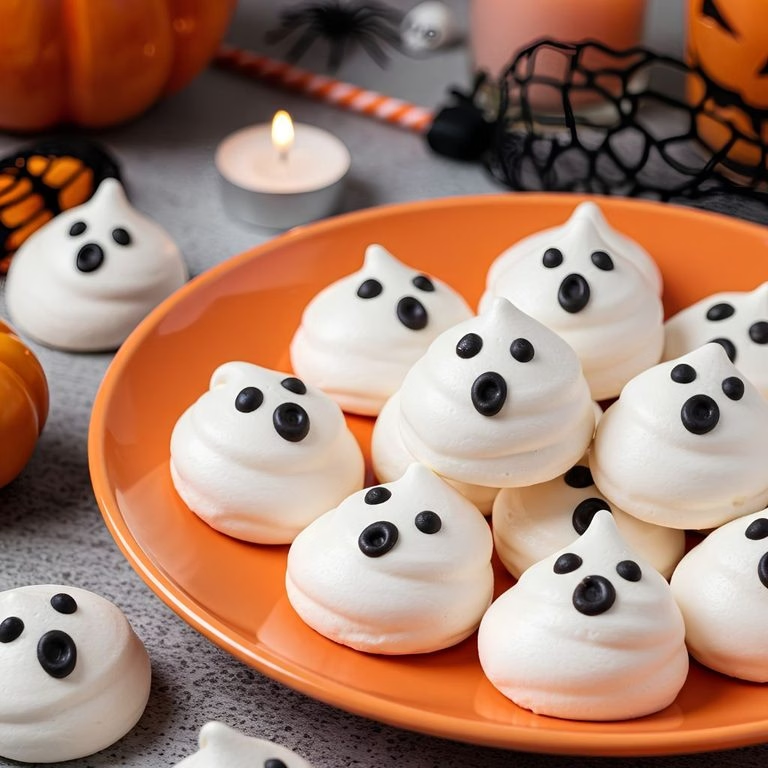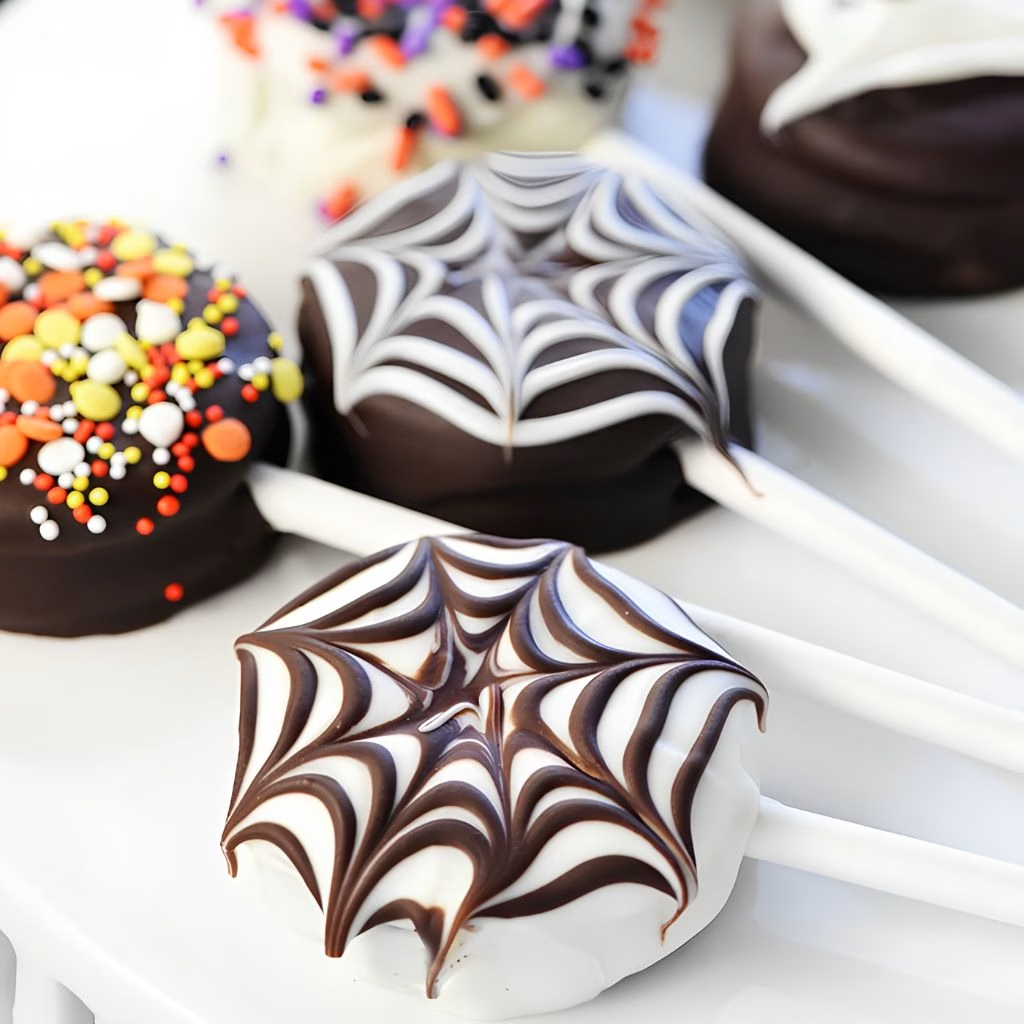
I make a batch of this Halloween Oreo Pops Recipe every October, and every single year they disappear faster than any other treat on the table. I love how a few pantry staples turn into little edible works of art with almost no real cooking involved.
If you’re searching for finger food ideas for Halloween that both kids and adults will fight over, this is it. I’ve made spiderwebs, ghosts, and plain sprinkle-covered pops, and I’m walking you through exactly how I do it. Trust me, once you make one batch, you’ll want to make Oreo pops for every holiday.
Cooking Time
- Prep Time: 20 minutes
- Cooking Time: 25 minutes (melting and setting the candy coating)
- Total Time: 45 minutes
Ingredients
- 24 Oreo cookies (a couple extra in case any crack while you’re assembling)
- 8 ounces milk chocolate candy melts, for a rich chocolate base coat
- 8 ounces white candy melts, for the ghost and spiderweb pops
- 20 lollipop sticks, to turn each cookie into a pop
- 2 to 3 small zip-top bags, for piping the fine spiderweb and ghost details
- Halloween sprinkles, optional, for the pops you don’t hand-decorate
Note: this recipe makes about 20 Oreo pops, enough to serve a classroom party or a small Halloween gathering.
Equipment You Need
- Baking sheet, to hold the pops while they set
- Parchment or wax paper, so the candy coating doesn’t stick
- Microwave-safe bowls, for melting the candy coating in small batches
- Toothpicks, to drag and shape the spiderwebs and ghost tails
- Small spoon, for drizzling coating evenly over each cookie

How to Make Halloween Oreo Pops Recipe?
I always tell people this recipe is more about patience than skill. You don’t need to be an artist to make these look good, you just need to work in small batches so the candy coating doesn’t harden on you. Here’s exactly how I put mine together every year.
Step 1: Secure the Sticks
I start by melting a small amount of candy coating in the microwave, just a spoonful at a time. I dip the tip of each lollipop stick into the melted coating, then gently press it into the cream filling of an Oreo before pressing the other half back on. This little dab acts like glue, so the stick doesn’t slide out later.
Step 2: Let the Sticks Set
Before I dip anything in coating, I let the assembled pops rest for at least 15 minutes. This step matters more than it seems. If the stick isn’t fully set, the cookie can slip apart the moment you try to coat it, and you’ll end up with a sticky mess instead of a pop.
Step 3: Coat the Cookies
Once the sticks are secure, I hold each cookie pop over a bowl of melted coating and use a spoon to drizzle it over the top, sides, and bottom, turning the cookie as I go. I scrape off the extra coating on the rim of the bowl, then set the pop flat on parchment paper to begin drying.

Step 4: Make the Spiderwebs
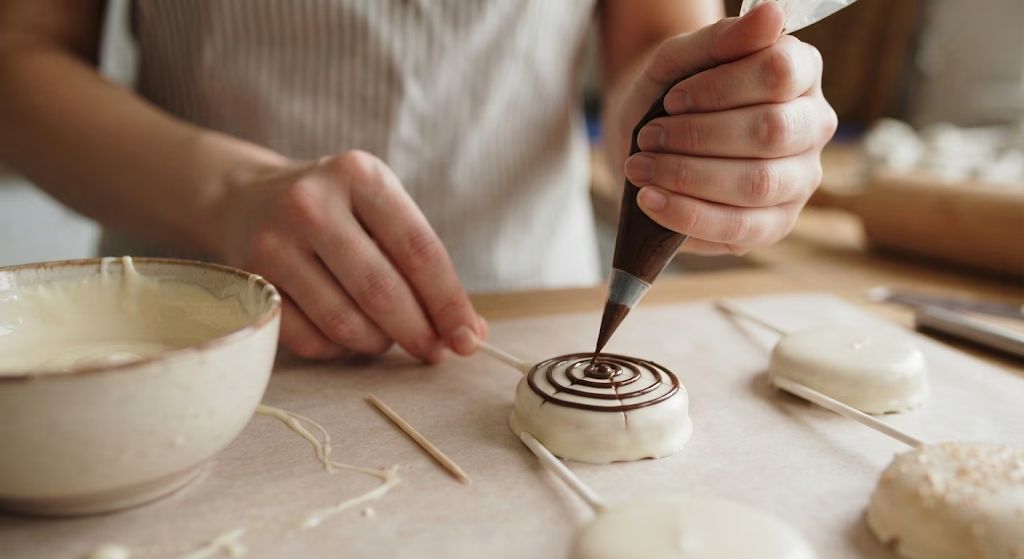
For spiderweb pops, I pipe a thin spiral of chocolate coating on top of a freshly white-coated cookie, working from the center outward. Then I drag a toothpick from the center to the edge in several straight lines, like slicing a pizza, which pulls the spiral into a web pattern.
Step 5: Shape the Ghosts
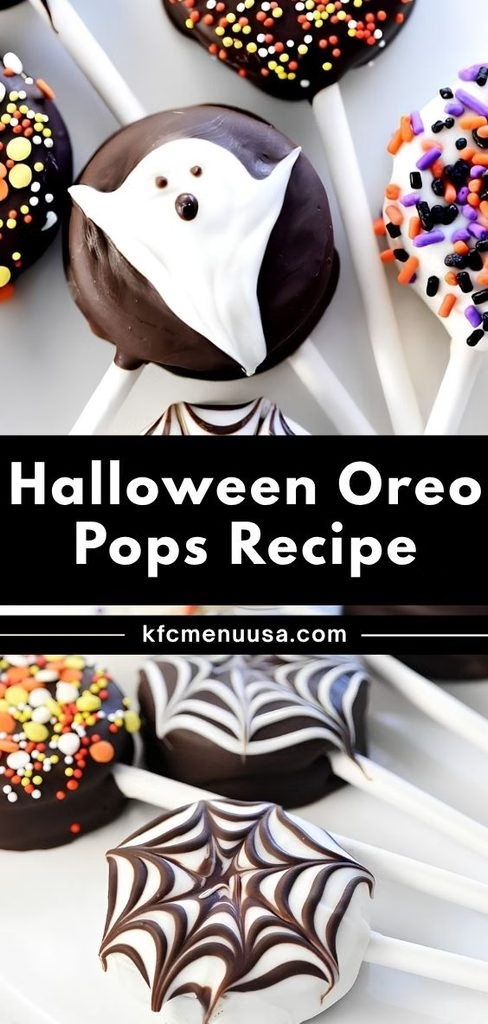
For ghost pops, I coat the cookie in chocolate first, then spoon a blob of white coating slightly off-center on top. I use a toothpick to pull the white coating downward into a wavy ghost tail and outward on the sides for little arms, working quickly before it firms up.
Step 6: Add the Final Details
Once the ghosts are fully dry, I melt a little extra chocolate coating, transfer it to a small zip-top bag, snip the corner, and pipe two tiny eyes and a mouth on each one. Any leftover plain cookies get a quick roll in Halloween sprinkles while the coating is still wet.
Additional Tips for Making This Recipe Better
I’ve made more batches of these than I can count, so here’s what actually helps.
- I work with one color of coating at a time, since switching back and forth wastes time and lets the coating thicken.
- I only melt small amounts of candy coating at once, because a big batch hardens before I can use it all.
- I keep a damp paper towel nearby to wipe my toothpick between webs, which keeps the lines clean.
- I always assemble a couple of extra pops, since Oreos crack more often than you’d expect.
- I set a timer for my melted coating so I remember to give it a quick reheat before it gets too stiff to work with.
Common Mistakes to Avoid
I learned most of these the hard way, so hopefully this saves you a step or two.
- I once dipped the lollipop stick straight into an unset cookie, and it slid right out, so I always let the sticks dry fully first.
- I tried decorating a cookie that had already started to firm up, and the web lines just cracked instead of blending smoothly.
- I overheated my candy coating once and it turned thick and clumpy, so now I microwave it in short bursts and stir often.
- I skipped the parchment paper one year and half my pops stuck to the baking sheet, which is an easy mistake to avoid.
- I tried to rush the ghost details before the base coating had set, and the shapes just slid right off the cookie.
How to Serve Halloween Oreo Pops?
I like sticking mine into a foam block or a shallow box lined with parchment paper, so they stand upright like a little Halloween bouquet. For parties, I arrange a mix of spiderweb pops, ghost pops, and sprinkle-covered pops together, since the variety makes the display look more festive.
If I’m packing them for a school party, I wrap each pop individually in a small cellophane bag tied with orange or black ribbon, which also keeps them fresh longer. They’re one of my go-to finger food ideas for Halloween because there’s no fork or plate needed, just grab a stick and go.
Variations
- For gf Halloween recipes, I swap in a gluten-free sandwich cookie, since the candy coating itself is naturally gluten-free.
- I sometimes turn part of the batch into Frankenstein-style pops, using green candy coating and licorice for the stitches.
- Instead of a stick, I’ve pressed toothpicks into mini marshmallows and dipped those too, which gives you Halloween marshmallow pops alongside the cookie ones.
- For a spookier centerpiece, I’ve made a couple of glowing black widow Oreo pops using black coating, red accents, and edible eyes.
- On busy years, I’ve rolled the cookie crumbs with cream cheese into oreo truffle eyeballs instead of pops, which uses up any cracked cookies.
- If you love halloween treats with marshmallows, dipping marshmallow pops in the same leftover coating is an easy way to stretch the batch further.
Nutritional Information
Here’s roughly what you’re looking at per Oreo pop, based on standard ingredients.
- Calories: about 142 per pop
- Protein: about 1 gram per pop
- Carbohydrates: about 18 grams per pop
- Fat: about 7 grams per pop
Make Ahead and Storage
I usually make these a day or two ahead of my party, since they hold up well once the coating sets completely. Once dry, I store the pops in an airtight container at room temperature, layering them with parchment paper so the coating doesn’t stick together.
They stay fresh for about a week at room temperature, or up to two weeks if kept in the refrigerator in a sealed container. I don’t recommend freezing these, since the candy coating tends to sweat and turn dull once it thaws, which affects the look more than the taste.
Why You’ll Love This Recipe
I keep coming back to this recipe every Halloween for a few simple reasons.
- Easy to make: There’s no oven involved, so I can have a full batch done in under an hour, even with kids helping.
- Kid-friendly project: My own kids love piping the sprinkles and dragging the toothpick through the webs, so it’s become a little Halloween tradition.
- Endlessly customizable: Between ghosts, spiderwebs, sprinkles, and the fun variations, I can make a totally different-looking batch every year.
- Great for sharing: These travel well in small bags or boxes, so I bring them to school parties, work potlucks, and trick-or-treat gatherings.
- Budget-friendly: A box of Oreos and a couple bags of candy melts stretch into 20 treats without costing much at all.
If you enjoyed this one, I think you’ll also like my brown butter apple blondies recipe , which is another cozy fall dessert I make on repeat this time of year. And if you want something to serve alongside your Halloween spread, my easy apple fritter recipe is always a hit at the same parties.
FAQs
Can I use a different cookie instead of Oreos?
Yes, any round sandwich cookie works, though I find classic Oreos hold their shape best once dipped.
Why did my candy coating turn thick and grainy?
That usually means it overheated, so I always microwave it in short 15 to 20 second bursts and stir in between.
Can I make these ahead of a party?
Absolutely, I usually make mine one to two days ahead and store them in an airtight container until I’m ready to serve.
How do I keep the lollipop stick from falling out?
I secure it with a dab of melted coating first and let the pop rest for at least 15 minutes before dipping it fully.
Can I make a smaller batch?
Yes, I just cut the ingredients in half, though I still melt the coating in small amounts either way so it doesn’t harden too fast.

Halloween Oreo Pops Recipe
Ingredients
Method
- I start by melting a small amount of candy coating in the microwave, just a spoonful at a time. I dip the tip of each lollipop stick into the melted coating, then gently press it into the cream filling of an Oreo before pressing the other half back on. This little dab acts like glue, so the stick doesn’t slide out later.
- Before I dip anything in coating, I let the assembled pops rest for at least 15 minutes. This step matters more than it seems. If the stick isn’t fully set, the cookie can slip apart the moment you try to coat it, and you’ll end up with a sticky mess instead of a pop.
- Once the sticks are secure, I hold each cookie pop over a bowl of melted coating and use a spoon to drizzle it over the top, sides, and bottom, turning the cookie as I go. I scrape off the extra coating on the rim of the bowl, then set the pop flat on parchment paper to begin drying.
- For spiderweb pops, I pipe a thin spiral of chocolate coating on top of a freshly white-coated cookie, working from the center outward. Then I drag a toothpick from the center to the edge in several straight lines, like slicing a pizza, which pulls the spiral into a web pattern.
- For ghost pops, I coat the cookie in chocolate first, then spoon a blob of white coating slightly off-center on top. I use a toothpick to pull the white coating downward into a wavy ghost tail and outward on the sides for little arms, working quickly before it firms up.
- Once the ghosts are fully dry, I melt a little extra chocolate coating, transfer it to a small zip-top bag, snip the corner, and pipe two tiny eyes and a mouth on each one. Any leftover plain cookies get a quick roll in Halloween sprinkles while the coating is still wet
Notes
- I work with one color of coating at a time, since switching back and forth wastes time and lets the coating thicken.
- I only melt small amounts of candy coating at once, because a big batch hardens before I can use it all.
- I keep a damp paper towel nearby to wipe my toothpick between webs, which keeps the lines clean.
- I always assemble a couple of extra pops, since Oreos crack more often than you’d expect.
- I set a timer for my melted coating so I remember to give it a quick reheat before it gets too stiff to work with.