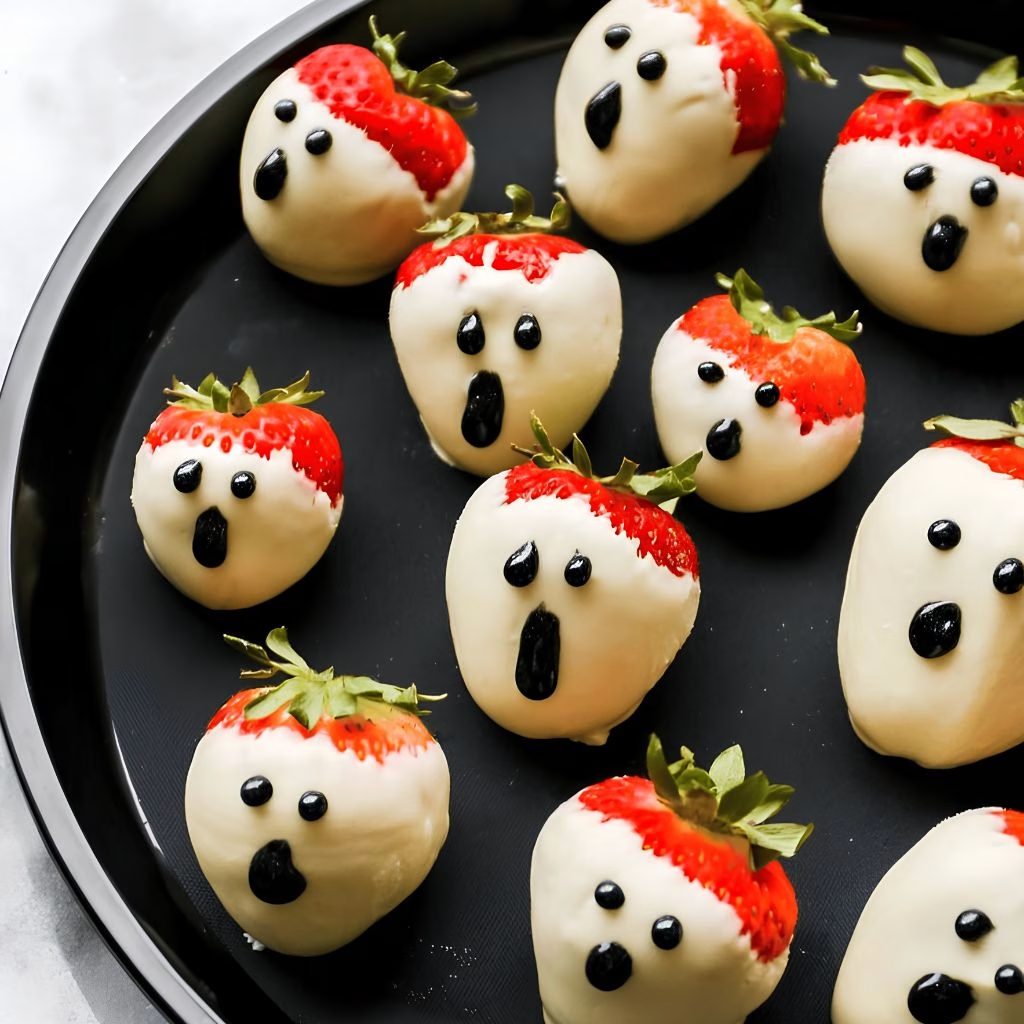
I first made this Halloween Ghost Strawberries Recipe for my daughter’s Halloween class party, and I honestly couldn’t believe how fast they disappeared from the tray. I needed something that looked spooky but didn’t take all afternoon to put together, and this recipe hit that mark perfectly.
The best part is that I already had most of the ingredients sitting in my kitchen. Once I dipped the first berry and drew on its little eyes, I knew this was going to become one of my go-to fruit ideas for Halloween party trays every single year. If you’re looking for a fun, no-bake treat that kids and adults both reach for, this one is it.
Cooking Time
- Prep Time: 15 minutes
- Cooking Time: 5 minutes (melting the chocolate)
- Total Time: 20 minutes, plus 10 minutes to set
Ingredients
- 16 large strawberries, stems left on – pick berries with flat bottoms so they stand upright on the tray
- 8 ounces white chocolate or white almond bark, chopped – almond bark melts smoother and sets firmer than regular chocolate chips
- 1 teaspoon vegetable shortening – thins the chocolate so it coats evenly without clumping
- 1/4 cup mini chocolate chips or black decorating gel – for the ghost eyes and mouths
- 1/8 teaspoon almond extract (optional) – adds a subtle bakery-style flavor to the coating
Note: this recipe serves about 8 people, with 2 ghost strawberries per person.
Equipment You Need
- Microwave-safe bowl – for melting the white chocolate evenly
- Rubber spatula – to stir the chocolate smooth between heating intervals
- Baking sheet – to hold the berries while they set
- Parchment or wax paper – keeps the dipped berries from sticking to the tray
- Toothpicks – helpful for dipping and holding the berries by the stem
- Small piping bag or squeeze bottle – for drawing clean ghost faces with the melted chocolate or gel
How to Make Halloween Ghost Strawberries Recipe?
This part is genuinely the easiest step in the whole process, and it only takes about twenty minutes from start to finish. I like to set up my station first so the chocolate doesn’t harden while I’m still washing berries. Once everything is laid out, the dipping goes quickly and the fun part, decorating the faces, is where this recipe really comes alive.
Prepare the Strawberries
I always start by washing the strawberries under cool water and patting them completely dry with a paper towel. Any leftover moisture will make the chocolate seize or slide right off, so I take my time here. Leave the green stems attached, since they give each berry its ghostly, tapered shape once dipped.
Melt the Chocolate
I add the chopped white chocolate and shortening to a microwave-safe bowl and heat it in 30-second bursts, stirring after each one. This slow approach keeps the chocolate from scorching, which happens fast with white chocolate. Once it’s smooth and glossy, I stir in the almond extract for a little extra flavor.
Dip Each Berry
Holding each strawberry by the stem or a toothpick, I dip it into the melted chocolate and twirl it gently so the coating is even. I let the excess drip back into the bowl before setting the berry stem-up on the parchment-lined tray. Working in small batches keeps the chocolate from cooling too fast.
Add the Ghost Faces
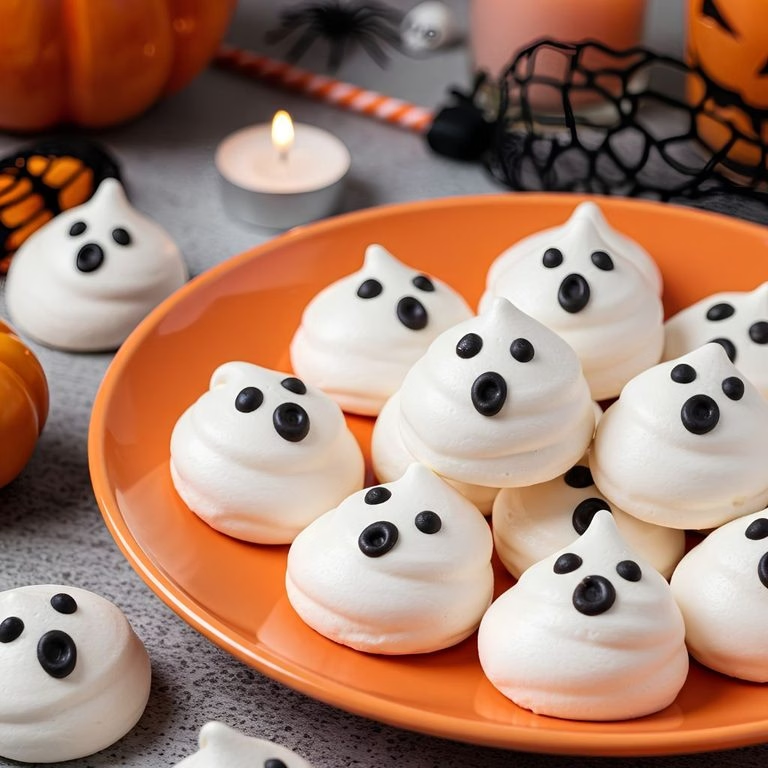
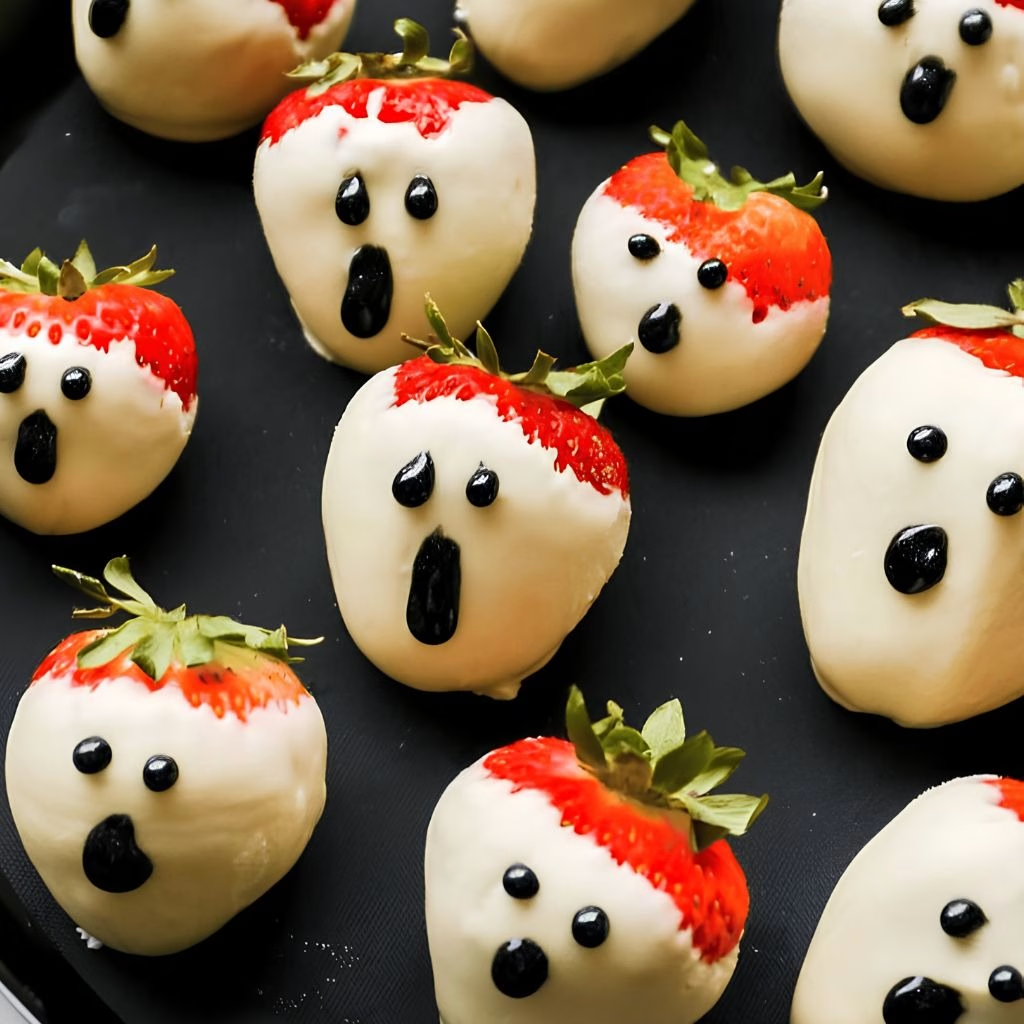
Once the berries are coated and slightly set, I use a toothpick dipped in black gel or melted chocolate chips to add two small eyes and a round mouth to each one. I try to keep the faces simple, since a sweet, minimal face reads as “cute ghost” much better than an overly detailed one. This step is where the berries really start to look like little ghosts.
Chill Until Set
I place the finished tray in the refrigerator for about 10 minutes so the white chocolate firms up completely. This also helps the faces set in place without smudging when I move the berries to a serving plate. Once they’re firm to the touch, they’re ready to serve.
Additional Tips for Making This Recipe Better
- I always make sure my strawberries are bone dry before dipping, because even a little water will cause the chocolate to clump instead of coating smoothly.
- I melt the white chocolate low and slow in the microwave, since it burns much faster than milk or dark chocolate if I rush it.
- I keep a toothpick on hand the whole time I’m decorating, since it gives me way more control than a spoon when drawing tiny ghost faces.
- I lay my berries on parchment paper instead of a bare tray, which makes cleanup and transferring them so much easier once they’ve set.
- I try to buy strawberries with flat, wide bottoms, because they stand up much better on the serving tray than the long, pointed ones.
Common Mistakes to Avoid
- I’ve learned not to skip drying the berries completely, since damp strawberries make the white chocolate seize into a grainy mess almost instantly.
- I avoid overheating the chocolate in one long microwave burst, because white chocolate scorches quickly and turns clumpy instead of silky.
- I don’t dip the berries too far in advance of serving, since they taste best within a day or two before the strawberries start to soften.
- I never skip the shortening or oil in the chocolate, because it’s what keeps the coating thin enough to dip and set evenly.
- I used to draw the faces while the chocolate was still too wet, and the features would slide, so now I wait a minute or two before decorating.
How to Serve Halloween Ghost Strawberries
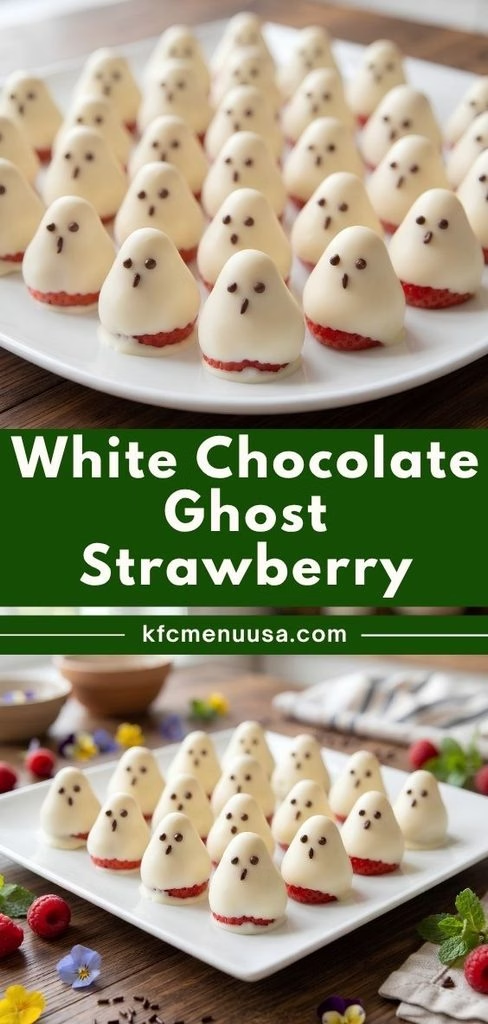
I like arranging these on a dark platter or a black cake stand, since the contrast really makes the white ghost shapes pop for a Halloween table. A light dusting of powdered sugar around the tray gives it a nice “misty graveyard” look without any extra effort.
These also work beautifully as part of a bigger spread of spooky fruit, orange clementines, grape “eyeballs,” and banana ghosts all displayed together for dramatic Halloween fruit ideas for the school party table.
If you’re hosting a bigger gathering, pair the tray with a batch of my Halloween chocolate bark for a mix of textures, or set out a pitcher of something fun like a strawberry ghost drink alongside the fruit for a complete themed dessert table.
Variations
- Dark chocolate ghosts – swap the white chocolate for dark or semisweet chocolate and use white gel for the eyes instead, flipping the whole look.
- Dairy-free version – use a dairy-free white chocolate baking bar, which melts and sets just like the regular kind.
- Sugar-free option – look for a sugar-free white chocolate baking chip blend to keep the sweetness lower without changing the method.
- Ghost strawberry cheesecake bites – crumble a bit of graham cracker and press it onto the wet chocolate base before it sets for a cheesecake-inspired twist.
- Sprinkle finish – add a light dusting of white sanding sugar right after dipping for extra sparkle under party lighting.
- Flavor boost – a drop of peppermint or vanilla extract in the melted chocolate adds a nice variation if almond isn’t your favorite.
Nutritional Information
Here’s a general idea of what one ghost strawberry contains, though amounts will shift slightly based on the exact brand of chocolate used.
- Calories: approximately 70 per strawberry
- Protein: 1 gram
- Carbohydrates: 8 grams
- Fat: 4 grams
Make Ahead and Storage
You can wash and dry the strawberries a few hours ahead of time and keep them in the refrigerator, loosely covered, until you’re ready to dip them. I don’t recommend dipping them more than a day in advance, since fresh strawberries release moisture over time and can make the chocolate coating look dull or slightly wet.
Once dipped and decorated, store the ghost strawberries in a single layer inside a covered container in the refrigerator for up to 2 days. I always let them sit at room temperature for about 10 minutes before serving so the chocolate isn’t ice-cold and the berries taste their freshest. These don’t freeze well, since thawed strawberries turn mushy once the chocolate shell is removed.
Why You’ll Love This Recipe?
This recipe has become one of my favorite Halloween staples because it checks every box: it’s quick, it’s festive, and it actually tastes as good as it looks.
- Simple preparation – there’s no baking involved, and the whole process comes together in about 20 minutes from start to finish.
- Kid-friendly fun – my daughter loves helping draw the little ghost faces, which makes this a great activity to do together.
- Naturally versatile – it works as a party platter centerpiece, a lunchbox treat, or part of a bigger halloween theme fruit spread.
- Easy to customize – between dark chocolate, sugar-free options, and fun add-ins, I can tweak this recipe depending on who I’m serving.
- Crowd-pleasing presentation – these always get a reaction the moment I set the tray down, which makes them worth the little bit of effort.
FAQs
Can I use milk chocolate instead of white chocolate?
Yes, though the ghosts won’t look quite as pale and spooky. I’d recommend sticking with white chocolate or almond bark for the classic ghostly look.
Why did my chocolate turn thick and clumpy?
This usually happens when the strawberries weren’t completely dry or the chocolate overheated. Patting the berries dry and melting the chocolate slowly fixes both issues.
Can I make these ahead for a party the next day?
I’d dip them no more than a day ahead and store them covered in the fridge, since fresh strawberries start to release moisture over time.
What can I use instead of a piping bag for the faces?
A simple toothpick works great for drawing small eyes and mouths if you don’t have a piping bag or squeeze bottle on hand.
Are these the same as white chocolate strawberry ghosts I’ve seen on Pinterest?
Yes, this is the same basic idea, just made with a slightly firmer almond bark coating so the ghosts hold their shape better once set.
If you’re building out a full dessert table this season, these ghost strawberries pair nicely with a bowl of baked oats for breakfast the next morning, like my strawberry baked oatmeal, which uses up any extra berries from this recipe.

Halloween Ghost Strawberries Recipe
Ingredients
Method
- I always start by washing the strawberries under cool water and patting them completely dry with a paper towel. Any leftover moisture will make the chocolate seize or slide right off, so I take my time here. Leave the green stems attached, since they give each berry its ghostly, tapered shape once dipped.
- I add the chopped white chocolate and shortening to a microwave-safe bowl and heat it in 30-second bursts, stirring after each one. This slow approach keeps the chocolate from scorching, which happens fast with white chocolate. Once it’s smooth and glossy, I stir in the almond extract for a little extra flavor.
- Holding each strawberry by the stem or a toothpick, I dip it into the melted chocolate and twirl it gently so the coating is even. I let the excess drip back into the bowl before setting the berry stem-up on the parchment-lined tray. Working in small batches keeps the chocolate from cooling too fast.
- Once the berries are coated and slightly set, I use a toothpick dipped in black gel or melted chocolate chips to add two small eyes and a round mouth to each one. I try to keep the faces simple, since a sweet, minimal face reads as “cute ghost” much better than an overly detailed one. This step is where the berries really start to look like little ghosts.
- I place the finished tray in the refrigerator for about 10 minutes so the white chocolate firms up completely. This also helps the faces set in place without smudging when I move the berries to a serving plate. Once they’re firm to the touch, they’re ready to serve.
Notes
- I always make sure my strawberries are bone dry before dipping, because even a little water will cause the chocolate to clump instead of coating smoothly.
- I melt the white chocolate low and slow in the microwave, since it burns much faster than milk or dark chocolate if I rush it.
- I keep a toothpick on hand the whole time I’m decorating, since it gives me way more control than a spoon when drawing tiny ghost faces.
- I lay my berries on parchment paper instead of a bare tray, which makes cleanup and transferring them so much easier once they’ve set.
- I try to buy strawberries with flat, wide bottoms, because they stand up much better on the serving tray than the long, pointed ones.