Go Back
Hatch Chile Frozen Dip Recipe
Ash Tyrrell

Hatch Chile Frozen Dip Recipe

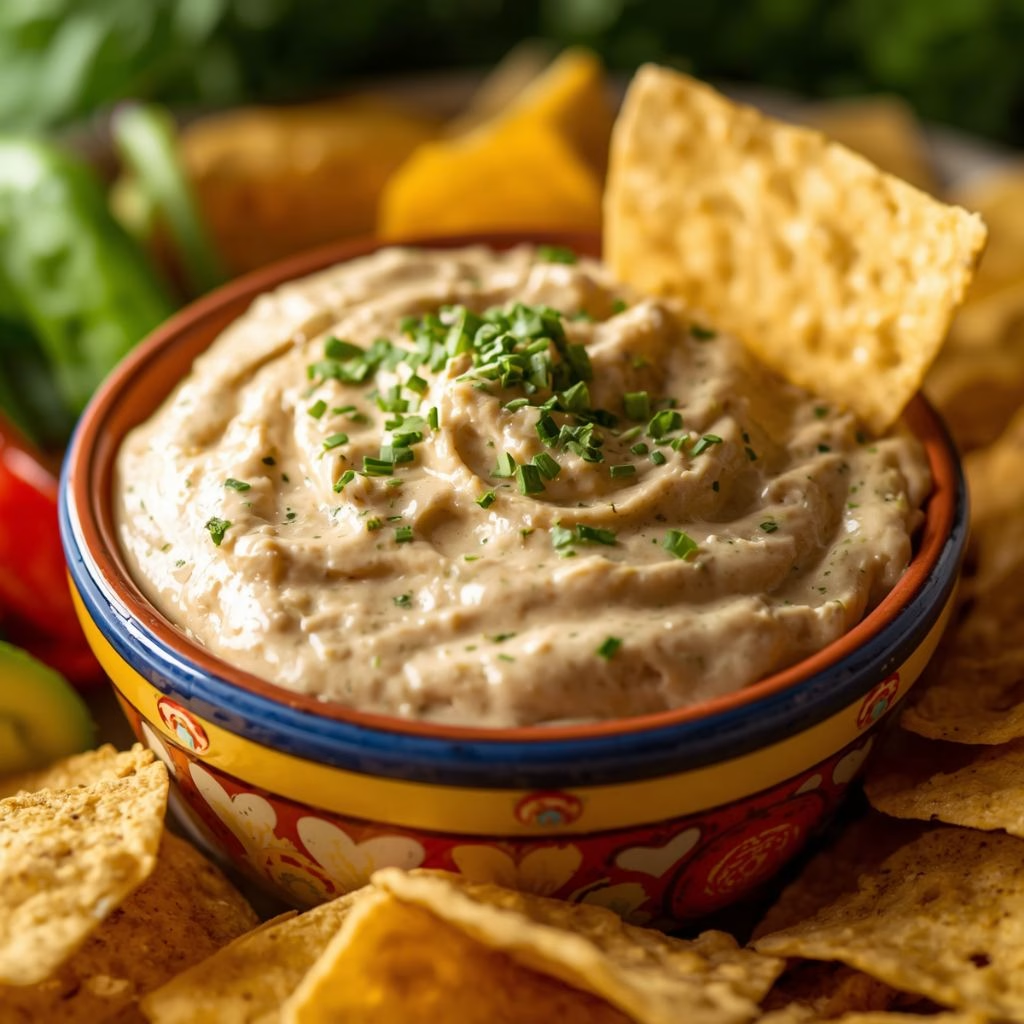
I still remember the first time I made this hatch chile frozen dip for a backyard get-together. It disappeared before I even got a chip in my own hand. I've made it dozens of times since, tweaking the heat level and cheese blend until I landed on the version I'm sharing with you today.
Prep Time 10 minutes
Cook Time 20 minutes
Servings: 6

Ingredients
  

  • 8 ounces cream cheese softened — softening it first is the secret to a lump-free base
  • 4 ounces diced hatch green chiles fresh, canned, or frozen — the star of the show; frozen roasted hatch chiles work beautifully when fresh ones are out of season
  • 1 cup shredded Monterey Jack cheese — melts smooth and mild balancing the chile heat
  • 1/3 cup shredded cheddar cheese — adds a little sharpness and color to the mix
  • 1/2 cup sour cream or plain Greek yogurt — keeps the dip creamy without making it heavy
  • 1/4 teaspoon garlic powder — a small amount goes a long way for savory depth
  • 1/8 teaspoon salt — taste as you go since canned chiles can already be salty
  • 3 dashes hot sauce — adjust up or down depending on how much heat you want
  • 3/4 cup shredded Monterey Jack cheese for topping — this is what gives you that golden, bubbly top layer

Method
 

  1. I always start by preheating my oven to 350°F so it's fully ready by the time my mixture is assembled. While it heats, I pull my cream cheese out early so it has time to soften cold cream cheese is the main reason dips turn lumpy. I also drain my diced chiles if there's excess liquid.
  2. In a mixing bowl, I combine the softened cream cheese, sour cream, garlic powder, salt, and hot sauce first. I like to stir this base until it's completely smooth before adding anything else, since it's much harder to work out lumps once the cheese and chiles go in.
  3. Next, I fold in the diced hatch chiles along with the Monterey Jack and cheddar cheese. I keep the topping cheese separate at this point that gets sprinkled on right before baking so it forms a nice melty crust instead of disappearing into the mix.
  4. I spread the mixture evenly into my small baking dish, smoothing the top with a spatula. This step matters more than people think an even layer bakes more consistently and you won't end up with a scorched edge and a cold center.
  5. I slide the dish into the oven and bake for 15-20 minutes, until the cheese on top is fully melted and just starting to bubble around the edges. If I want a deeper golden top, I'll switch to broil for the last minute or two, watching it closely so it doesn't burn.
  6. I let the dip rest for about 5 minutes after pulling it out; it's molten right out of the oven, and this short rest helps it set up just enough to scoop without running everywhere. Then it's straight to the table with chips.
Notes

  • I always let my cream cheese sit out for at least 30 minutes before mixing. It blends so much smoother than cold cream cheese straight from the fridge.
  • I shred my own cheese instead of buying pre-shredded bags, since the anti-caking coating on packaged cheese keeps it from melting as smoothly.
  • When I want this dip closer to a green chile sour cream dip recipe, I bump up the sour cream slightly and skip the baking step entirely for a cold version.
  • I taste my chiles before adding hot sauce, since heat levels can vary a lot from batch to batch, especially with fresh hatch peppers.
  • If my dip ever turns out a bit thin, I stir in a little extra shredded cheese rather than more liquid ingredients to thicken it back up.