Go Back
Homemade Fruit Snacks Recipe
Ash Tyrrell

Homemade Fruit Snacks Recipe

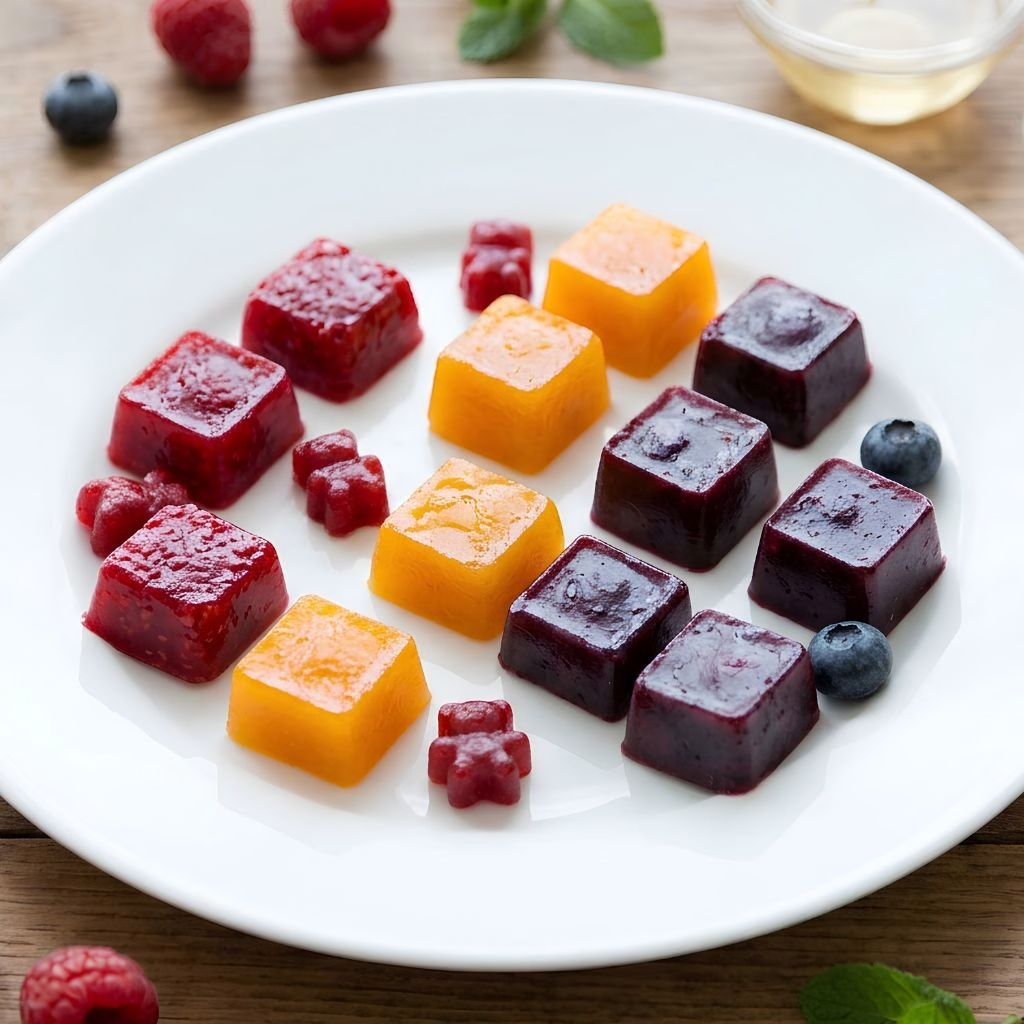
I still remember the first time I tried making fruit snacks at home. I was tired of reading ingredient labels I couldn't pronounce on the store-bought packs my kids loved. So I grabbed some fruit, a splash of juice, and a blender, and within twenty minutes I had a tray of chewy, fruity gummies that tasted better than anything from a box.
Total Time 15 minutes
Servings: 10

Ingredients
  

  • 1 cup fresh or thawed fruit puree strawberries, mango, or peaches work beautifully – this is the flavor base, so use ripe, sweet fruit
  • ½ cup 100% fruit juice apple or white grape – adds natural sweetness and helps the mixture blend smoothly
  • 3 tablespoons unflavored gelatin – the ingredient that gives these their signature chewy gummy bite
  • 2-3 tablespoons honey or maple syrup – adjust to taste depending on how sweet your fruit already is
  • 1 teaspoon pure vanilla extract – rounds out the flavor and cuts any tartness from the fruit
  • Optional: ¼ cup pureed carrot or beet – a sneaky way to add nutrients without changing the taste much
  • Optional: pinch of citric acid or lemon juice – gives a tangy store-bought-style kick

Method
 

  1. Add your chosen fruit and juice to the blender and puree until completely smooth. I always run mine for a full minute longer than I think it needs, because any leftover chunks will clog your molds later. If you're using frozen fruit, let it thaw slightly first so the blender doesn't struggle.
  2. Pour the fruit puree into your saucepan and sprinkle the gelatin evenly over the top. Let it sit for a minute or two so it "blooms," which just means it softens and absorbs liquid. This step is what keeps your fruit snacks from turning out grainy or clumpy once they set.
  3. Place the saucepan over low heat and whisk constantly until the gelatin fully dissolves into the puree. This only takes a few minutes, and you want to avoid boiling it, since high heat can weaken gelatin's setting power. The mixture should look glossy and completely smooth.
  4. Remove the pan from heat and stir in your honey and vanilla extract. Taste the mixture here and adjust sweetness if needed, since fruit sweetness varies a lot by season. This is also the stage where I add any optional citric acid for a tangier bite.
  5. Carefully pour or drop the warm mixture into your silicone molds, filling each cavity close to the top. Working quickly matters here because the mixture starts thickening as it cools, making it harder to pour neatly.
  6. Transfer the filled molds to the refrigerator and let them chill for 20 to 30 minutes, or until firm to the touch. Once set, gently pop each fruit snack out of its mold and they're ready to enjoy or store.
Notes

  • I always bloom my gelatin before heating it skipping this step is the fastest way to end up with a lumpy batch.
  • I like blending in a small handful of spinach or carrot when I'm making these for my kids, since the fruit flavor completely masks it.
  • I've found that straining the puree through a mesh sieve gives a much smoother, more professional-looking gummy.
  • I never let the mixture boil, because I've noticed it sets softer and doesn't hold its shape as well afterward.
  • I keep my molds chilled in the freezer for a few minutes beforehand, which seems to help the snacks release more cleanly.