I still remember the first time I tried making fruit snacks at home. I was tired of reading ingredient labels I couldn’t pronounce on the store-bought packs my kids loved.
So I grabbed some fruit, a splash of juice, and a blender, and within twenty minutes I had a tray of chewy, fruity gummies that tasted better than anything from a box. Ever since that day, I’ve made these on repeat, tweaking the ratios until I landed on a version that sets perfectly every single time.
I’m sharing my exact method below so you can skip the trial and error I went through. Whether you’re after a classic homemade fruit snack with a juice version or want to sneak in some veggies, this Homemade Fruit Snacks Recipe bends to whatever you’ve got in the fridge.
Cooking Time
- Prep Time: 10 minutes
- Cooking Time: 5 minutes
- Total Time: 15 minutes (plus 20-30 minutes chilling)
Ingredients
- 1 cup fresh or thawed fruit puree (strawberries, mango, or peaches work beautifully) – this is the flavor base, so use ripe, sweet fruit
- ½ cup 100% fruit juice (apple or white grape) – adds natural sweetness and helps the mixture blend smoothly
- 3 tablespoons unflavored gelatin – the ingredient that gives these their signature chewy, gummy bite
- 2-3 tablespoons honey or maple syrup – adjust to taste depending on how sweet your fruit already is
- 1 teaspoon pure vanilla extract – rounds out the flavor and cuts any tartness from the fruit
- Optional: ¼ cup pureed carrot or beet – a sneaky way to add nutrients without changing the taste much
- Optional: pinch of citric acid or lemon juice – gives a tangy, store-bought-style kick
Note: This recipe serves 10-12 people, yielding roughly 40-50 small fruit snack pieces depending on your mold size.
Equipment You Need
- Blender or food processor – purees the fruit and veggies into a silky, lump-free base
- Small saucepan – gently heats and dissolves the gelatin into the fruit mixture
- Silicone candy molds or a lined baking dish – shapes the snacks or lets you cut them into squares
- Whisk – keeps the gelatin from clumping as it dissolves
- Fine mesh strainer (optional) – removes any fibrous bits for a smoother texture
- Dropper or small measuring spoon – helps fill tiny molds neatly without spills
How to Make Homemade Fruit Snacks Recipe?
This part is where the magic actually happens, and I promise it’s far less intimidating than it sounds. Once you’ve got your fruit prepped, the whole process moves quickly from blender to fridge. I like to have my molds laid out on a tray before I even start cooking so nothing sets up in the pan by accident.
Step 1: Puree Your Fruit
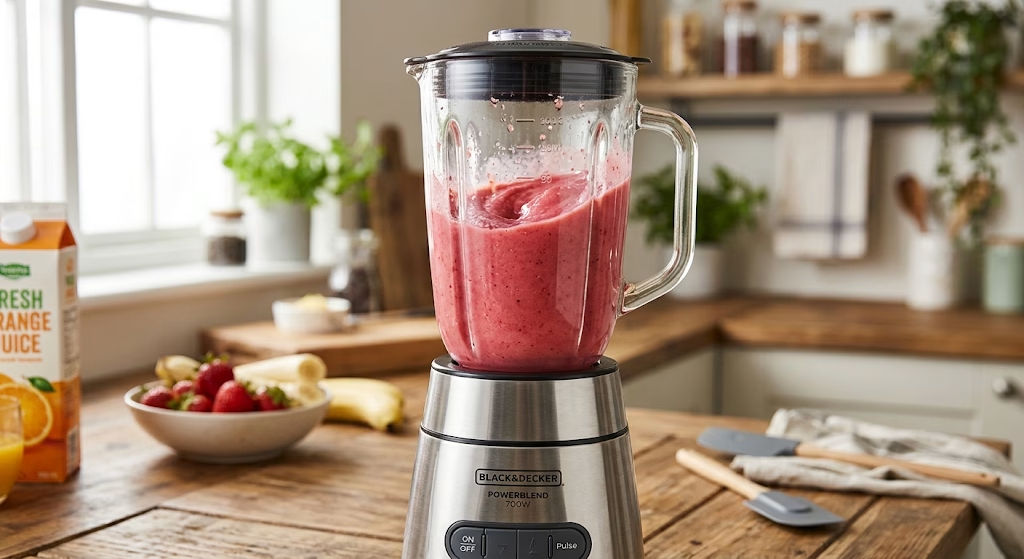
Add your chosen fruit and juice to the blender and puree until completely smooth. I always run mine for a full minute longer than I think it needs, because any leftover chunks will clog your molds later. If you’re using frozen fruit, let it thaw slightly first so the blender doesn’t struggle.
Step 2: Bloom the Gelatin
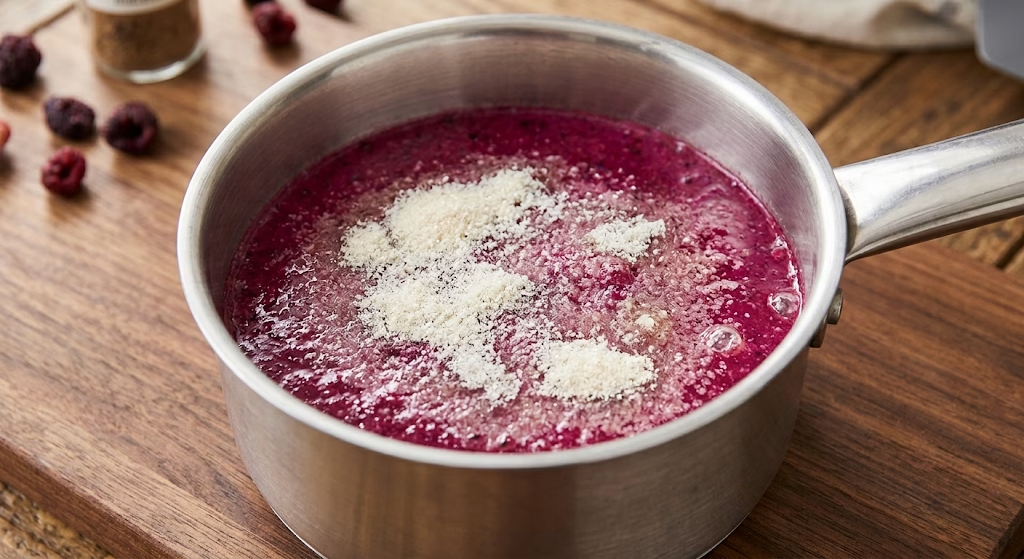
Pour the fruit puree into your saucepan and sprinkle the gelatin evenly over the top. Let it sit for a minute or two so it “blooms,” which just means it softens and absorbs liquid. This step is what keeps your fruit snacks from turning out grainy or clumpy once they set.
Step 3: Warm and Whisk
Place the saucepan over low heat and whisk constantly until the gelatin fully dissolves into the puree. This only takes a few minutes, and you want to avoid boiling it, since high heat can weaken gelatin’s setting power. The mixture should look glossy and completely smooth.
Step 4: Sweeten and Flavor
Remove the pan from heat and stir in your honey and vanilla extract. Taste the mixture here and adjust sweetness if needed, since fruit sweetness varies a lot by season. This is also the stage where I add any optional citric acid for a tangier bite.
Step 5: Fill Your Molds
Carefully pour or drop the warm mixture into your silicone molds, filling each cavity close to the top. Working quickly matters here because the mixture starts thickening as it cools, making it harder to pour neatly.
Step 6: Chill Until Set
Transfer the filled molds to the refrigerator and let them chill for 20 to 30 minutes, or until firm to the touch. Once set, gently pop each fruit snack out of its mold and they’re ready to enjoy or store.
Additional Tips for Making This Recipe Better
After making these more times than I can count, I’ve picked up a few tricks that genuinely make a difference.
- I always bloom my gelatin before heating it skipping this step is the fastest way to end up with a lumpy batch.
- I like blending in a small handful of spinach or carrot when I’m making these for my kids, since the fruit flavor completely masks it.
- I’ve found that straining the puree through a mesh sieve gives a much smoother, more professional-looking gummy.
- I never let the mixture boil, because I’ve noticed it sets softer and doesn’t hold its shape as well afterward.
- I keep my molds chilled in the freezer for a few minutes beforehand, which seems to help the snacks release more cleanly.
Common Mistakes to Avoid
I’ve made nearly every one of these mistakes myself, so consider this your shortcut past them.
- I used to skip blooming the gelatin, and my batches turned out grainy almost every time always sprinkle it over the liquid first and let it sit.
- I once let the mixture boil while distracted, and the snacks never fully firmed up — keep the heat low and gentle.
- I tried using fruit that was underripe once, and the flavor was noticeably flat — always reach for the ripest fruit you have.
- I overfilled my molds early on, which made them messy to unmold — fill just below the rim for cleaner edges.
- I rushed the chilling time more than once, and the snacks stuck to the mold — give them the full 20-30 minutes before trying to pop them out.
How to Serve Homemade Fruit Snacks
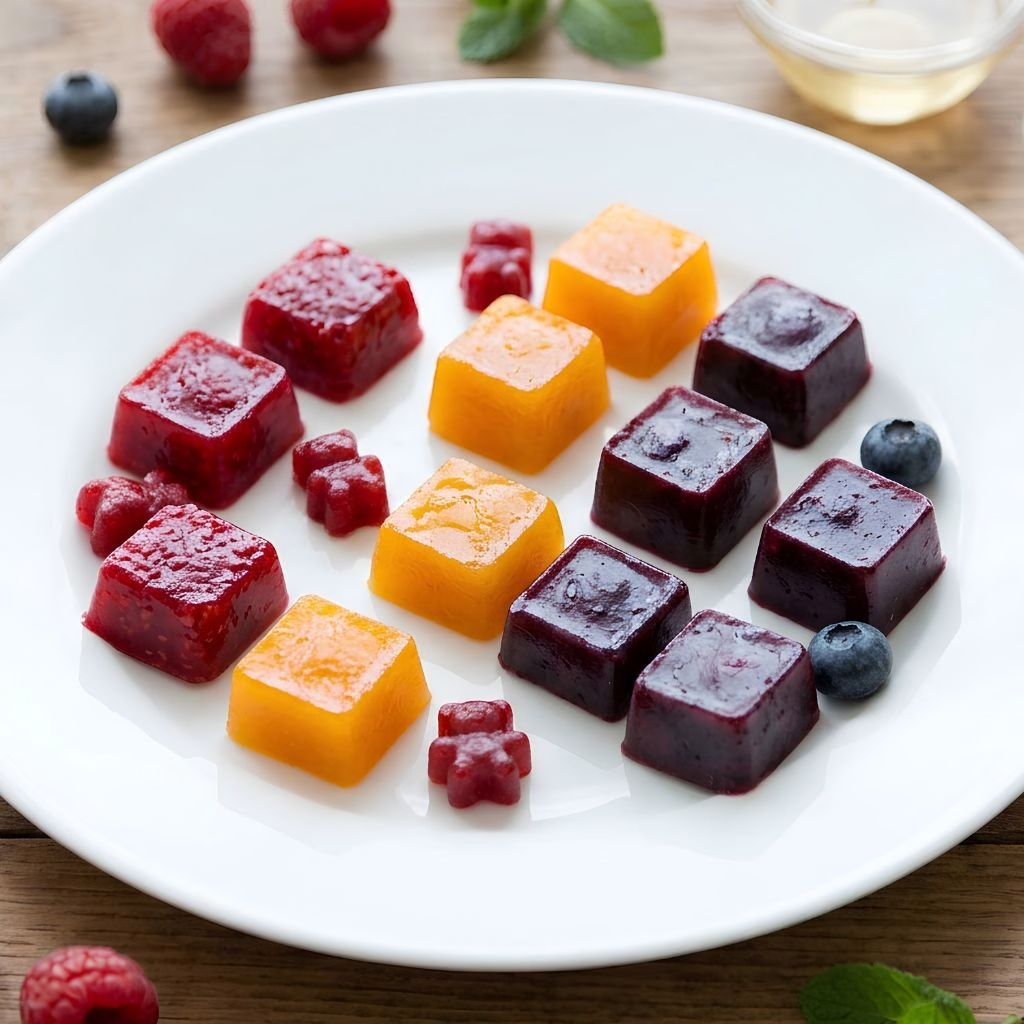
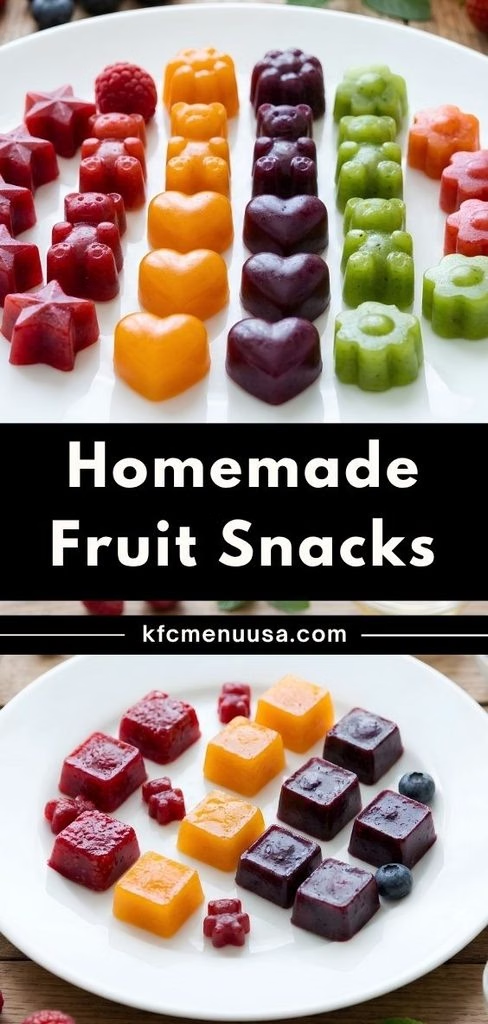
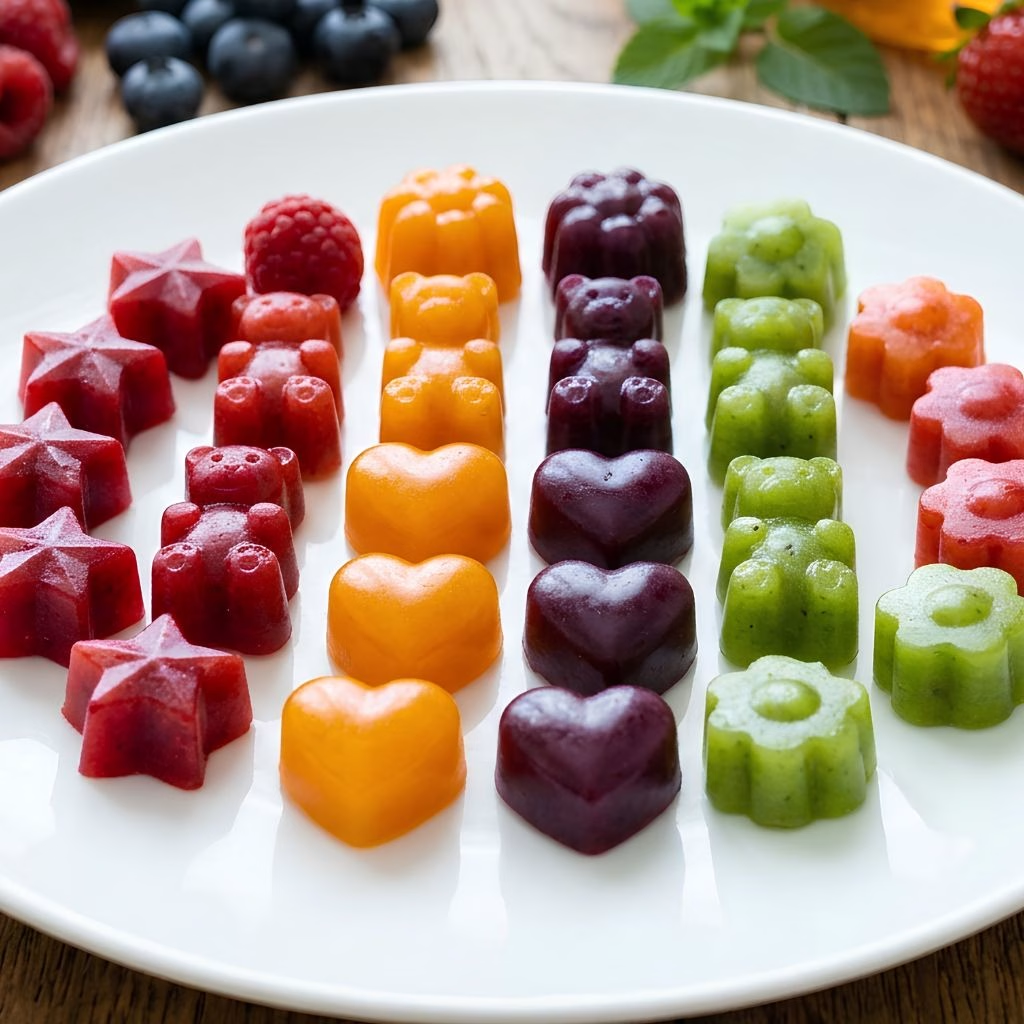
These little gummies are fun to serve just as they are, piled into a small bowl or lunchbox container. For a more playful presentation, I like arranging different fruit flavors together on a plate so you get a natural rainbow effect.
A light dusting of coconut flakes or a sprinkle of citric acid right before serving adds a nice finishing touch and a bit of sparkle.
They also pair nicely alongside other kid-friendly treats if you’re putting together a snack spread, our Oreo Cheesecake Recipe makes a great companion for a dessert table that covers both fruity and indulgent cravings.
Variations
This recipe is wonderfully flexible, so feel free to make it your own.
- Dairy-free: This recipe is naturally dairy-free as written, so no changes needed here.
- Sugar-free: Swap honey for a sugar-free syrup alternative or rely solely on the natural sweetness of ripe fruit.
- Vegan version: Replace the gelatin with an equal amount of agar-agar powder, adjusting setting time as needed.
- Veggie-boosted: Blend in pureed carrots, beets, or pumpkin for homemade fruit snacks with veggies that sneak in extra nutrients.
- Frozen fruit base: Use thawed frozen berries or mango for homemade fruit snacks with frozen fruit when fresh produce isn’t in season.
- Extra tangy: Add a splash of lemon juice or citric acid for that classic tart, chewy candy flavor.
Nutritional Information
Here’s a rough breakdown per serving (about 4 pieces), though exact values will shift depending on the fruit and sweetener you choose.
- Calories: approximately 35-45 kcal
- Protein: approximately 2-3 g
- Carbohydrates: approximately 7-9 g
- Fat: approximately 0 g
Make Ahead and Storage
These fruit snacks store wonderfully, which makes them perfect for meal prepping snacks for the week ahead. Keep them in an airtight container in the refrigerator, where they’ll stay fresh and chewy for up to two weeks.
If you want to make a big batch, these also freeze well in a single layer before being transferred to a freezer-safe bag, lasting up to three months. There’s no reheating involved, just let frozen pieces thaw in the fridge for about an hour before eating, and they’ll return to their soft, chewy texture.
Why You’ll Love This Recipe
I keep coming back to this recipe for so many reasons, and I think you will too once you try it.
- It’s genuinely easy: With just one blender, one pan, and about 15 minutes of active time, this comes together faster than most snack recipes I make.
- It’s endlessly customizable: Whether you want a classic homemade gummy fruit snacks recipe or a veggie-packed twist, the base method stays the same.
- It’s a healthier swap: Compared to most store-bought packs loaded with added sugar and dyes, this version uses whole, recognizable ingredients.
- It’s great for picky eaters: Blending in fruit and a little juice makes this one of the best fruit snack recipe options for kids who are hesitant about veggies.
- It travels well: These hold their shape at room temperature for a few hours, making them ideal for lunchboxes and road trips.
FAQs
Can I make this homemade fruit snack with no gelatin recipe for vegetarians?
Yes, simply swap the gelatin for agar-agar powder in equal measure, though you may need to adjust the setting time slightly since agar sets differently than gelatin.
How long do homemade fruit snacks actually last?
Stored in an airtight container in the fridge, they stay fresh and chewy for up to two weeks, or up to three months if frozen.
Can I use frozen fruit instead of fresh?
Absolutely just thaw it slightly first so your blender can puree it smoothly without straining the motor.
Why did my fruit snacks turn out too soft?
This usually happens if the mixture was boiled instead of gently heated, or if too little gelatin was used relative to the liquid.
Can kids help make this recipe?
Definitely younger kids love pouring the mixture into molds, and it’s a great way to get them curious about trying new fruit and veggie combinations, similar to how our Loaded Fries Recipe is another hands-on dish that’s fun to build together as a family.

Homemade Fruit Snacks Recipe
Ingredients
Method
- Add your chosen fruit and juice to the blender and puree until completely smooth. I always run mine for a full minute longer than I think it needs, because any leftover chunks will clog your molds later. If you’re using frozen fruit, let it thaw slightly first so the blender doesn’t struggle.
- Pour the fruit puree into your saucepan and sprinkle the gelatin evenly over the top. Let it sit for a minute or two so it “blooms,” which just means it softens and absorbs liquid. This step is what keeps your fruit snacks from turning out grainy or clumpy once they set.
- Place the saucepan over low heat and whisk constantly until the gelatin fully dissolves into the puree. This only takes a few minutes, and you want to avoid boiling it, since high heat can weaken gelatin’s setting power. The mixture should look glossy and completely smooth.
- Remove the pan from heat and stir in your honey and vanilla extract. Taste the mixture here and adjust sweetness if needed, since fruit sweetness varies a lot by season. This is also the stage where I add any optional citric acid for a tangier bite.
- Carefully pour or drop the warm mixture into your silicone molds, filling each cavity close to the top. Working quickly matters here because the mixture starts thickening as it cools, making it harder to pour neatly.
- Transfer the filled molds to the refrigerator and let them chill for 20 to 30 minutes, or until firm to the touch. Once set, gently pop each fruit snack out of its mold and they’re ready to enjoy or store.
Notes
- I always bloom my gelatin before heating it skipping this step is the fastest way to end up with a lumpy batch.
- I like blending in a small handful of spinach or carrot when I’m making these for my kids, since the fruit flavor completely masks it.
- I’ve found that straining the puree through a mesh sieve gives a much smoother, more professional-looking gummy.
- I never let the mixture boil, because I’ve noticed it sets softer and doesn’t hold its shape as well afterward.
- I keep my molds chilled in the freezer for a few minutes beforehand, which seems to help the snacks release more cleanly.