Go Back
Homemade Strawberry Pop Tart Recipe
Ash Tyrrell

Homemade Strawberry Pop Tart Recipe

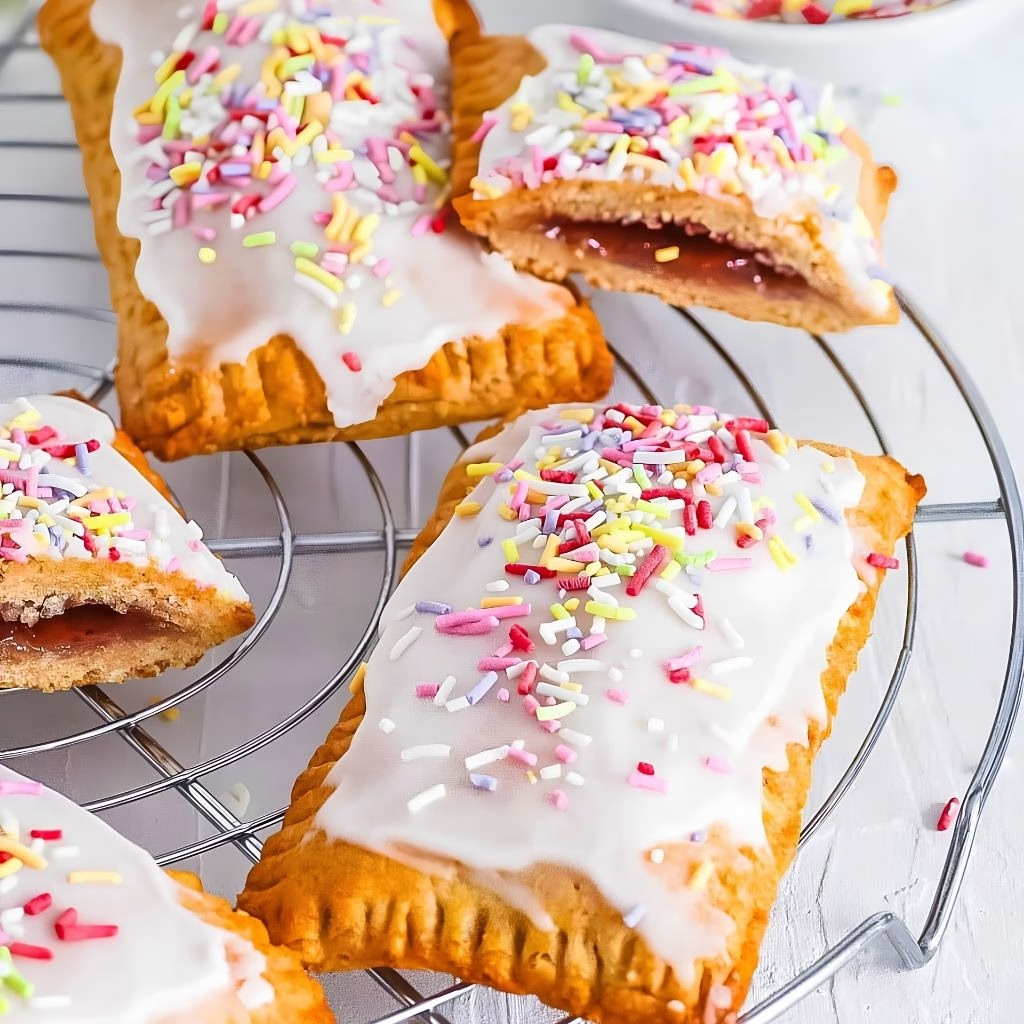
I still remember the first bite I took of these homemade strawberry pop tarts fresh off the baking sheet, and I knew right then I'd never grab the foil-wrapped kind again. The crust shattered in the best way, the strawberry filling was jammy and bright, and the icing set up firm without any weird chemical aftertaste.
Total Time 1 hour 20 minutes
Servings: 10

Ingredients
  

  • All-purpose flour 2 ½ cups – the base of the dough, measure it correctly so the crust doesn't turn out tough
  • Granulated sugar 1 tablespoon – a light touch of sweetness in the crust itself
  • Table salt ½ teaspoon – balances the sweetness and sharpens the flavor
  • Unsalted butter 1 cup, very cold and cubed – cold butter is the secret to flaky, not crumbly, layers
  • Sour cream ½ cup – adds moisture and a subtle tang you won't actually taste in the end
  • Granulated sugar ¼ cup – sweetens the berries and helps them break down
  • Cornstarch 2 teaspoons – thickens the filling so it stays put instead of leaking out
  • Fresh strawberries 8 oz, quartered – use ripe, fragrant berries for the best flavor payoff
  • Lemon juice 2 teaspoons – brightens the strawberry flavor and keeps it from tasting flat
  • Butter ½ tablespoon – stirred in at the end for a glossy, richer filling
  • Large egg 1 – brushed on both sides of the dough for a crisp, sealed, golden crust
  • Water 1 teaspoon – thins the egg slightly so it brushes on smoothly
  • Powdered sugar 1 ½ cups – the base of a smooth, spreadable icing
  • Milk 2 tablespoons – loosens the glaze to the right drizzling consistency
  • Light corn syrup 1 tablespoon – gives the icing a shiny finish and a firmer set
  • Vanilla extract ¼ teaspoon – rounds out the sweetness with warmth
  • Sprinkles optional – because a pop tart without them just feels incomplete

Method
 

  1. Pulse the flour, sugar, and salt together in a food processor, then scatter in the cold, cubed butter and pulse until the mixture looks like coarse crumbs with pea-sized bits remaining. Add the sour cream and pulse just until the dough starts clumping together. Turn it out, shape it into a disc, wrap it, and chill it for 30 to 60 minutes while you prepare the filling.
  2. Whisk the sugar and cornstarch together in a small saucepan, then stir in the quartered strawberries and lemon juice. Cook over medium heat, mashing the berries as they soften, until the mixture thickens into a jammy consistency. Remove it from the heat, stir in the butter, and let the filling cool completely before you use it.
  3. Once the dough has chilled and the filling has cooled, roll the dough out on a floured surface to about a quarter-inch thick. Cut it into even rectangles using a knife, pizza wheel, or cookie cutter. You'll want an even number so each pop tart gets a top and a bottom piece.
  4. Brush one rectangle with egg wash, then spoon a rounded tablespoon of strawberry filling into the center. Top with a second rectangle, then crimp the edges with a fork to seal everything in tightly. Brush the top with more egg wash and poke a few holes so steam can escape while baking.
  5. Arrange the assembled pop tarts on a parchment-lined baking sheet and bake at 400°F until they're golden brown, about 15 to 17 minutes. Let them cool completely on the pan before you even think about icing them, or the glaze will just slide right off.
  6. Whisk together the powdered sugar, milk, corn syrup, and vanilla until smooth and glossy. Drizzle it generously over each cooled pop tart, then finish with sprinkles while the icing is still wet so they actually stick.
Notes

  • I always make sure my butter is ice-cold going into the food processor, since that's what gives me those flaky, not crumbly, layers.
  • I cool my filling in the fridge instead of on the counter, because it speeds things up and keeps my crust from getting soggy later.
  • I never skip the egg wash on the inside of the dough, since it acts like a barrier that keeps the jammy filling from soaking through.
  • I like rolling my dough a little thicker than I think I need to, because thin dough tears easily when I'm sealing in the filling.
  • I keep a small bowl of flour nearby while I work, since the dough gets sticky fast and a light dusting saves me a lot of frustration.