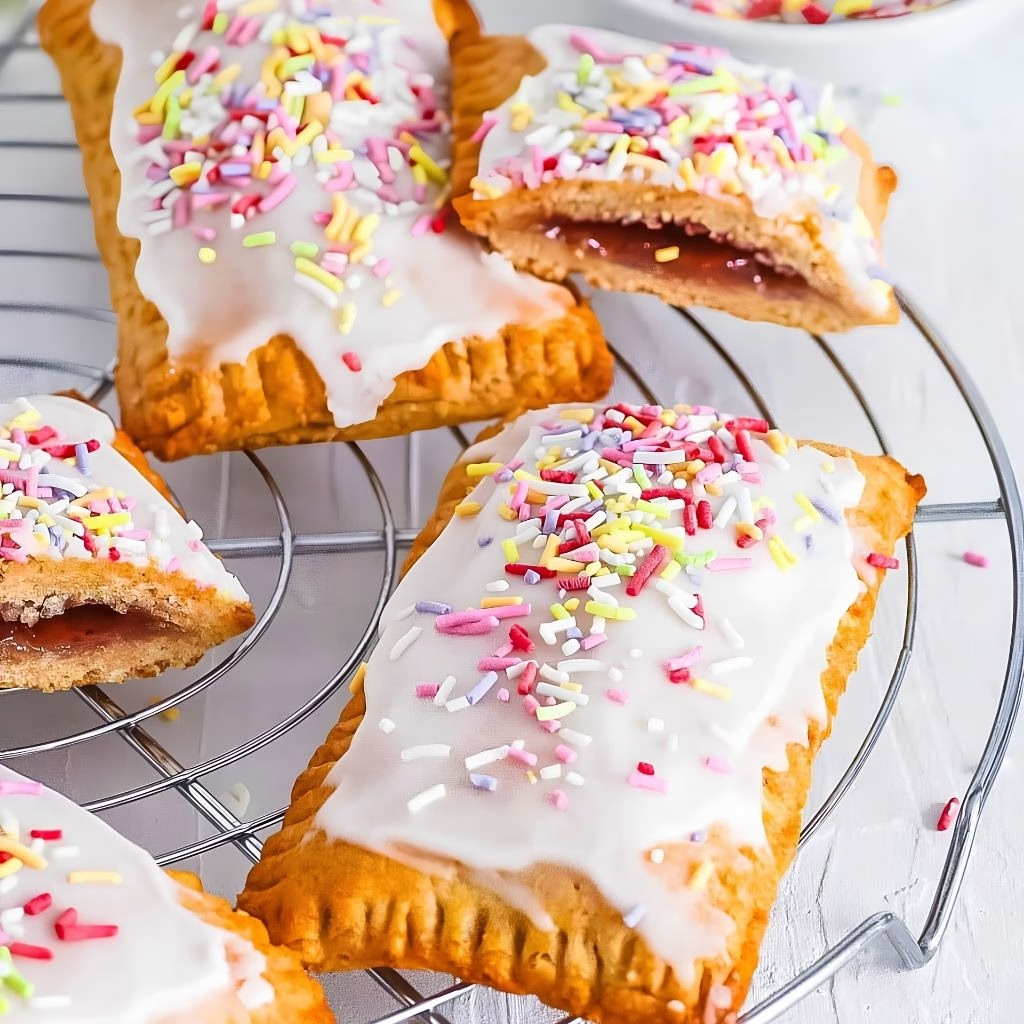
I still remember the first bite I took of this Homemade Strawberry Pop Tart Recipe fresh off the baking sheet, and I knew right then I’d never grab the foil-wrapped kind again.
The crust shattered in the best way, the strawberry filling was jammy and bright, and the icing set up firm without any weird chemical aftertaste. I’ve made this batch more times than I can count since then, tweaking little things until I landed on a version I actually trust. Let me walk you through exactly how I make it.
Cooking Time
- Prep Time: 1 hour (includes chilling the dough)
- Cook Time: 17 minutes
- Total Time: About 1 hour 20 minutes
Ingredients
For the Crust
- All-purpose flour, 2 ½ cups – the base of the dough, measure it correctly so the crust doesn’t turn out tough
- Granulated sugar, 1 tablespoon – a light touch of sweetness in the crust itself
- Table salt, ½ teaspoon – balances the sweetness and sharpens the flavor
- Unsalted butter, 1 cup, very cold and cubed – cold butter is the secret to flaky, not crumbly, layers
- Sour cream, ½ cup – adds moisture and a subtle tang you won’t actually taste in the end
For the Strawberry Filling
- Granulated sugar, ¼ cup – sweetens the berries and helps them break down
- Cornstarch, 2 teaspoons – thickens the filling so it stays put instead of leaking out
- Fresh strawberries, 8 oz, quartered – use ripe, fragrant berries for the best flavor payoff
- Lemon juice, 2 teaspoons – brightens the strawberry flavor and keeps it from tasting flat
- Butter, ½ tablespoon – stirred in at the end for a glossy, richer filling
For the Egg Wash
- Large egg, 1 – brushed on both sides of the dough for a crisp, sealed, golden crust
- Water, 1 teaspoon – thins the egg slightly so it brushes on smoothly
For the Glaze
- Powdered sugar, 1 ½ cups – the base of a smooth, spreadable icing
- Milk, 2 tablespoons – loosens the glaze to the right drizzling consistency
- Light corn syrup, 1 tablespoon – gives the icing a shiny finish and a firmer set
- Vanilla extract, ¼ teaspoon – rounds out the sweetness with warmth
- Sprinkles, optional – because a pop tart without them just feels incomplete
Note: This recipe serves 8-10 people, yielding 8 to 10 homemade strawberry pop tarts depending on how you cut the dough.
Equipment You Need
- Food processor – cuts the cold butter into the flour quickly for a flaky crust
- Small saucepan – cooks down the strawberries into a thick, jammy filling
- Potato masher or fork – breaks the strawberries down without pureeing them
- Rolling pin – rolls the chilled dough into even rectangles
- Pastry brush – applies the egg wash for a golden, sealed crust
- Baking sheet lined with parchment – bakes the pop tarts evenly and prevents sticking
- Mixing bowls – for the egg wash and the glaze
- Sharp knife, pizza cutter, or rectangle cookie cutter – cuts clean, uniform pastry rectangles
How to Make Homemade Strawberry Pop Tarts Recipe?
Making this recipe from scratch is easier than it looks once you break it into three simple stages: crust, filling, and assembly. None of the individual steps are tricky, they just take a little patience while things chill and cool. Here’s exactly how I do it every time.
Make the Pastry Dough
Pulse the flour, sugar, and salt together in a food processor, then scatter in the cold, cubed butter and pulse until the mixture looks like coarse crumbs with pea-sized bits remaining. Add the sour cream and pulse just until the dough starts clumping together. Turn it out, shape it into a disc, wrap it, and chill it for 30 to 60 minutes while you prepare the filling.
Cook the Strawberry Filling
Whisk the sugar and cornstarch together in a small saucepan, then stir in the quartered strawberries and lemon juice. Cook over medium heat, mashing the berries as they soften, until the mixture thickens into a jammy consistency. Remove it from the heat, stir in the butter, and let the filling cool completely before you use it.
Roll and Cut the Dough
Once the dough has chilled and the filling has cooled, roll the dough out on a floured surface to about a quarter-inch thick. Cut it into even rectangles using a knife, pizza wheel, or cookie cutter. You’ll want an even number so each pop tart gets a top and a bottom piece.
Fill and Seal the Pop Tarts
Brush one rectangle with egg wash, then spoon a rounded tablespoon of strawberry filling into the center. Top with a second rectangle, then crimp the edges with a fork to seal everything in tightly. Brush the top with more egg wash and poke a few holes so steam can escape while baking.
Bake Until Golden
Arrange the assembled pop tarts on a parchment-lined baking sheet and bake at 400°F until they’re golden brown, about 15 to 17 minutes. Let them cool completely on the pan before you even think about icing them, or the glaze will just slide right off.
Glaze and Decorate
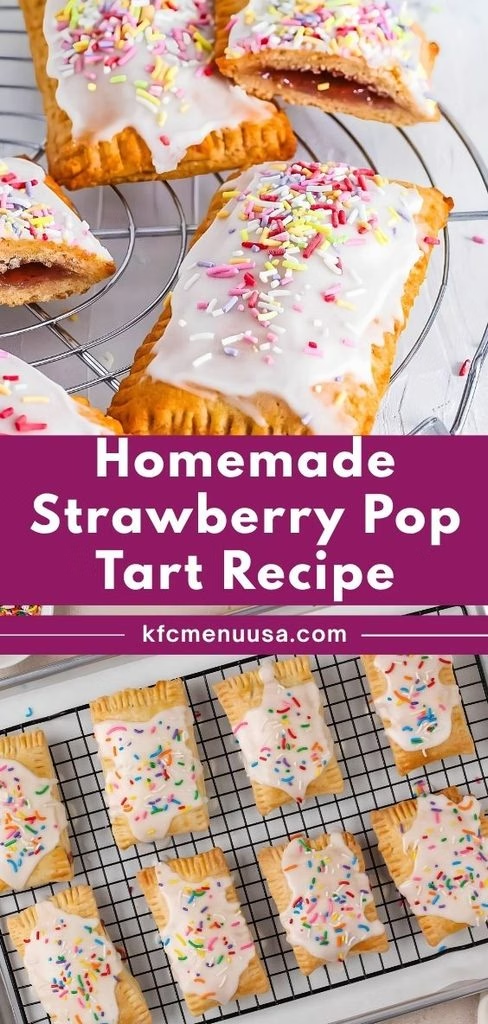
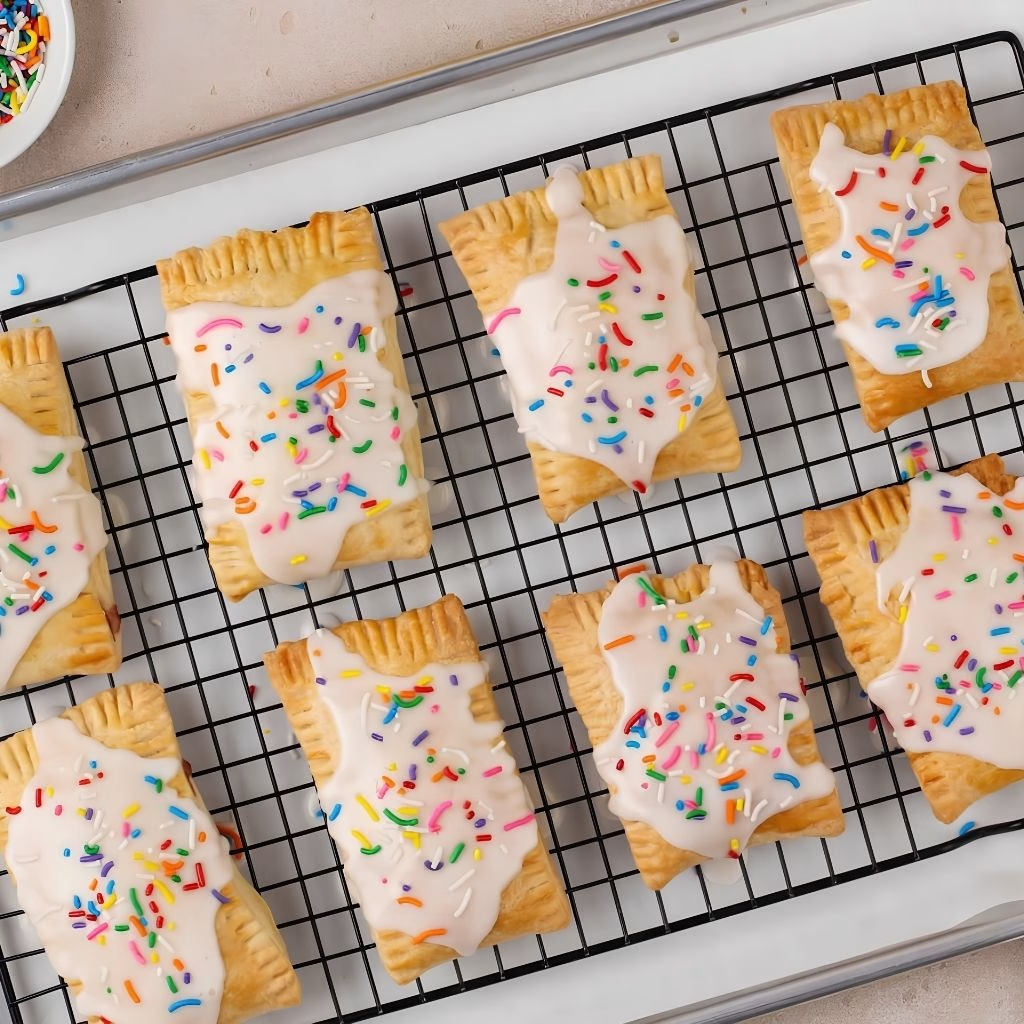
Whisk together the powdered sugar, milk, corn syrup, and vanilla until smooth and glossy. Drizzle it generously over each cooled pop tart, then finish with sprinkles while the icing is still wet so they actually stick.
Additional Tips for Making This Recipe Better
I’ve made enough batches of these to pick up a few tricks that genuinely make a difference:
- I always make sure my butter is ice-cold going into the food processor, since that’s what gives me those flaky, not crumbly, layers.
- I cool my filling in the fridge instead of on the counter, because it speeds things up and keeps my crust from getting soggy later.
- I never skip the egg wash on the inside of the dough, since it acts like a barrier that keeps the jammy filling from soaking through.
- I like rolling my dough a little thicker than I think I need to, because thin dough tears easily when I’m sealing in the filling.
- I keep a small bowl of flour nearby while I work, since the dough gets sticky fast and a light dusting saves me a lot of frustration.
Common Mistakes to Avoid
- I once used warm filling straight off the stove, and it made my dough go soft and unworkable almost instantly, so now I always let it cool fully first.
- I overfilled my first batch, which made sealing the edges nearly impossible and led to leaks in the oven.
- I forgot to poke vent holes one time, and steam pushed the top layer right off during baking.
- I iced my pop tarts while they were still warm once, and the glaze melted into a thin, useless puddle instead of setting.
- I skipped chilling the dough because I was in a rush, and the crust baked up tough instead of tender and flaky.
How to Serve Homemade Strawberry Pop Tarts?
I like piling these up on a plain white plate so the pink glaze and rainbow sprinkles really pop against the background. For breakfast, I’ll set them next to a small bowl of fresh strawberries and a mug of coffee, which makes the whole plate feel a little more put together.
If I’m serving them for dessert, a small scoop of vanilla ice cream on the side turns them into something a bit more special. They also travel well wrapped individually in parchment paper, which makes them an easy grab-and-go breakfast pastry for busy mornings.
Variations
- Swap the strawberries for raspberries, blueberries, or a mixed berry filling if you want to switch up the flavor.
- Use a dairy-free butter substitute and a dairy-free milk in the glaze to make this version dairy-free.
- Cut the sugar in the filling and glaze, or use a sugar substitute, if you’re watching your strawberry pop tart sugar content.
- Leave the icing off entirely for an unfrosted strawberry pop tart that’s a little less sweet but still satisfying.
- Use store-bought puff pastry instead of the pie-style crust for a flakier, more toaster-strudel-like texture.
- Add a spoonful of cream cheese alongside the jam for a tangier, richer filling.
Nutritional Information
Here’s roughly what you can expect per pop tart, based on standard ingredients and an average size:
- Calories: About 420 kcal
- Protein: About 4 grams
- Carbohydrates: About 52 grams
- Fat: About 22 grams
Make Ahead and Storage
You can make the pastry dough up to 3 days ahead of time and keep it wrapped tightly in the fridge until you’re ready to roll it out. The strawberry filling holds well in the refrigerator for 1 to 2 days, so it’s easy to prep both components in advance and just assemble when you’re ready to bake.
Once baked and iced, store leftover pop tarts in an airtight container at room temperature for 2 to 3 days. For longer storage, freeze the baked, unglazed pop tarts in a sealed bag for up to 2 to 3 months, then thaw and add fresh icing before serving. I don’t recommend freezing them once they’re already glazed, since the icing doesn’t hold up well after thawing.
Why You’ll Love This Recipe
This one’s earned a permanent spot in my regular baking rotation, and here’s why:
- Real ingredients, real flavor: There’s nothing processed hiding in here, just butter, fruit, and simple pantry staples that add up to something genuinely delicious.
- Totally customizable: Between the filling swaps and the variations, this base recipe stretches to fit whatever flavor or dietary need you’re working with.
- Great for kids and adults alike: The nostalgic shape and bright glaze make it a hit with kids, while the flaky, buttery crust wins over the adults at the table too.
- Freezer-friendly: You can bake a big batch and freeze the extras, which makes busy mornings so much easier down the line.
- Way better texture than store-bought: The crust is genuinely flaky instead of dense and cardboard-like, and that difference is obvious in the first bite.
If you like this style of fruit-filled pastry, you’ll probably also enjoy trying Apple Pie Poppers, which use a similar warm fruit filling tucked into a flaky crust. And if you want to get more comfortable working with cold-butter pastry dough before tackling pop tarts, my Biscuit recipe is a good, low-stakes place to practice the technique.
FAQs
Can I use frozen strawberries instead of fresh?
Yes, frozen strawberries work fine for the filling, though you may need an extra tablespoon of water to help everything cook down evenly.
Why did my icing turn out too thin?
This usually happens if you add too much milk too fast, so add it a little at a time and stop once you reach a thick, drizzling consistency.
Can I skip the corn syrup in the glaze?
You can, but the icing won’t be quite as glossy or set as firm, and you may need slightly less milk to compensate.
Do these pop tarts work in a toaster like store-bought ones?
Once they’re iced, no, since the icing will melt and make a mess, but you can reheat unfrosted pop tarts in a toaster just fine.
How long do homemade pop tarts actually stay fresh?
They stay fresh in an airtight container at room temperature for about 2 to 3 days, or you can freeze them for a longer stretch.

Homemade Strawberry Pop Tart Recipe
Ingredients
Method
- Pulse the flour, sugar, and salt together in a food processor, then scatter in the cold, cubed butter and pulse until the mixture looks like coarse crumbs with pea-sized bits remaining. Add the sour cream and pulse just until the dough starts clumping together. Turn it out, shape it into a disc, wrap it, and chill it for 30 to 60 minutes while you prepare the filling.
- Whisk the sugar and cornstarch together in a small saucepan, then stir in the quartered strawberries and lemon juice. Cook over medium heat, mashing the berries as they soften, until the mixture thickens into a jammy consistency. Remove it from the heat, stir in the butter, and let the filling cool completely before you use it.
- Once the dough has chilled and the filling has cooled, roll the dough out on a floured surface to about a quarter-inch thick. Cut it into even rectangles using a knife, pizza wheel, or cookie cutter. You’ll want an even number so each pop tart gets a top and a bottom piece.
- Brush one rectangle with egg wash, then spoon a rounded tablespoon of strawberry filling into the center. Top with a second rectangle, then crimp the edges with a fork to seal everything in tightly. Brush the top with more egg wash and poke a few holes so steam can escape while baking.
- Arrange the assembled pop tarts on a parchment-lined baking sheet and bake at 400°F until they’re golden brown, about 15 to 17 minutes. Let them cool completely on the pan before you even think about icing them, or the glaze will just slide right off.
- Whisk together the powdered sugar, milk, corn syrup, and vanilla until smooth and glossy. Drizzle it generously over each cooled pop tart, then finish with sprinkles while the icing is still wet so they actually stick.
Notes
- I always make sure my butter is ice-cold going into the food processor, since that’s what gives me those flaky, not crumbly, layers.
- I cool my filling in the fridge instead of on the counter, because it speeds things up and keeps my crust from getting soggy later.
- I never skip the egg wash on the inside of the dough, since it acts like a barrier that keeps the jammy filling from soaking through.
- I like rolling my dough a little thicker than I think I need to, because thin dough tears easily when I’m sealing in the filling.
- I keep a small bowl of flour nearby while I work, since the dough gets sticky fast and a light dusting saves me a lot of frustration.