Go Back
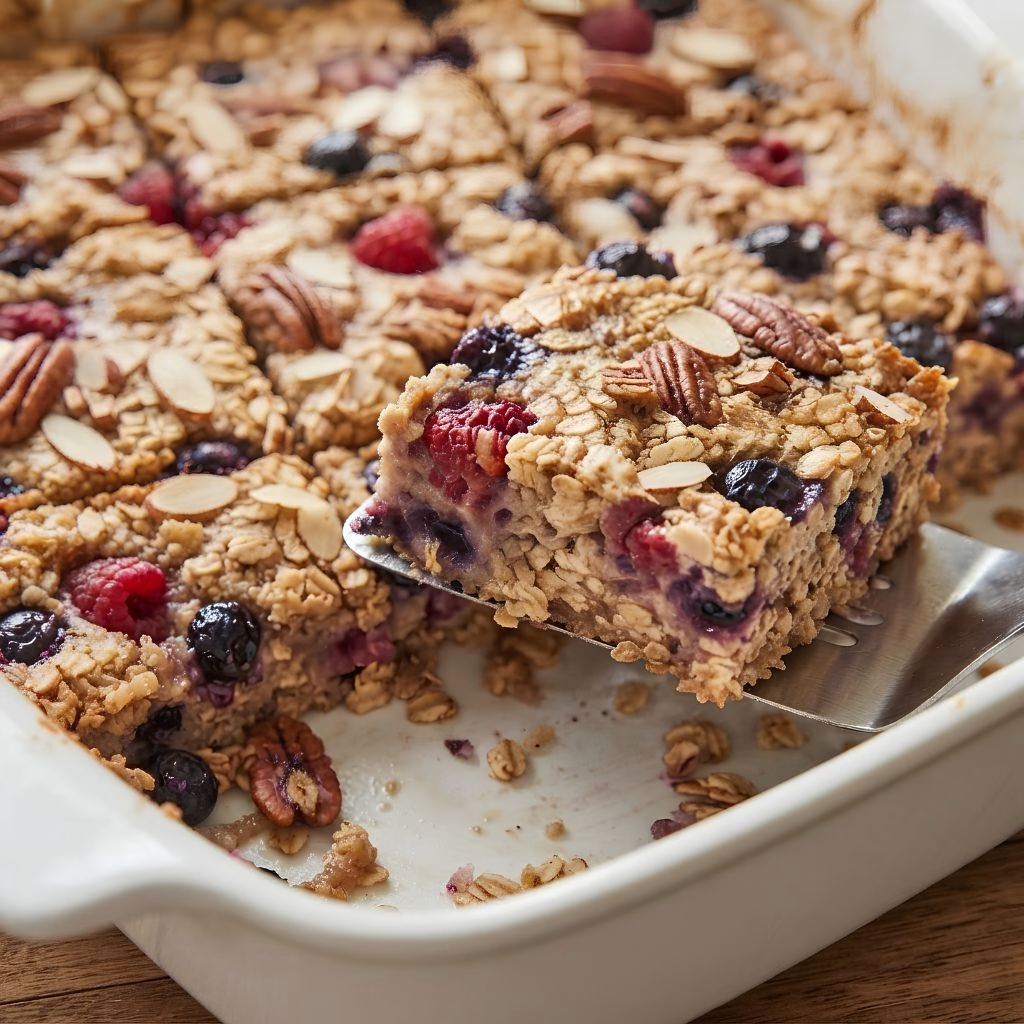
Make Ahead Baked Oatmeal Recipe
Ash Tyrrell

Make Ahead Baked Oatmeal Recipe

I started making this make ahead baked oatmeal on a random Sunday night when I was too tired to think about Monday morning, and it genuinely changed how I eat breakfast. I mix everything in one bowl, pour it into a dish, and let it sit in the fridge overnight while I do absolutely nothing else
Prep Time 10 minutes
Cook Time 40 minutes
Servings: 6

Ingredients
  

  • 2 cups old-fashioned rolled oats – these hold their shape better than quick oats so don't swap them out if you want a chewy texture
  • 2 cups milk dairy or plant-based – this is what makes the oats soak up flavor overnight, so use whatever milk you already drink
  • 1 large egg – helps bind everything together and gives the finished bake a soft custardy bite
  • 1/3 cup maple syrup or honey – go with pure maple syrup if you can it tastes far better than the imitation stuff
  • 2 tablespoons melted butter or coconut oil – adds richness just make sure it's cooled before mixing so it doesn't scramble the egg
  • 1 teaspoon vanilla extract – a small splash goes a long way in rounding out the sweetness
  • 1 teaspoon ground cinnamon – warms up the whole dish feel free to add extra if you love a strong cinnamon flavor
  • 1 teaspoon baking powder – gives the bake a slightly lighter less dense texture
  • 1/4 teaspoon salt – don't skip this it balances the sweetness more than you'd expect
  • 1 1/2 cups fresh or frozen fruit berries, bananas, apples – frozen is fine here, just don't thaw it first or it'll turn mushy
  • 1/4 cup chopped nuts or seeds optional – walnuts or pecans add a nice crunch against the soft oats

Method
 

  1. I start by rubbing a thin layer of butter or coconut oil across my 8x8-inch dish so nothing sticks later. This little step saves me from fighting with the corners when I'm serving it the next morning. I set the dish aside while I work on the mixture. It only takes a few seconds but makes cleanup so much easier.
  2. In my large bowl, I whisk together the milk, egg, melted butter, maple syrup, vanilla, cinnamon, baking powder, and salt. I make sure the egg is fully incorporated so I don't end up with streaks in the finished bake. This mixture should look smooth and slightly foamy. It takes me about a minute of steady whisking.
  3. Once my wet mixture is ready, I stir in the rolled oats along with most of my fruit and nuts, saving a small handful to scatter on top later. I like to fold gently so the fruit doesn't break apart too much. This is also where I taste-test the batter for sweetness. If it feels a touch bland, I add an extra drizzle of maple syrup.
  4. I pour the entire mixture into my prepared baking dish and scatter the reserved fruit and nuts across the top for a prettier finish. Then I cover the dish tightly with plastic wrap or a lid. It goes straight into the fridge overnight, usually for at least 8 hours. This is the step that makes the whole recipe worth it.
  5. When I'm ready to eat, I preheat my oven to 350°F and pull the dish out of the fridge while it heats up. I uncover it and give everything a quick stir so the oats redistribute evenly. Then I bake it uncovered for 35 to 40 minutes, until the center is set and the top turns lightly golden.
  6. Once it's out of the oven, I let the oatmeal rest for about 5 minutes before slicing into it. This little pause helps it firm up so the pieces hold together instead of falling apart. I usually cut it into six squares straight from the dish. It's ready to eat warm, right then and there.
Notes

  • I always use old-fashioned oats instead of instant, because instant oats turn mushy and lose that nice chew I want.
  • I let the batter sit for a full 8 hours in the fridge rather than rushing it, since the oats need that time to properly absorb the milk.
  • I never skip greasing the dish, because a sticky pan ruins the presentation when I try to cut clean squares.
  • I taste my batter before it goes into the fridge, since it's much easier to adjust the sweetness now than after baking.
  • I keep my fruit toppings light on the surface so they caramelize slightly instead of sinking and turning the whole bake soggy.