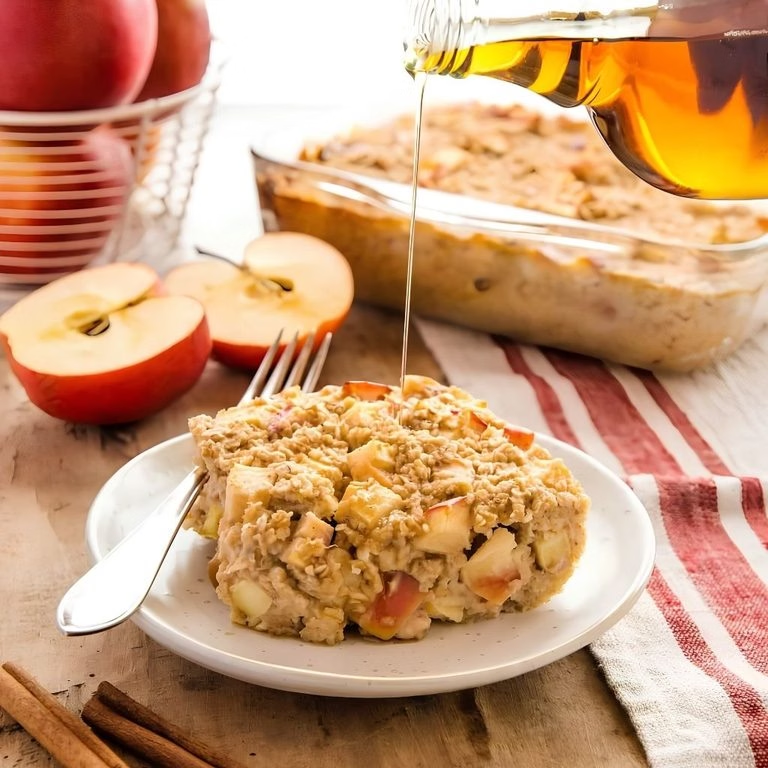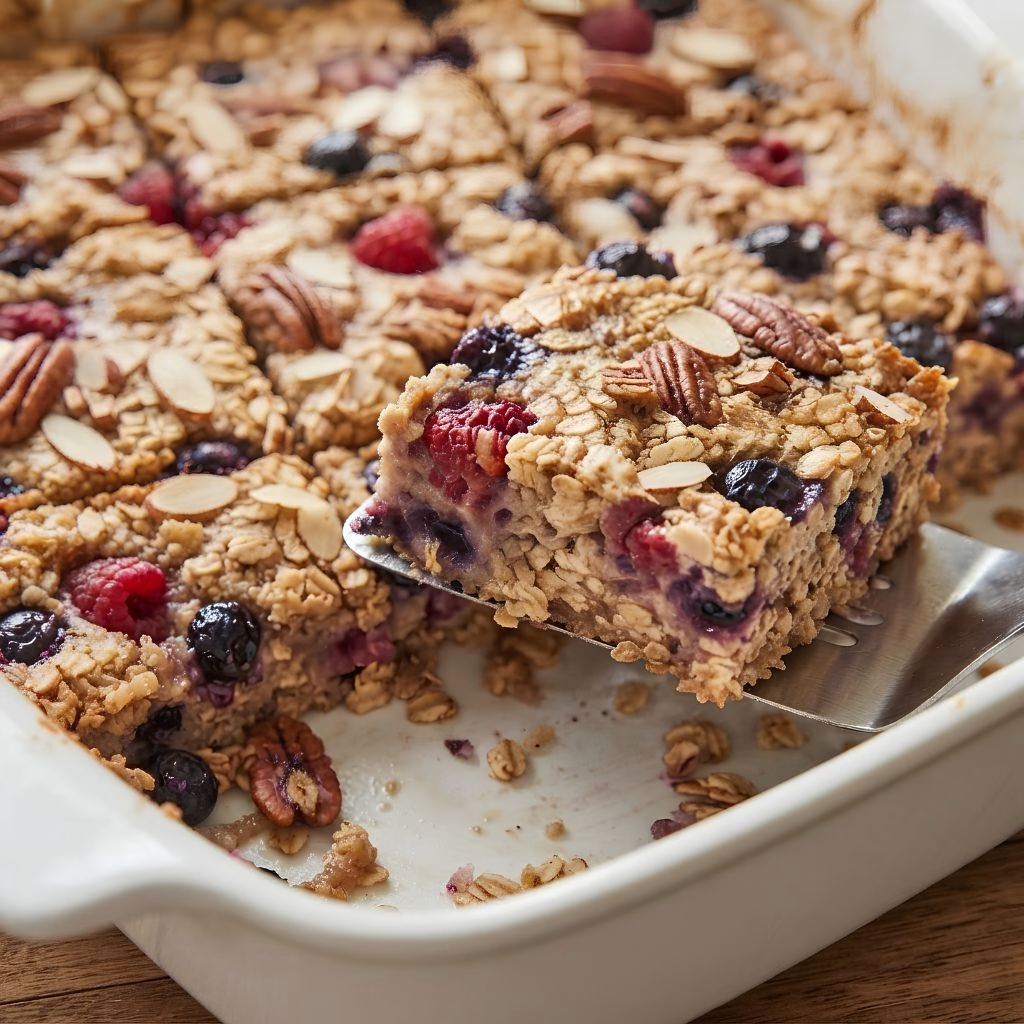
I started making this Make Ahead Baked Oatmeal Recipe on a random Sunday night when I was too tired to think about Monday morning, and it genuinely changed how I eat breakfast. I mix everything in one bowl, pour it into a dish, and let it sit in the fridge overnight while I do absolutely nothing else.
By morning, all I have to do is slide it into the oven and let it bake while I get ready. It comes out warm, custardy, and just sweet enough, and honestly, it feels like I did way more work than I actually did. If you’ve been surviving on rushed cereal or skipping breakfast altogether, this recipe is the fix you didn’t know you needed.
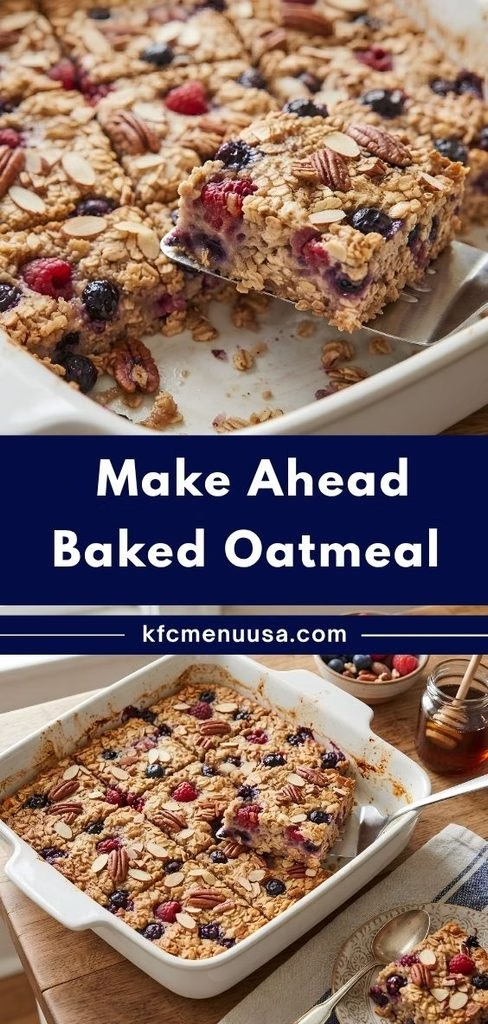
Cooking Time
- Prep Time: 10 minutes
- Cooking Time: 35-40 minutes
- Total Time: 45-50 minutes (plus overnight chilling)
Ingredients
- 2 cups old-fashioned rolled oats – these hold their shape better than quick oats, so don’t swap them out if you want a chewy texture
- 2 cups milk (dairy or plant-based) – this is what makes the oats soak up flavor overnight, so use whatever milk you already drink
- 1 large egg – helps bind everything together and gives the finished bake a soft, custardy bite
- 1/3 cup maple syrup or honey – go with pure maple syrup if you can, it tastes far better than the imitation stuff
- 2 tablespoons melted butter or coconut oil – adds richness, just make sure it’s cooled before mixing so it doesn’t scramble the egg
- 1 teaspoon vanilla extract – a small splash goes a long way in rounding out the sweetness
- 1 teaspoon ground cinnamon – warms up the whole dish, feel free to add extra if you love a strong cinnamon flavor
- 1 teaspoon baking powder – gives the bake a slightly lighter, less dense texture
- 1/4 teaspoon salt – don’t skip this, it balances the sweetness more than you’d expect
- 1 1/2 cups fresh or frozen fruit (berries, bananas, apples) – frozen is fine here, just don’t thaw it first or it’ll turn mushy
- 1/4 cup chopped nuts or seeds, optional – walnuts or pecans add a nice crunch against the soft oats
Note: This recipe serves 6, using an 8×8-inch baking dish.
Equipment You Need
- Large mixing bowl – for whisking the wet ingredients and folding in the oats
- Whisk – blends the egg, milk, and sweetener smoothly with no lumps
- 8×8-inch baking dish – the right size for even baking and clean slices
- Measuring cups and spoons – keeps your ratios accurate so the texture turns out right
- Plastic wrap or a lid – to cover the dish while it chills in the fridge overnight
- Oven mitts – you’ll be pulling a hot dish straight from the oven
How to Make Ahead Baked Oatmeal Recipe?
I promise this recipe is far less intimidating than it sounds once you break it down. It really comes together in three simple stages: mix, chill, and bake. Here’s exactly how I do it every single time.
Grease Your Baking Dish
I start by rubbing a thin layer of butter or coconut oil across my 8×8-inch dish so nothing sticks later. This little step saves me from fighting with the corners when I’m serving it the next morning. I set the dish aside while I work on the mixture. It only takes a few seconds but makes cleanup so much easier.
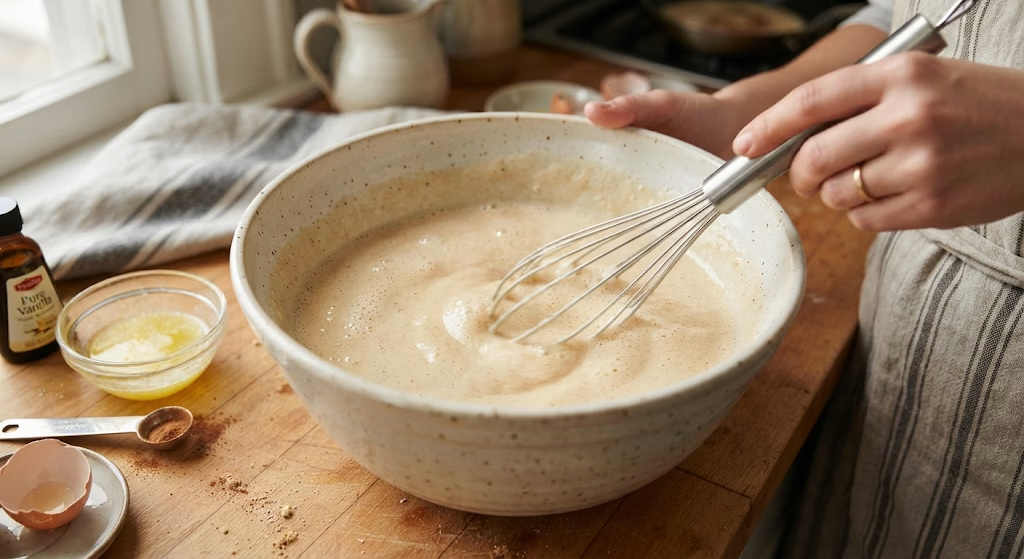
Whisk the Wet Ingredients
In my large bowl, I whisk together the milk, egg, melted butter, maple syrup, vanilla, cinnamon, baking powder, and salt. I make sure the egg is fully incorporated so I don’t end up with streaks in the finished bake. This mixture should look smooth and slightly foamy. It takes me about a minute of steady whisking.
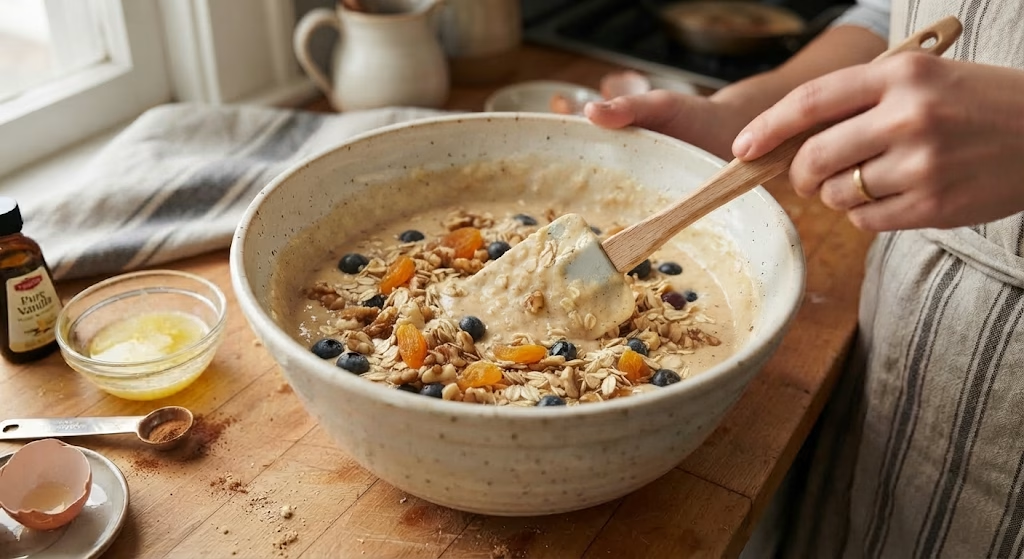
Fold in the Oats and Mix-Ins
Once my wet mixture is ready, I stir in the rolled oats along with most of my fruit and nuts, saving a small handful to scatter on top later. I like to fold gently so the fruit doesn’t break apart too much. This is also where I taste-test the batter for sweetness. If it feels a touch bland, I add an extra drizzle of maple syrup.
Pour, Cover, and Refrigerate
I pour the entire mixture into my prepared baking dish and scatter the reserved fruit and nuts across the top for a prettier finish. Then I cover the dish tightly with plastic wrap or a lid. It goes straight into the fridge overnight, usually for at least 8 hours. This is the step that makes the whole recipe worth it.
Bake It the Next Morning
When I’m ready to eat, I preheat my oven to 350°F and pull the dish out of the fridge while it heats up. I uncover it and give everything a quick stir so the oats redistribute evenly. Then I bake it uncovered for 35 to 40 minutes, until the center is set and the top turns lightly golden.
Cool Slightly and Serve
Once it’s out of the oven, I let the oatmeal rest for about 5 minutes before slicing into it. This little pause helps it firm up so the pieces hold together instead of falling apart. I usually cut it into six squares straight from the dish. It’s ready to eat warm, right then and there.
Additional Tips for Making This Recipe Better
I’ve made this more times than I can count, and these are the small things that genuinely make a difference for me:
- I always use old-fashioned oats instead of instant, because instant oats turn mushy and lose that nice chew I want.
- I let the batter sit for a full 8 hours in the fridge rather than rushing it, since the oats need that time to properly absorb the milk.
- I never skip greasing the dish, because a sticky pan ruins the presentation when I try to cut clean squares.
- I taste my batter before it goes into the fridge, since it’s much easier to adjust the sweetness now than after baking.
- I keep my fruit toppings light on the surface so they caramelize slightly instead of sinking and turning the whole bake soggy.
Common Mistakes to Avoid
- I once used quick oats out of convenience, and the texture turned out gummy instead of chewy, so I stick to rolled oats now.
- I forgot to cover the dish overnight once, and the top layer dried out in the fridge, so I always seal it tightly now.
- I used to skip the resting time after baking, and the squares fell apart when I tried to serve them.
- I added frozen fruit straight into a hot oven without thawing concerns, and it released too much liquid, so I pat it dry first now.
- I’ve overbaked it a few times chasing a fully dry top, but baked oatmeal should stay a little soft and custardy in the center.
How to Serve Make Ahead Baked Oatmeal?
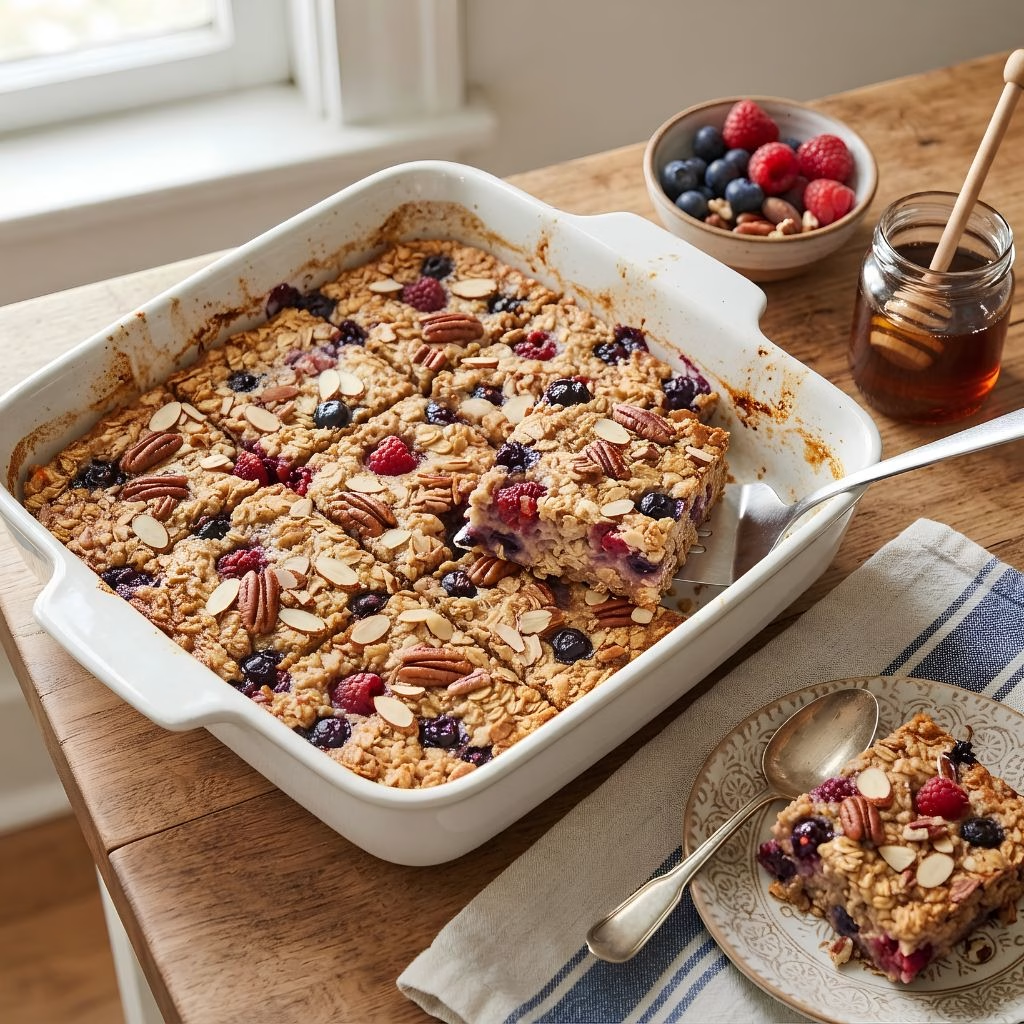
I like serving this warm, straight from the oven, with a small pitcher of milk on the side so everyone can pour a little over their own slice. A drizzle of extra maple syrup and a few fresh berries scattered on top make it look like something from a café rather than a Tuesday morning. For a heartier presentation, I sometimes add a dollop of yogurt or a smear of nut butter across the top.
If you’re hosting brunch, cutting it into neat squares and arranging them on a platter with fresh fruit around the edges makes it feel a lot more special than it actually is to prepare. It also pairs nicely alongside something like blueberry baked oatmeal if you want to offer two flavors at once for a crowd.
Variations
- Dairy-free: swap the milk for oat milk or almond milk, and use coconut oil instead of butter.
- Egg-free: replace the egg with a flax egg (1 tablespoon ground flaxseed mixed with 3 tablespoons water).
- Lower sugar: cut the maple syrup in half and lean on ripe mashed banana for natural sweetness instead.
- Extra protein: stir in a scoop of vanilla protein powder or a spoonful of nut butter into the wet mixture.
- Flavor swap: try a strawberry version if you enjoy fruitier mornings, similar to this <a href=”https://kfcmenuusa.com/strawberry-baked-oatmeal-recipe/”>strawberry baked oatmeal recipe</a> I make often.
- Spice it up: add a pinch of nutmeg or ginger alongside the cinnamon for a deeper, cozier flavor.
Nutritional Information
Here’s roughly what you can expect per serving, based on 6 servings from this recipe:
- Calories: 260 kcal
- Protein: 7g
- Carbohydrates: 38g
- Fat: 9g
Make Ahead and Storage
You can prepare this oatmeal up to 24 hours in advance by mixing it, covering it tightly, and refrigerating it unbaked until you’re ready to bake it fresh in the morning.
Once baked, leftovers keep well in the refrigerator for up to 5 days when stored in an airtight container.
To reheat, I microwave individual portions for about 45 seconds with a small splash of milk to loosen the texture back up, or warm the whole dish in a 350°F oven for 10 minutes.
For longer storage, let it cool completely, then freeze individual portions wrapped tightly for up to 2 months, thawing overnight in the fridge before reheating.
Why You’ll Love This Recipe
This recipe has become a staple in my kitchen for a few solid reasons, and I think it’ll earn a spot in yours too:
- It saves me real time on busy mornings, since all the messy prep happens the night before and I just bake it fresh when I wake up.
- It’s endlessly customizable, so I can swap in whatever fruit, nuts, or spices I have on hand without ruining the recipe.
- It fits multiple diets easily, since I can make it dairy-free, egg-free, or lower in sugar with just a couple of ingredient swaps.
- It feeds a crowd without extra effort, which makes it my go-to whenever family stays over for the weekend.
- It reheats beautifully, so even five days later it still tastes like I just pulled it out of the oven.
FAQs
Can I use quick oats instead of rolled oats?
You can, but the texture turns out softer and less chewy, so I personally stick with old-fashioned rolled oats for the best bite.
Do I have to refrigerate it overnight before baking?
Refrigerating for at least a few hours helps the oats absorb the liquid properly, though even 2-3 hours will work if you’re short on time.
Can I make this recipe vegan?
Yes, just use plant-based milk, swap the egg for a flax egg, and replace the butter with coconut oil.
Why did my baked oatmeal turn out mushy?
This usually happens from using quick oats or adding too much liquid, so measure carefully and stick with rolled oats.
How long does baked oatmeal stay fresh in the fridge?
It stays fresh for up to 5 days when stored in an airtight container in the refrigerator.

Make Ahead Baked Oatmeal Recipe
Ingredients
Method
- I start by rubbing a thin layer of butter or coconut oil across my 8×8-inch dish so nothing sticks later. This little step saves me from fighting with the corners when I’m serving it the next morning. I set the dish aside while I work on the mixture. It only takes a few seconds but makes cleanup so much easier.
- In my large bowl, I whisk together the milk, egg, melted butter, maple syrup, vanilla, cinnamon, baking powder, and salt. I make sure the egg is fully incorporated so I don’t end up with streaks in the finished bake. This mixture should look smooth and slightly foamy. It takes me about a minute of steady whisking.
- Once my wet mixture is ready, I stir in the rolled oats along with most of my fruit and nuts, saving a small handful to scatter on top later. I like to fold gently so the fruit doesn’t break apart too much. This is also where I taste-test the batter for sweetness. If it feels a touch bland, I add an extra drizzle of maple syrup.
- I pour the entire mixture into my prepared baking dish and scatter the reserved fruit and nuts across the top for a prettier finish. Then I cover the dish tightly with plastic wrap or a lid. It goes straight into the fridge overnight, usually for at least 8 hours. This is the step that makes the whole recipe worth it.
- When I’m ready to eat, I preheat my oven to 350°F and pull the dish out of the fridge while it heats up. I uncover it and give everything a quick stir so the oats redistribute evenly. Then I bake it uncovered for 35 to 40 minutes, until the center is set and the top turns lightly golden.
- Once it’s out of the oven, I let the oatmeal rest for about 5 minutes before slicing into it. This little pause helps it firm up so the pieces hold together instead of falling apart. I usually cut it into six squares straight from the dish. It’s ready to eat warm, right then and there.
Notes
- I always use old-fashioned oats instead of instant, because instant oats turn mushy and lose that nice chew I want.
- I let the batter sit for a full 8 hours in the fridge rather than rushing it, since the oats need that time to properly absorb the milk.
- I never skip greasing the dish, because a sticky pan ruins the presentation when I try to cut clean squares.
- I taste my batter before it goes into the fridge, since it’s much easier to adjust the sweetness now than after baking.
- I keep my fruit toppings light on the surface so they caramelize slightly instead of sinking and turning the whole bake soggy.