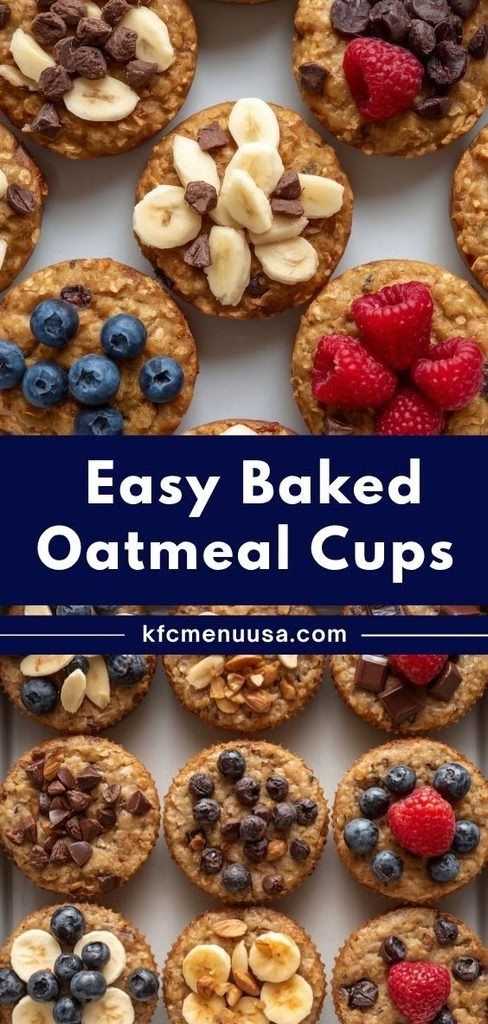
I started making this Easy Baked Oatmeal Cups Recipe on a Sunday when I was tired of scrambling for breakfast ideas every single weekday morning. I mixed four things I already had in my kitchen, poured the batter into a muffin tin, and twenty minutes later I had a week’s worth of breakfast sitting on my counter.
My kids grab them straight from the fridge, I warm mine up with a splash of milk, and honestly, I haven’t gone back to regular stovetop oatmeal since. If you’re searching for a simple oatmeal cup recipe that doesn’t ask much of you but gives back all week long, this is the one I keep coming back to.
Cooking Time
- Prep Time: 10 minutes
- Cook Time: 20-22 minutes
- Total Time: 30-32 minutes
Ingredients
- 2 cups rolled oats – these hold their shape better than quick oats and give the cups a heartier bite
- 2 large eggs – bind everything together and add a protein boost to each cup
- 1 cup milk – any kind works, but whole milk makes the cups a bit richer
- 1/3 cup maple syrup – my go-to natural sweetener; honey works too if that’s what’s in your pantry
- 1 teaspoon vanilla extract (optional) – I always add this, it rounds out the flavor nicely
- 1/2 teaspoon cinnamon (optional) – a small pinch makes these taste like a warm hug
- 1/2 teaspoon baking powder (optional) – gives the cups a slightly lighter, fluffier texture
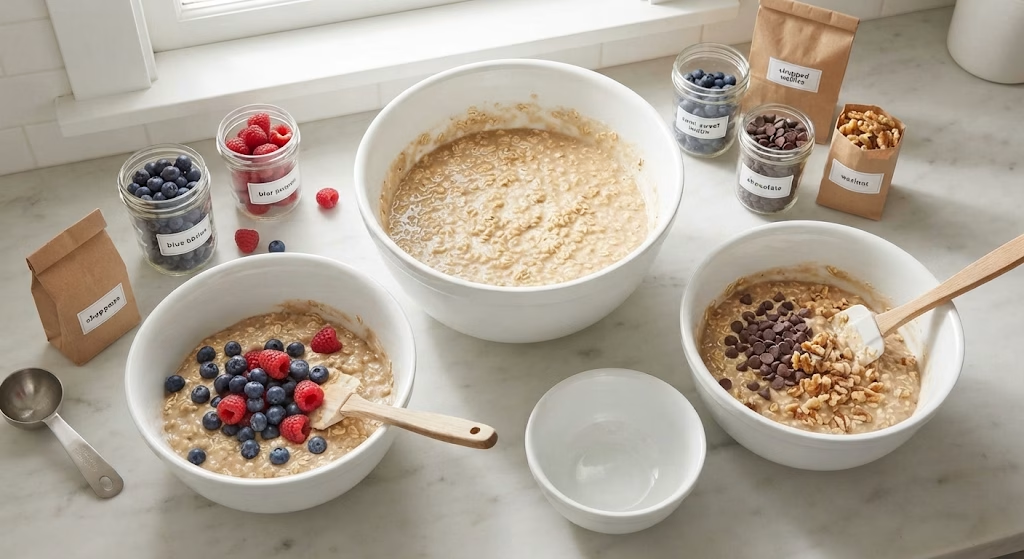
- Mix-ins of choice (berries, banana slices, chocolate chips, or nuts) – add these last so every cup can be different
Note: this recipe makes 12 oatmeal cups, which is enough to serve 6 people comfortably at two cups each.
Equipment You Need
- Muffin tin – holds and shapes the batter into individual cups
- Silicone muffin liners – I swear by these because the cups pop right out with no sticking
- Mixing bowl – for combining your wet and dry ingredients
- Whisk or fork – to break up the eggs and blend everything smoothly
- Measuring cups and spoons – for accurate ingredient portions
- Cooling rack – lets the cups cool evenly so they don’t turn soggy on the bottom
How to Make Easy Baked Oatmeal Cups Recipe?
I promise this recipe is as low-effort as breakfast gets. You’ll mix one bowl of ingredients, divide it into your muffin tin, and let the oven do the rest. Here’s exactly how I make mine every single time.
Preheat the Oven and Prep Your Pan
I always start by turning my oven to 350°F so it’s fully heated by the time my batter is ready. While it warms up, I line a 12-cup muffin tin with silicone liners or give it a light spray of nonstick oil. This one small step is what keeps the cups from tearing apart when you try to remove them later.
Mix the Wet and Dry Ingredients
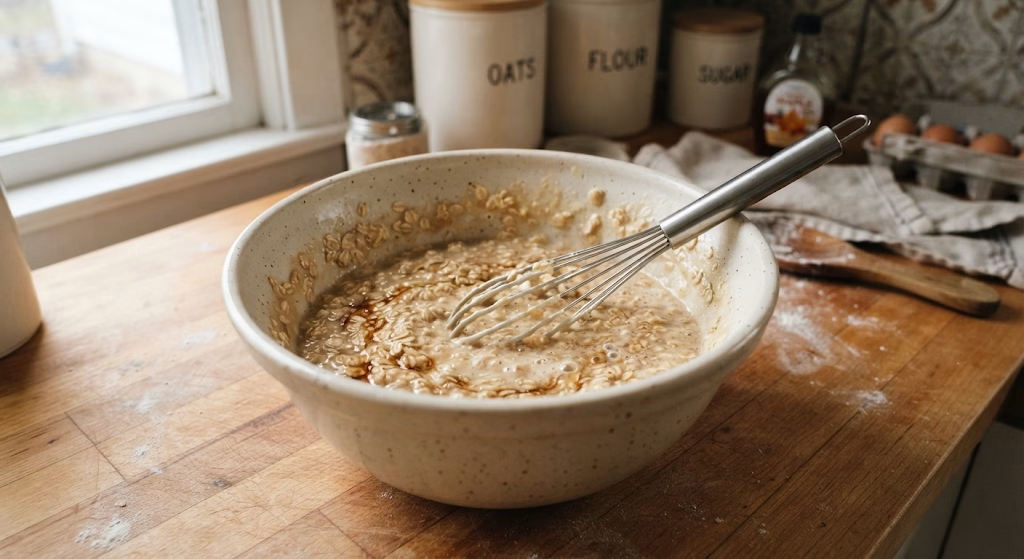
In a medium bowl, I stir together the oats, eggs, milk, and maple syrup until everything is fully combined. If I’m adding vanilla, cinnamon, or baking powder, this is the point where they go in. The batter should look loose and a little wet, which is exactly what you want.
Fold in Your Mix-Ins
This is my favorite part because it’s where I get to customize each batch. I sometimes split the batter into a few bowls and add different fruits or chocolate chips to each one, so my family gets variety without me making multiple recipes. Fresh or frozen fruit both work fine here.
Fill the Muffin Cups Evenly
I use a measuring cup to scoop the batter into each liner, making sure the liquid level is roughly the same in every cup. Uneven filling is the main reason some cups turn out dry while others stay too wet. If you’re adding toppings like banana slices, I press them gently on top now.
Bake Until Golden and Set
I slide the tray into the oven and bake for 20 to 22 minutes, until the tops turn light golden and a toothpick comes out clean. The cups will look a little puffed while baking and settle slightly as they cool, which is completely normal.
Cool and Pop Out
I let the cups rest in the tin for about 5 minutes before transferring them to a wire rack. This little pause makes them so much easier to remove without falling apart, and it also helps the texture firm up nicely.
Additional Tips for Making This Recipe Better
I’ve made these more times than I can count, and here’s what actually makes a difference for me:
- I always use old-fashioned rolled oats instead of instant oats because they hold their texture much better after baking.
- I let my eggs sit at room temperature for a few minutes before mixing so the batter blends more smoothly.
- I never skip greasing or lining the tin, even with a nonstick pan, because these cups love to stick.
- I taste my batter before baking (yes, it’s safe with pasteurized eggs) to check if it needs more sweetness.
- I double the batch on Sundays because these disappear from my fridge faster than I expect.
Common Mistakes to Avoid
Over the years I’ve made every one of these mistakes at least once, so let me save you the trouble:
- Using quick oats instead of rolled oats I did this once and the cups turned out mushy instead of hearty.
- Overfilling the muffin cups I learned the hard way that they rise more than you’d expect and can overflow.
- Skipping the liner or grease I lost half a batch to a bare pan before I started lining every single cup.
- Pulling them out too early mine looked done in 15 minutes but the centers were still wet, so I always check with a toothpick now.
- Adding wet fruit like frozen berries without draining I ended up with soggy cups until I started thawing and blotting mine first.
How to Serve Easy Baked Oatmeal Cups Recipe
I like to serve these warm with a drizzle of extra maple syrup and a few fresh berries scattered on top for color. For a heartier breakfast, I sometimes crumble one over a bowl of yogurt, which turns these into oatmeal cups with yogurt in about ten seconds flat.
My kids love them plain, straight from a lunchbox, which makes them one of the easiest oatmeal cups to go options I’ve found for school mornings. If you want to build out a full spread, these pair beautifully alongside something like this Strawberry Baked Oatmeal Recipe for a cozy weekend breakfast table.
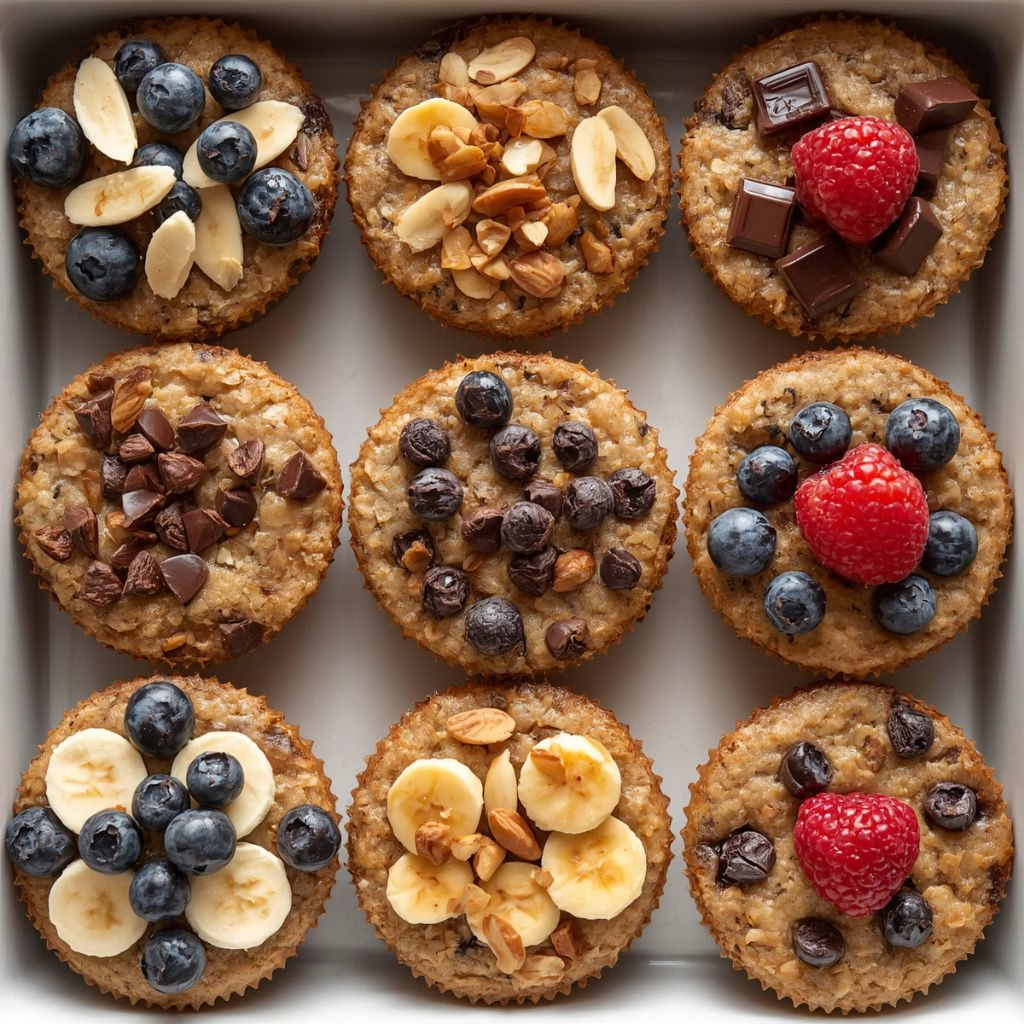
Variations
- Swap maple syrup for honey or a sugar-free syrup if you’re watching your sugar intake.
- Use plant-based milk and a flax egg for a fully dairy-free and egg-free version.
- Stir in mashed banana for naturally sweet baked oatmeal cups with banana and a softer texture.
- Skip the banana entirely and lean on berries or chocolate chips for baked oatmeal cups, no banana that still taste amazing.
- Prep the batter the night before and refrigerate it, so you’re baking oatmeal breakfast cups overnight ready for the morning rush.
- Add a scoop of protein powder for an extra post-workout boost.
- Try a fall-inspired mix with pumpkin puree and pumpkin spice instead of maple syrup and cinnamon, similar in spirit to this Peanut Butter Banana Baked Oatmeal Recipe I also make on repeat.
Nutritional Information
Here’s roughly what you can expect per oatmeal cup, based on the standard four-ingredient version:
- Calories: 90-100 kcal
- Protein: 4 grams
- Carbohydrates: 15 grams
- Fat: 2.5 grams
Make Ahead and Storage
You can make these oatmeal cups fully ahead of time and store them in an airtight container in the refrigerator for up to a week. I like to grab one on my way out the door and eat it cold, or give it a quick 20-second zap in the microwave.
For longer storage, freeze the cooled cups in a single layer on a tray, then transfer them to a freezer bag once solid. They’ll keep well for up to 3 months and reheat beautifully straight from frozen with an extra 20-30 seconds in the microwave.
Why You’ll Love This Recipe
I keep coming back to this recipe for reasons that go beyond just how good it tastes:
- It’s genuinely a healthy baked oatmeal breakfast cups option, made with whole ingredients I don’t need to overthink.
- It comes together in one bowl, so cleanup takes me two minutes, not twenty.
- It’s endlessly customizable, since I can turn one batter into three different flavors just by splitting the bowl.
- It travels well, which means my family always has an oatmeal cups to go option ready for busy mornings.
- It’s freezer-friendly, so one Sunday of effort covers me for weeks at a time.
FAQs
Can I use quick oats instead of rolled oats?
You can, but I don’t recommend it since quick oats absorb more liquid and can make the cups mushy instead of hearty and chewy.
Do these oatmeal cups need to be refrigerated?
Yes, I always store mine in the fridge in an airtight container, where they stay fresh for up to a week.
Can I make a version similar to the nyt baked oatmeal cups approach with add-ins split by bowl?
Absolutely, I regularly divide my batter into separate bowls and mix in different fruits or spices to each one, which is exactly how many popular versions, including ones inspired by nyt baked oatmeal cups, get their variety.
Are these oatmeal cups freezer-friendly?
Yes, I freeze mine all the time in a sealed bag or container, and they hold their texture well for up to 3 months.
What can I use instead of maple syrup?
I’ve swapped in honey, agave, or even a mashed ripe banana when I wanted a lower-sugar version, and all of them worked well in this batter.

Easy Baked Oatmeal Cups Recipe
Ingredients
Method
- I always start by turning my oven to 350°F so it’s fully heated by the time my batter is ready. While it warms up, I line a 12-cup muffin tin with silicone liners or give it a light spray of nonstick oil. This one small step is what keeps the cups from tearing apart when you try to remove them later.
- In a medium bowl, I stir together the oats, eggs, milk, and maple syrup until everything is fully combined. If I’m adding vanilla, cinnamon, or baking powder, this is the point where they go in. The batter should look loose and a little wet, which is exactly what you want.
- This is my favorite part because it’s where I get to customize each batch. I sometimes split the batter into a few bowls and add different fruits or chocolate chips to each one, so my family gets variety without me making multiple recipes. Fresh or frozen fruit both work fine here.
- I use a measuring cup to scoop the batter into each liner, making sure the liquid level is roughly the same in every cup. Uneven filling is the main reason some cups turn out dry while others stay too wet. If you’re adding toppings like banana slices, I press them gently on top now.
- I slide the tray into the oven and bake for 20 to 22 minutes, until the tops turn light golden and a toothpick comes out clean. The cups will look a little puffed while baking and settle slightly as they cool, which is completely normal.
- I let the cups rest in the tin for about 5 minutes before transferring them to a wire rack. This little pause makes them so much easier to remove without falling apart, and it also helps the texture firm up nicely.
Notes
- I always use old-fashioned rolled oats instead of instant oats because they hold their texture much better after baking.
- I let my eggs sit at room temperature for a few minutes before mixing so the batter blends more smoothly.
- I never skip greasing or lining the tin, even with a nonstick pan, because these cups love to stick.
- I taste my batter before baking (yes, it’s safe with pasteurized eggs) to check if it needs more sweetness.
- I double the batch on Sundays because these disappear from my fridge faster than I expect.